
When you first learn to sew, it can be tricky to get your lines nice a straight.
In fact, it can be downright frustrating for most beginners. But the best way to sew a straight line, is to practice, practice, practice.

This post contains affiliate links to products I recommend. I do make a portion off any you may purchase. See full disclosure here.
But when you hear practice, what do you think? Are you suppose to just sew a bunch of straight lines in a row over and over?
Or practice using paper sewing lines?
Yes, of course! Both of these examples work. But the best way to practice is to DO.
That means, you want to actually start a sewing project that will help you sew some straight lines.

There are many great beginner sewing projects for sewing straight lines like making a glasses case or a toothbrush roll up.
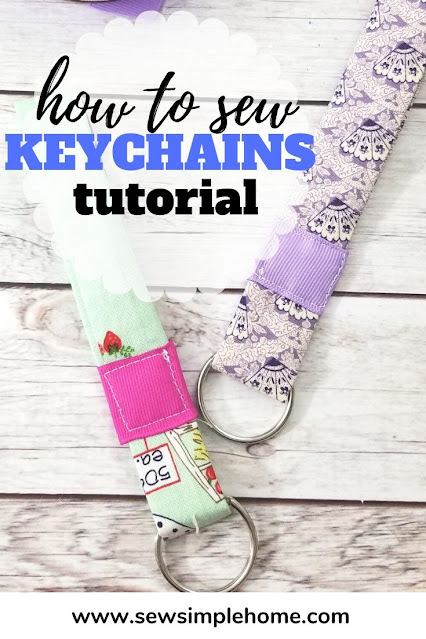
One of my favorite and most useful straight line sewing projects is this simple fabric keychain.
Not only will you practice sewing straight lines, but you'll get a really useful and cut keychain to use yourself or give as a gift.

Before we sew, let's talk about the key ring or fob first.
You can find lots of different types of hardware to use on keychains. The above picture has several examples of key rings and key fobs that will work.
What you are really looking to find for this project is a ring or fob that can be looped through. That means you want to make sure the fabric can go through the fob and come out on the other side to be connected and sewn together.
You can order key rings on Amazon. Going to your local Walmart or Target often has key rings and fobs for sale in the craft or fabric department.

Want some other simple keychain projects? Check out the easy DIY Fabric Lanyard or the fast Leather Keychain.
How to Make Fabric Keychains
Materials Needed
- Cotton fabric - a Fat Quarter or scraps would work
- 2.5" of 1" grosgrain ribbon
- Key ring or key fobs
- Fusible Interfacing
- Matching thread
Step 1
Cut a piece of fabric to be 13 x 2.5". Cut a piece of interfacing 12 x 2".
Fuse interfacing to the wrong side of the fabric.

Step 2
Fold fabric in half with right sides together. Match the long side.
Stitch at 1/4" all the way down the long side.

Step 3
Turn the keychain strap right side out. You can use a safety pin or a bodkin to turn the fabric. Press.
Optional: Topstitch a straight line down each side of the keychain.

Step 4
Place a key ring on a flat surface. Loop the bottom raw edge around the key ring and up about 2". Pin or hold in place.
Match the top raw edge to the bottom. Overlap the two pieces about 1".

Step 5
Stitch the bottom and top edges together with a straight stitch.

Step 6
Cut a 2.5" piece of ribbon. Wrap the ribbon around the stitch you just made so it covers all sides of the keychain strap.
Sew a box around the ribbon to keep it in place.
That's it! You've made your first diy fabric keychain. AND you got in some great straight line sewing practice.
You should be very proud of your accomplishments.

I think you are ready to move on to sewing square corners along with those straight lines.
If you are looking to learn to sew and aren't sure where to start, check out the free Sewing Basics course. You'll learn all the basics right from your inbox.


Did you mean to say in step 2 to put wrong sides together? The pics show right sides together.
ReplyDeleteGood catch. Yes, right sides together.
DeleteI recently started sewing and tutorials like this one are very helpful
ReplyDeleteShould the interfacing be 13 inches long as well? In the Step 1 picture it looks like it runs the full length of the fabric
ReplyDeleteThe interfacing should be 12". Sorry for that typo.
Delete