Sometimes in sewing it is easy to get stuck doing the same type of project over and over. Mostly because you know how to do it.
For instance, just sewing straight lines. Straight lines on bags, tops, and quilts. But it is important to know more things like how to sew corners.
For instance, just sewing straight lines. Straight lines on bags, tops, and quilts. But it is important to know more things like how to sew corners.
Yep. You can turn corners in sewing.
Mind blown right?! I know many sewists that sew the straight line, cut their threads. Sew the next straight line. And continue until they make a box.
WRONG!
You can sew a box with nice sharp corners without every cutting your thread or removing your fabric. It is a great sewing skill to have.
How about today I teach how to sew square corners and get your rolling on your way?
How to Sew Corners
Materials Needed
- Cotton fabric scraps
- Thread
- Poly Fiber Fil
- Sewing pins
- Scissors
- Optional: Fabric Marking Pen
Step 1
Cut two squares of fabric 4" x 4".
Step 2
Use a fabric markers to mark 1/4" seam allowance all the way around the wrong side of one square.
This step is optional as you can use the seam guides on your machine if you feel comfortable.
Step 3
Mark a 1.5" opening in the middle of one side of the square. You can mark with a fabric pen or with straight pins.
Step 4
With Right Sides Together (RST), pin your two pieces of fabric together.
Step 5
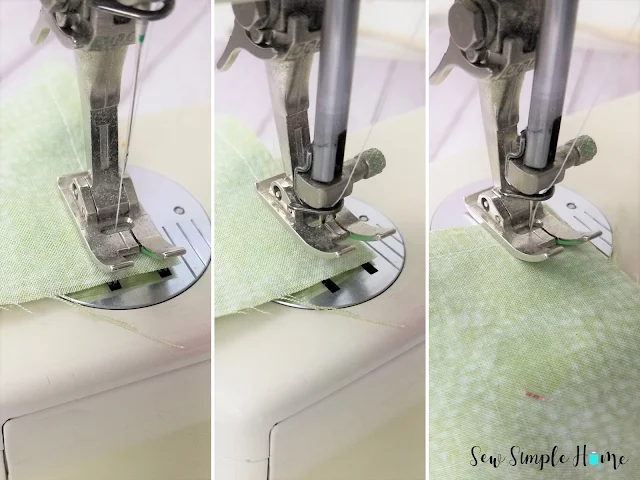
Start at the opening and stitch the squares together. Pivoting around the corners by placing your needle down into the fabric corner, lifting your presser foot, turning the fabric, putting the presser foot back down and continuing to sew.
If you are confused by this step, make sure to check out the video in the post to help you see how to pivot your corners.
Step 6
Trim threads and clip the corners of your square.
Step 7
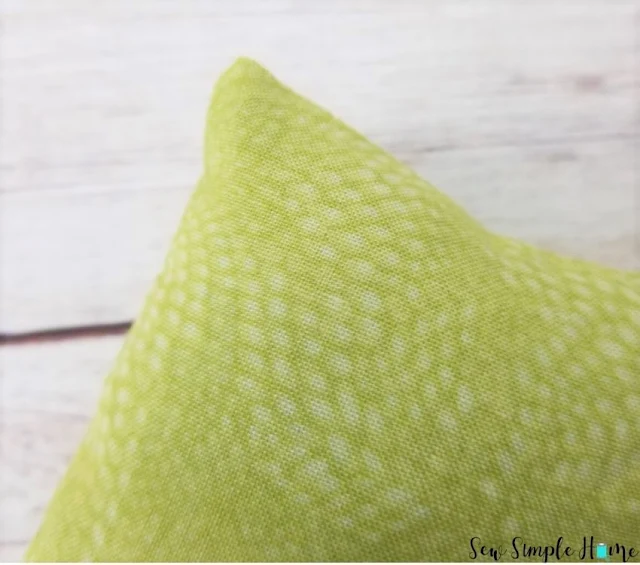
Turn the pincushion right side out. Push the corners out and stuff your pincushion. Close the pincushion using a slip stitch or your sewing machine.
BAM!! You just sewed your first square corners.
Way to go you!!!
Now that you know how to sew corners, let's get you making some easy square corner projects.
Go make yourself this fun little business card holder. Perfect for practicing corners.


No comments
I'd love to hear from you!