One of my favorite parts of sewing is the fact that I can create projects that are usable.
For instance, if I am in need of a new bag, I can sew one up. Or in this instance, if my glasses or sunglasses need a case, I can create my own.
Learning how to sew a glasses case is really simple. Especially if you have already done our lessons on sewing a straight line and turning corners.
This post contains affiliate links to products I recommend. I do make a portion off any you may purchase. See full disclosure here.
Plus, once you've created your own glasses case, you can make them as gifts for friends and family. Or create multiple cases for each of your bags or purses. That way you always have a case when you need one.
I personally wear both glasses and sunglasses and can never find a case when I need one. So these simple diy glasses cases are perfect for each of my bags and cars.
A couple of tips when deciding on the fabric to use for your glasses case. Pick fabrics that have a nice soft finish to them. You don't want the fabric to scratch your glasses. Look for a soft cotton or flannel.
If you want the case to be a bit stiffer, you can use a layer of fusible interfacing on the wrong side of your lining fabric. That is totally optional though.
Let's get started sewing!
How to Sew a Glasses Case
Materials Needed
- 7.5 x 7" piece cut in Main Fabric
- 7.5 x 7" piece cut in Lining Fabric
- Matching Thread
- A Pair of Glasses (to check fit)
For this project, we will be using a 1/4" seam allowance. That means you'll want your fabric to follow along the first line on the seam guide on your sewing machine.
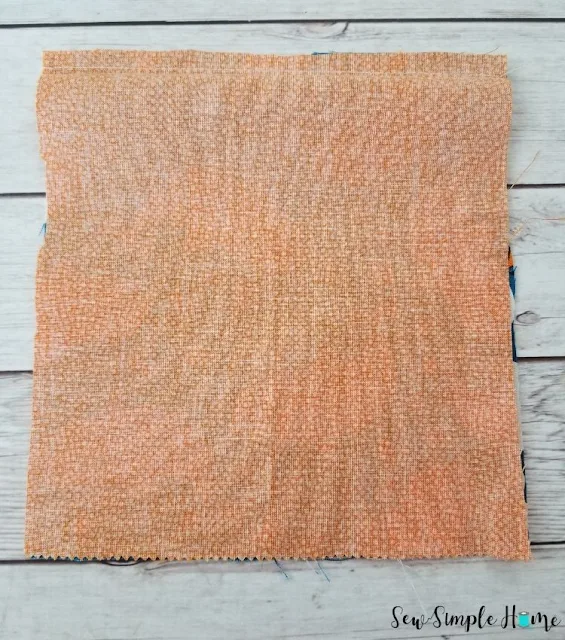
With Right Sides Together (RST), sew a straight line across one of the shorter sides of the case.
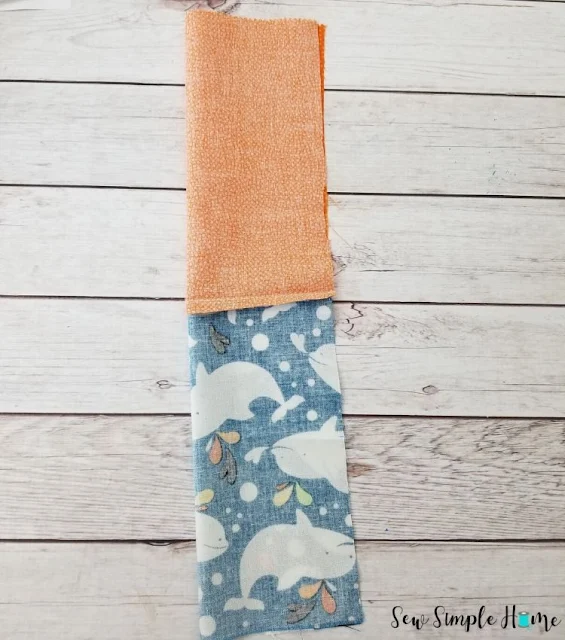
Open the glasses case, fold it RST lengthwise. Matching the long side of the fabrics together. Pin in place.
Mark a 2-3" opening in the long side of the lining fabric.
Step 3
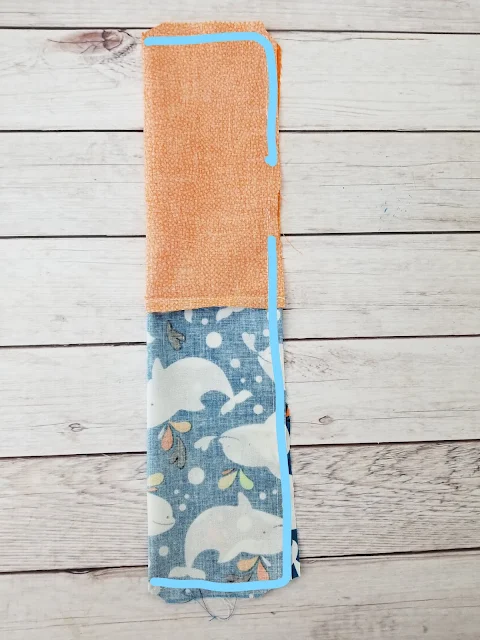
Stitch the two layers together by sewing across the short edge, turning the corner and stitching again. Make sure to leave a 2-3" opening in the lining fabric to turn your case later.
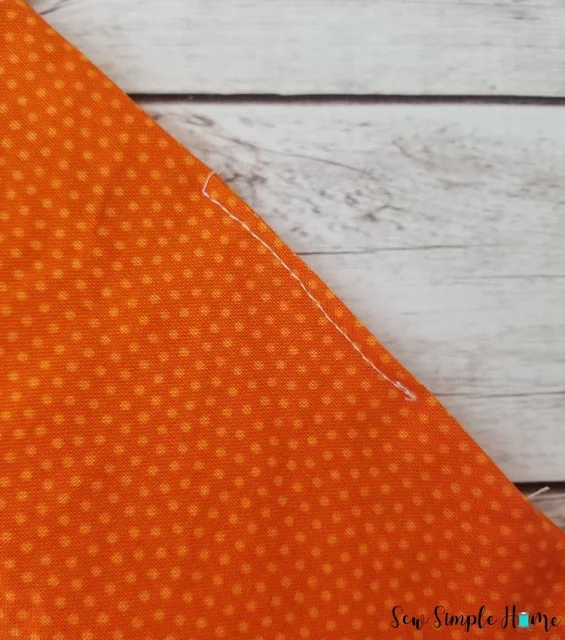
Trim your corners.
Step 4
Turn the case right side out through the opening in the lining. Press.
Step 5
Pin the opening closed. Stitch a straight line across the opening to close it. Or, hand stitch using the slipstitch.
Tuck the lining inside the main fabric. Push the corners together and wiggle the two layers until the sit evenly together. Press.
Topstitch around the top of the case to keep the layers from coming apart.
Yay!! You did it. You learned how to sew a glasses case and you are ready for those glasses to travel.
If you get stuck at all on any of the steps for this project, make sure to check out the video. It will really help you to visualize how to do each of the steps.

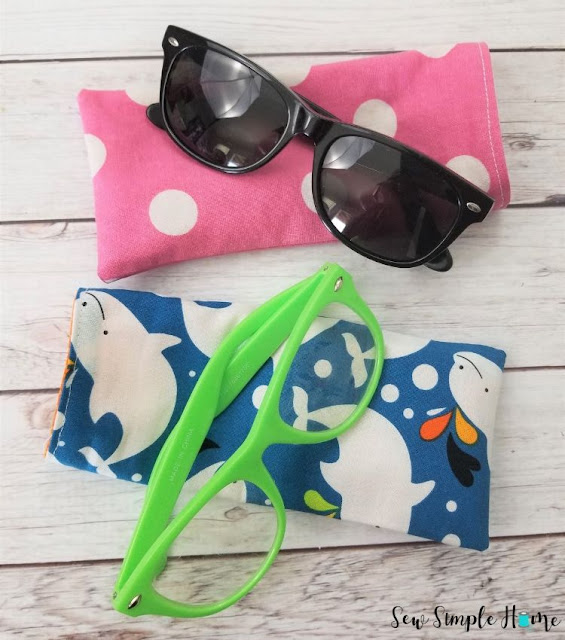

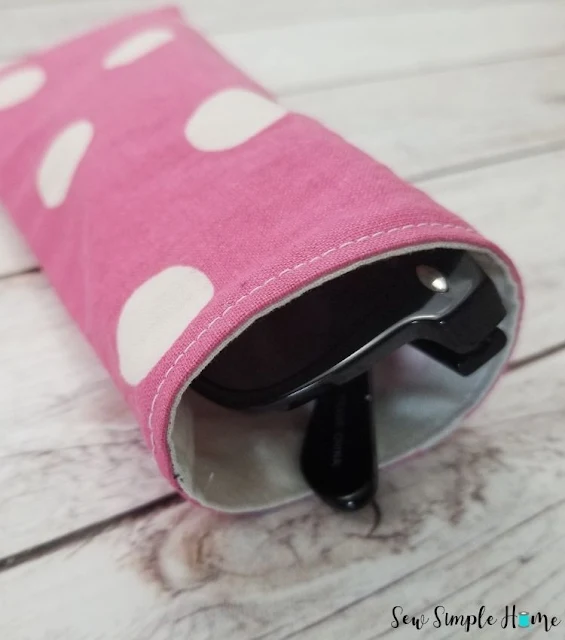


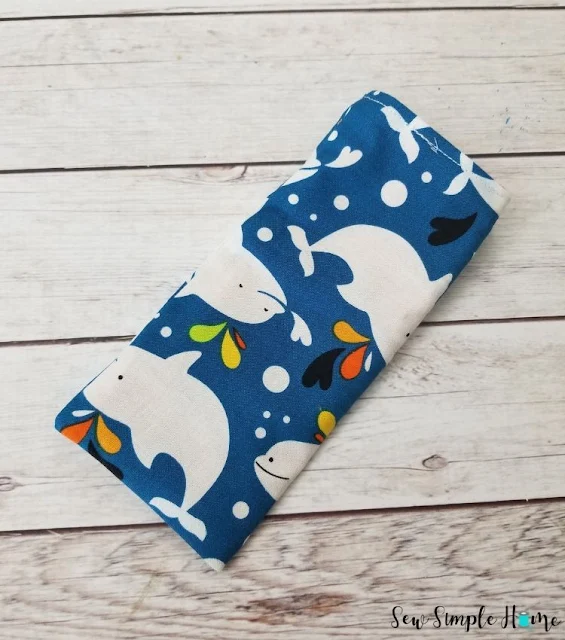




I love how, despite being really easy, these still have a pretty contrast lining!
ReplyDeleteJust got conscripted to teach a 9 yo to sew. Found your site right on time! Thank you for the sewing guide sheets that I printed out. This glass case could be her first real project. Looking forward to working thru some more of your projects. Maybe I will actually get back into sewing....lord knows I have enough machines!
ReplyDeleteJust made a case and it turned out well! Thank you for the tutorial!
ReplyDeleteI made 3 of these tonight, and I really don't like to sew. You made it easy, thank you!
ReplyDeleteHi, I love this - so simple! Can you tell us what kind of magically tiny iron you're using in the video?
ReplyDeleteIt is the Cricut EasyPress Mini. It is my favorite sewing tool these days. You can learn all about it here: https://www.sewsimplehome.com/2019/09/cricut-easypress-mini.html
DeleteHow would you sew a pocket for holding a "glasses wipe"? I always seem to have smudged glasses when driving & nothing handy for wiping .
ReplyDeleteYou could cut another piece that is maybe 4" x 7" and place it on the top of the main fabric. Or just tuck the wipe inside the case.
Delete