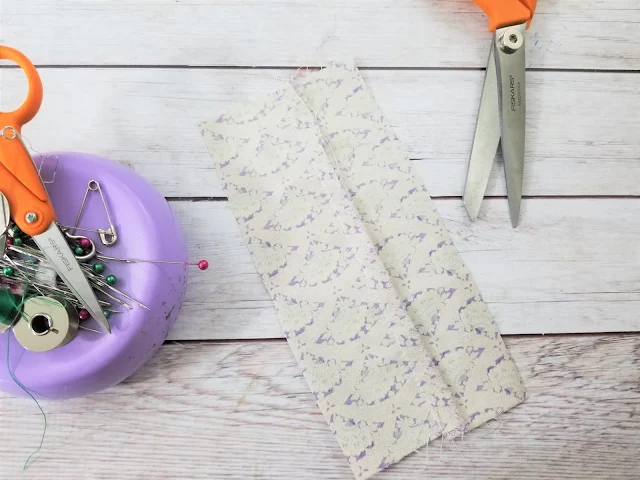
When you first start sewing, the straight line can be a bit daunting. How do I keep it straight? What happens when I get to the end of my fabric?
Today's lesson is designed to help you get past your initial fear of the straight stitch. Once you've learn how to sew straight, you'll be well on your way to your first sewing projects.
Before you get started, make sure you've learned about the parts of your sewing machine and you know how to correctly thread the machine too. Both of those lessons are important to being successful with this lesson.
Next, you'll want to prep your sewing machine.
Check your sewing machine settings. Pick your desired stitch length. I typical like a "neutral" stitch length. Usually that is around a 2 or 3 on most machines, but can vary. Use your user manual as a guide.
Next, make sure your machine is set to a straight stitch. Nothing is worse than having to grab a seam ripper and fix your first set of stitches.
You'll also want to decide what seam guide to follow.
What are the seam guides?
The seam guides are the lines on the throat plate of your sewing machine.
The seam guides are used to help you sew at the correct seam allowance. Every pattern has a seam allowance. This is the amount of fabric that is between the raw edge and the stitched seam.
Some patterns call for a 1/4" seam allowance, 3/8" seam allowance or a 5/8" seam allowance.
Yes, they can have bigger or large seam allowances, but those on your seam guide are usually what is listed above.
If you struggle lining up your fabric on the seam guide, you can use a piece of painters tape or washi tape to line up with your seam guide. This sometimes helps especially new sewers to stay on the line.
How to Sew a Straight Line
Let's go through step by step how to sew a straight line with a sewing machine. If you aren't sure you are ready, make sure to watch the video.
I go through each of the steps and show you how to keep that line nice and straight using the seam guides.
Materials Needed
- 2 Scraps of fabric
- Sewing Machine
- Thread
If you aren't sure you are quite ready to sew on fabric, don't worry. Print off our paper sewing practice sheets. You can practice sewing with them first and then try on some fabric.
Step 1
Start with two pieces of cotton fabric. Scrap pieces work great. They don't even have to match.
Place them with Right Sides Together (RST).
If you'd like, you can pin the two layers together. Just make sure to add your pins perpendicular. That way you can remove them as you sew.
Step 2
Tuck the two pieces of fabric under your presser foot. Line up the side of the fabric with the first seam guide on your sewing machine.
Lower the presser foot onto the fabric. Carefully push the foot petal with your foot and start sewing.
Step 3
Go forward a couple stitches and then push your backstitch button and move backward a couple of stitches. (If you aren't familiar with backstitching, check out the video to help you.)
Release the backstitch and continue sewing to the end of your fabric. Make sure that you are watching the needle as you go. This way you don't sew over your finger - not good. And to help you make sure your fabric is lined up with the appropriate seam guide.
Once you reach the end of your fabric, backstitch again about 4-5 stitches.
The backstitch tacks your stitching in place. That tack keeps the stitches from coming unraveled when you use your project. Nothing like pants falling apart because you forgot to backstitch!
Step 4
Raise the presser foot, remove your fabric and cut your threads.
You just sewed a straight line!!! Wasn't that super simple?!
Now that you've learn all about how to sew a straight line, you can enjoy working on some of my favorite straight line sewing projects. Like the ever popular Crayon Roll project or how about our new keychain pattern.
These are great beginner projects and will get you practicing sewing straight lines.
Our next lesson is how to sew around a corner to make it square. You'll use your skills from this lesson and expand them.
Need a little help?
Download our free Beginner Sewing Guide


.jpg)
.jpg)


Thanks for this! I'm not new to sewing but, I am a bit rusty as I hadn't sewed in probably 30 years! Almost like riding a bike but I'm a little wobbly! :D
ReplyDelete