Learning to sew involves not only learning about your sewing machine, but also learning basics techniques to help you succeed.
If you are following along with our learning how to sew course, you have probably already mastered how to sew a straight line. Now, we are going to learn how to sew a zig zag stitch.
This post contains affiliate links to products I recommend. I do make a portion off any you may purchase. See full disclosure here.
You might be asking yourself why a zig zag? I thought I only needed to learn to sew straight.
There is a lot of truth in that statement. Straight stitches will get you far in life. But the zig zag stitch will take you even farther.
Let's go through some questions that often come up about the zig zag and then we can get sewing up our first zig zags.
What is a zig zag stitch?
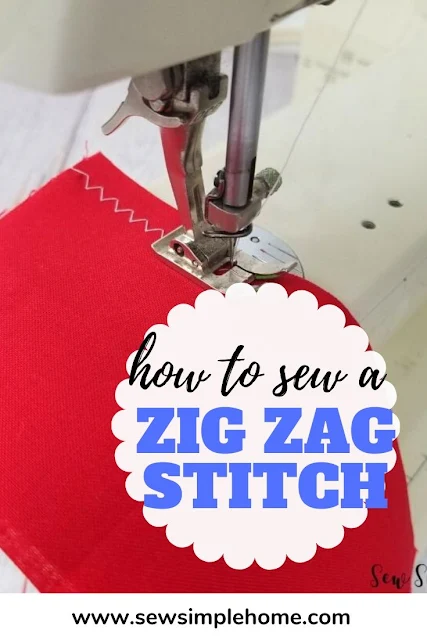
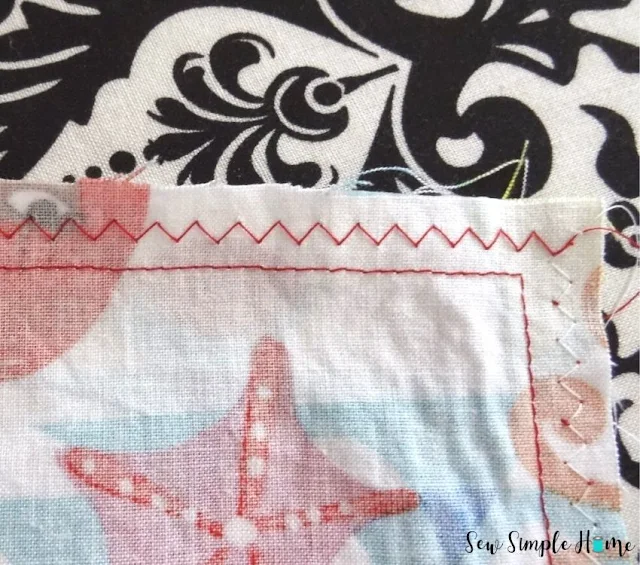
A zig zag stitch is a back and forth stitch that creates a zig zag look. A zig zag stitch can make a nice seam finish or decorative stitch and is a simple stitch any sewist can use.
This is a good question that often comes up. You can use the all purpose foot to sew your zig zag stitches.
But if you have a clear zig zag foot available, this will make adding applique easier because you can see where you are stitiching.
Do you have to backstitch on a zig zag?
Another good question. No. You don't. Because of the nature of the zig zag going back and forth across the fabric, the stitches tend to stay in place.
However, you can backstitch if you feel like you need a little more support for a stitch staying in place.
When to use a zig zag stitch?
The zig zag stitch actually has a lot of really good uses in sewing. The first use would be as a simple seam finish on raw edges to help prevent fraying. Zig zag stitches are also good for stitching elastic in place.
You can also use a zig zag stitch to sew down applique on a project like on fun t-shirts or holiday towels. The zig zag makes a nice decorative finish but also keeps the fabric in place and reduces fraying.
Similarly the satin stitch, which is a very tight zig zag stitch, can be used for applique or sewing organza and tulle.
Zig zag stitches are great for sewing knit fabrics, or stretchy fabrics. The zig zag stitch has more give than a straight stitch so allows the fabric to move more freely. Which makes it a great alternative for those that don't have an overlock machine.
How to sew a zig zag stitch
Materials Needed
- 2 Scraps of fabric
- Sewing Machine
- Thread
Step 1
Start with two pieces of cotton fabric. Scrap pieces work great. They don't even have to match. Place them with Right Sides Together (RST).
If you'd like, you can pin the two layers together. Just make sure to add your pins perpendicular. That way you can remove them as you sew.
Step 2
Set your machine to a zig zag stitch. To do this you need to change your machine stitch to a zig zag.
You can also adjust your stitch width to be wider or narrower. I usually stick to a length somewhere in the middle.
Another adjustment you can make is the stitch length. Do you want your zig zag to be really close together or spaced farther apart?
Feel free to experiment on this as you sew your zig zag to see how different zig zags look at different widths and lengths.
Step 3
Tuck the two pieces of fabric under your presser foot. Line up the side of the fabric with the first seam guide on your sewing machine.
Lower the presser foot onto the fabric. Carefully push the foot petal with your foot and start sewing the zig zag stitch.
Again, you can change the width and length during sewing to see the different types of zig zags.
Make sure to watch the video to see the different types of zig zags.
Step 4
Raise the presser foot, remove your fabric and cut your threads.
There you have it. The simple steps of how to sew a zig zag stitch. A very useful stitch.
Now you can try out sewing a zig zag stitch with our Foxy Coin Pouch.
The next lesson is how to make a casing. Another important technique for a sewist.


No comments
I'd love to hear from you!