Pajama pants. They are comfortable, cozy and contain no buttons.
It's the casing that makes those pajama pants so comfortable. That stretchy elastic enveloped in soft fabric makes them everyone's go to when they need comfort.
Most novice sewists (and even those who have been sewing forever) have making pajama pants on their list of projects.
This post contains affiliate links to products I recommend. I do make a portion off any you may purchase. See full disclosure here.
To have successfully sewn pjs, you need to know how to sew an elastic casing.
Luckily, today we are going to teach you just that!!
But first, let's answer a few questions you might have about what a casing is for the sewist.
What is a casing?
A Casing in sewing is a cover that is created to enclose something like elastic or a ribbon. You might use a casing on a bag to enclose the ribbon or tie that is used to close the bag.
Or you might have a casing on some pants to enclose the elastic so it doesn't touch the wearer. Both examples are uses of casings.
How do you sew a casing?
It is actually very simple. Basically you are "rolling" or folding your fabric.
You fold towards the wrong side a small amount. Then you fold again a larger amount.
For instance, you would fold fabric a 1/4" all the way around, then we folded it again 1". It allows for the raw edges to be hidden while giving room for ribbon, ties or elastics to go through.
For each casing, there is a small opening, on a drawstring bag it is near the side seam. On pajama pants you can find the opening on the back of the casing. This is where the elastic is inserted.
The size of the casing is determined by the the size of the elastic or ribbon you are using inside the casing. Add an additional 1/2" to the width of your elastic or ribbon to know the size of your casing.
The size of the casing is determined by the the size of the elastic or ribbon you are using inside the casing. Add an additional 1/2" to the width of your elastic or ribbon to know the size of your casing.
How to Make a Casing
Materials Needed
- Free Drawstring Bag Pattern
- Ribbon or shoelaces
- 1/2 Yard of fabric
- Thread
Step 1
Fold the raw edge of the fabric to the wrong side 1/4".
If it says to fold 1/4", make sure you measure around the entire casing so it is even and not lopsided.
Fold again an additional 1" and press well.
Remember, the size of your casing is determined by the width of your elastic or ribbon. In this case, I have a 1/2" rick rack. I add 1/2" and want to have a 1" wide casing.
Step 3
Place your casing around the arm of your sewing machine. Sew along the bottom edge of the casing. Making sure to leave an opening between 1 and 3". This will vary depending on the size of your project and elastic/ribbon.
Step 4
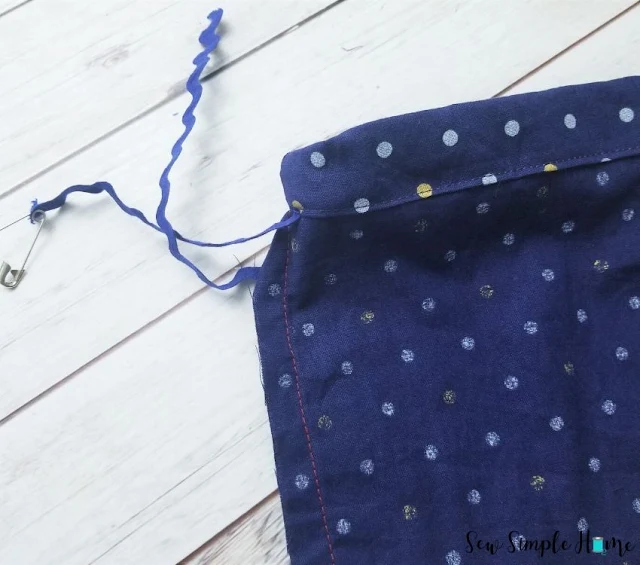
Thread ribbon or elastic through the casing using a safety pin.
You can also invest in a bodkin or elastic threader to make it a bit quicker.
Step 5
Once both sides of the ribbon are out of the casing. Tie them off together or separately and you are set to go.
See how easy sewing a casing is. It doesn't have to be difficult and it is very useful.
This same method works whether you are sewing an elastic casing or a casing for ribbon. Just make sure you have an opening to allow the casing to thread in and exit out.


How many times have I not measured and ended up with a lopsided casing!?! Ha! SO important to fit the elastic through!
ReplyDeleteThanks Chelsea! :)
Amen to that!!!
Delete