I found another box. It is inevitable now.
I open a drawer to clean it out and I find more business cards. Some from years ago when the blog was GYCT Designs.
Some from when I had a cake decorating business.
And some of my brand new business card that my toddler has decided to spread around the house.
I'll admit, I have too many cards.
Over the years I've cleaned them out and got rid of the old and tried to keep all the new ones together. But that doesn't always work.
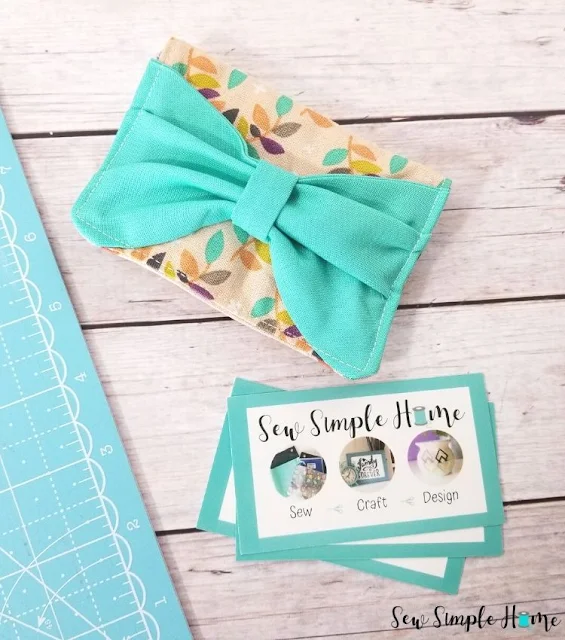
That is why I really wanted an easy diy business card holder. One that I could easily put in my pocket, in my crossbody purse or leave in a drawer, that would also keep them all in one place.
I seriously considered putting them in my mini backpack coin pouch but decided they would end up miss shaped and I didn't want that.
Plus, I really wanted something I could carry when I went to events and conferences. And the mini backpack doesn't fit right into my pocket.
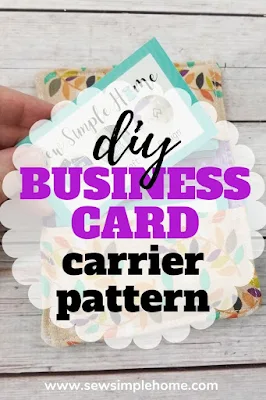
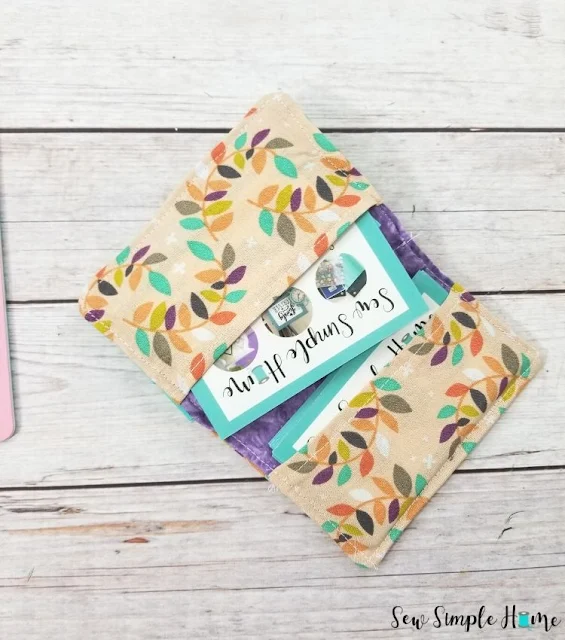
This little business card carrier fits somewhere between 20 and 30 regular sizes cards in it. I can easily refill it if I need.
Now I just have to keep it out of my toddlers reach!
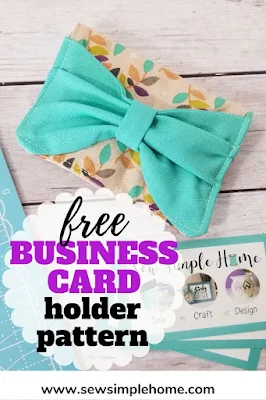
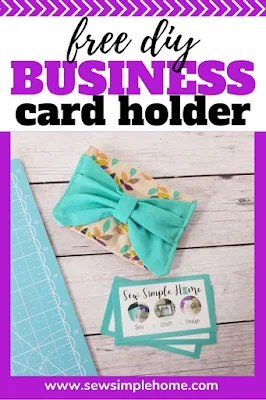
DIY Business Card Holder Tutorial
Materials Needed- 3 fat quarters - contrasting cotton fabric
- Fusible interfacing
- Matching Threadf
- Business cards
Cutting Chart
Pattern Piece
|
Measurements
|
# of Cuts
|
Main Holder (front, inside)
|
6.5” x 5”
|
2 – fabric
1 - interfacing
|
Pockets
|
3” x 5”
|
2
|
Bow Middle
|
2” x 2”
|
1
|
Bow
|
6” x 5.5”
|
1
|

With Right Sides Together (RST), fold the bow in half matching the short sides.
Do the same with the bow middle only match the long sides.
Turn both pieces right side out.
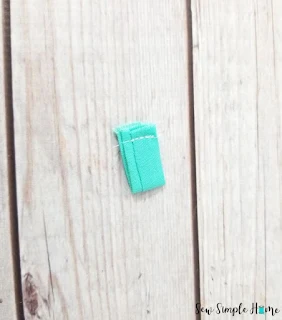
Step 2
Fold the bow middle in half matching the short ends and stitch across the end making a loop.
Take the bow and scrunch up the middle to make it into a bow shape.
Optional: Stitch down the center of the bow to keep the shape in place. This step can cause a little more bulk and you may not want that.
Place the bow through the loop you made in step 2.
Step 4
Place the bow on the outside piece of your business card carrier. Pin in place.
Stitch the sides of the bow to each side of the front carrier.
Step 5
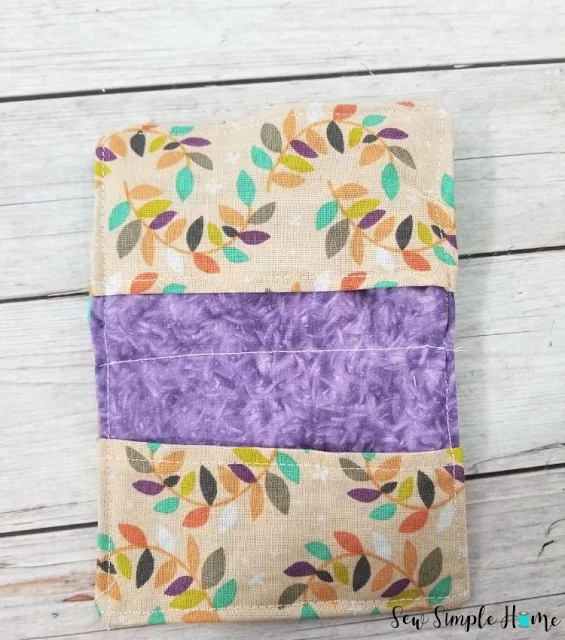
Take the inside pocket pieces. Turn one of the long sides down 1/4" and again another 1/4". Press.
Stitch across the folded edge.
Repeat with opposite pocket pieces.
Place each pocket on either side of the inside main fabric piece. Stitch the bottom of the pocket to the end of the inside piece.
Repeat with opposite side.
Step 7
With RST, place the front and inside together. Pin together. Mark a 2" opening on one side.
Stitch layers together, leaving the 2" opening on the side.
Trim corners.
Step 8
Turn business card holder right side out and press.
Topstitch around the outside of the business card carrier. Press again.
Voila! You are done.
See how easy that was! This little diy business card holder will hold standard size business cards. I can get between 20-30 cards into my carrier.
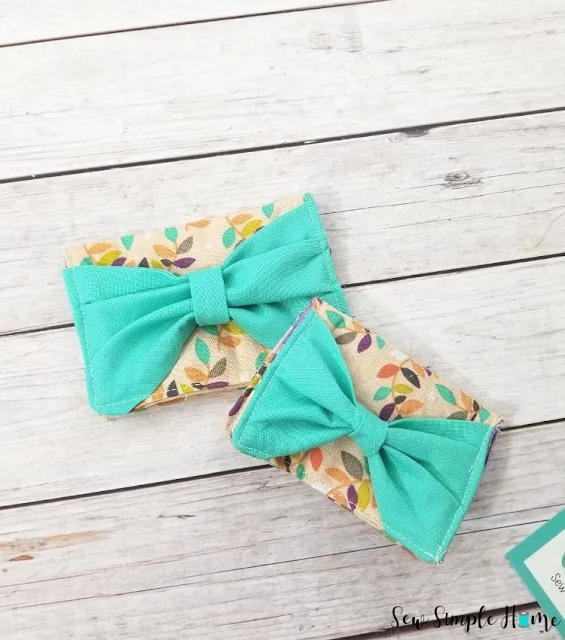
The best part about this project is you can customize them with your own business colors. Plus, it is easy to create several different designs or ideas to keep in your purse, car or at work.
I hope this diy business card holder tutorial helped inspire you to create more!! If you aren't sure you want a business card holder, check out our handmade wallet tutorial.







No comments
I'd love to hear from you!