It broke.
It broke at the point when I had it full to the brim with diapers, fruit snacks and a shade of lip gloss that was not my color.
What broke? My purse. Don't get me wrong, it had worked really hard, but it was done for. There was no going back.
I had options. Like the 7 year old diaper bag I had stopped carrying. Or the Lazy Day Purse I had made 10 years ago.
One was to big and the other to small. What I needed was a new crossbody purse pattern.
This post contains affiliate links to products I recommend. I do make a portion off any you may purchase. See full disclosure here.
I needed a purse that could carry the diapers, wipes and small toys. But could also hold the wallet, keys and that awful shade of lip gloss that just needed to go in the trash.
That purse had to be big enough to hold extra papers from my creative 6 year old or shoes that my toddler decided to take off for no reason.
And it needed a zipper pocket so I could "hide" my keys or at least not loose them at the bottom of my purse.
Nothing at the store would cut it.
I knew I could come up with a simple bag pattern on my own.
I was right!
This crossbody purse pattern is pretty straightforward. Yes, it has some hardware, but it is still super easy to assemble.
AND look at all the space inside. The pattern includes a divider. That means I can section it off and keep my stuff on one side and the kids on the other.
Look what all I've got in there: diapers, wipes, a pencil pouch, my bullet journal, keys, a wallet, little toys at the bottom. I'm sure there's more too.
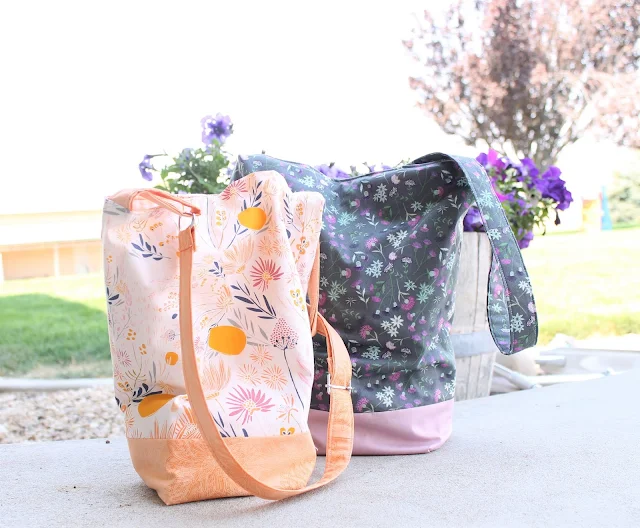
Look on the outside, not super bulky. Looks just like a purse should. And it crosses over the body like a dream!
Head to the end of the post to grab the free purse pattern and get sewing.
How to Sew a Crossbody Purse Pattern
Materials Needed
- Crossbody Purse Pattern Pieces - get them free at the end of the post
- 1/2 Yard Main Fabric - I used Art Gallery fabrics
- 1/2 Yard Lining Fabric
- Fusible Interfacing
- Thread
- 7" Zipper
- 4 D Rings
- Adjustable Slide Buckles
- Slide Adjusters
- Magnetic Snaps
I thought I'd start by showing you an image of the metal hardware that I used. I've linked what I could for you as well. I've been using my purse for about a year and all the hardware has held up well.
Before you sew, make sure to add you interfacing to all your pieces. Use the pattern pieces at the end of the post to know what pieces to interface.
With Right Sides Together (RST), stitch one of the purse front and purse bottom pieces together. Press the pattern open.
Repeat with opposite side.
Step 2
Place the two sewn front pieces with RST, matching the side seams. Stitch down both side seams ending at before the square at the bottom.
Step 3
Stitch across the bottom of the purse.
Open up one side of the purse front and match the diagonal of the purse bottom. Stitch a straight stitch across. Repeat with opposite side.
Step 4
Place the two purse divider pieces with RST. Stitch across the top diagonal only. Turn the pieces right side out and press well.
Topstitch across the diagonal.
Step 5
Place the divider over the right side of one of the lining pieces. Baste the sides of the lining and the divider together.
Step 6
Draw the box on the zipper pocket piece onto the pocket fabric piece.
Pin the wrong side of the pocket to the right side of the remaining lining piece.
Stitch around the zipper box.
Use scissors to cut across the box and into the corners of the stitched pocket box.
Step 8
Turn the pocket into the lining piece. Press well.
Pin the zipper on the wrong side of the lining and match it inside to pocket box. Stitch the zipper to the lining around the outside of the pocket box.
Step 10
Turn the lining over and fold the pocket up. Match the top edge and the side edges of the pocket piece.
Stitch the pocket closed but make sure to only stitch through the pocket fabric NOT THE LINING.


Your lining pieces should look like this.
Place them RST. You can use the purse bottom pattern piece to draw "boxes" on the bottom of the pieces. Cut out these pieces. This will remove excess bulk.
Match the side seams and stitch down both side seams ending at before the square at the bottom.
Stitch across the bottom of the purse.
Step 12
Just like in Step 3, open up one side of the lining and match the diagonal of the lining bottom. Stitch a straight stitch across. Repeat with opposite side.
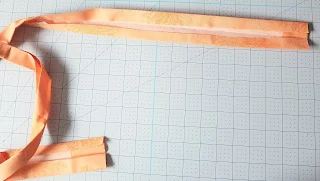

Fold the long raw edges of the strap pieces toward the center and press.
Fold the strap in half and press. Your raw edges should be enclosed within the straps.
Step 14
Stitch down both long sides of the straps. This will give them more strength.
Step 15
Place a D Ring through the two smaller straps and make a look with the strap.
Pin the straps to either side of the purse lining right at the side seam.
Stitch straps to the lining.
Step 16
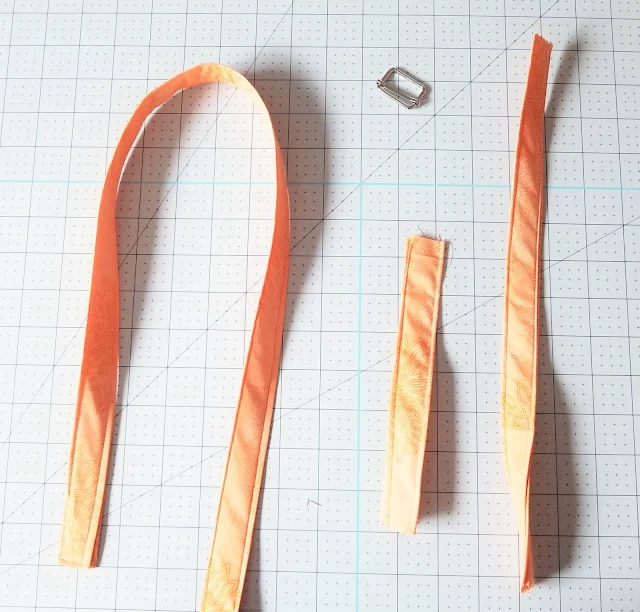
Loop your long strap through the Adjustable Slide Buckle.
Loop one side the strap through a D Ring and up to the center of the Adjustable Slide Buckle. Stitch the end of the strap around the center of the buckle.
Loop the opposite side of the strap through the other D Ring. Fold it onto itself about 2" and stitch it down.


Open one of your magnetic snaps. Take the flat piece and place it on the wrong side of the lining about 1.5" from the top. Mark where the slits are. Cut the slits open with a seam ripper.
Place one side of the magnetic snap through the slits and out through the flat back. Overlap the prongs onto one another to close the snap.
Repeat with opposite magnetic snap side.
TIP: You may want to add some extra layers of interfacing or fabric on this step. I have found that it makes the snap stronger and also helps protect the fabric from wearing thin to quickly.

Place the lining and main purse pieces with RST. One should be tucked inside the other.
Stitch around the top of the bag, leaving a 3" opening in the center of one side so you can turn the bag right side out.
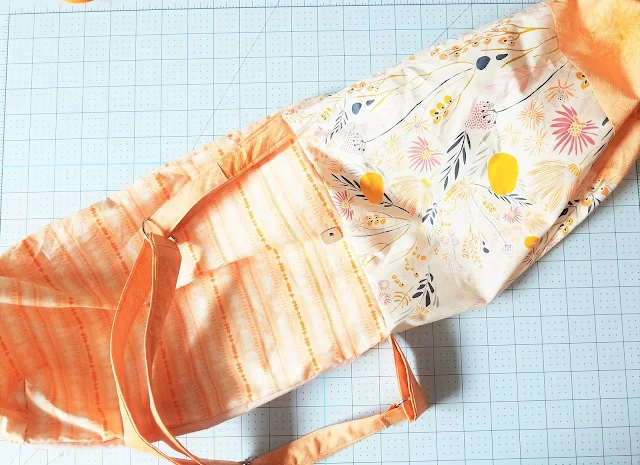
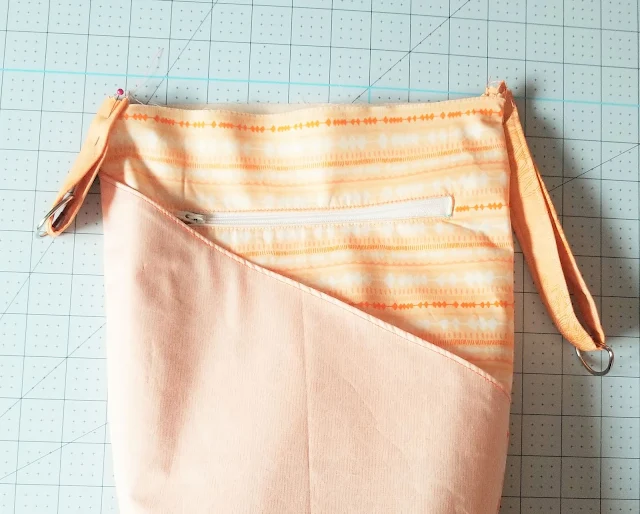
Turn the bag right side out through the 3" opening. It should look something like the image above.
Tuck the lining into the purse front. Press the purse well.
Topstitch the two purse layers together around the top and to close off the 3" opening.
You did it!! You have made yourself and nice crossbody purse with an adjustable buckle that you can change whenever you need a little more length or a little less.
This pattern looks more complicated than it is. Lots of straight lines and just a few buckles and zippers.
If you'd like the pattern for free, simply click the button below to download your copy.
Don't forget to join our Sew Simple Home Facebook group and share your finished crossbody purse pattern. We'd love to see it






This looks like you've found the holy grail - the perfect bag in terms of balance between capacity and size! Pinning so I can make one of these soon.
ReplyDelete