I started using a bullet journal 3 years ago. I enjoyed it for a while. But I discovered, I need to be more accountable when it comes to planning my life.
Maybe it was laziness? Or I just wasn't made for creating my planner each day, week or month from scratch.
I found I really needed a bit more guidance than freedom when it came to planning.
This post contains affiliate links to products I recommend. I do make a portion off any you may purchase. See full disclosure here.
However, one great thing that came out of my bullet journaling was all the PENS!!
When I switched over to my Happy Planner, I continued to love colors, designs, inks from all my pens. And I added more Washi Tape and stickers.
Of course, carrying all those pens, washi tape and fun stickers came with a price. Mostly my sanity and the sticky fingers of my 6 year old daughter who I could always count on for snatching one of my treasured planner pens.
I had to create some sort of planner pouch to keep track of all these fun pieces.
I started out with just a simple zipper pouch. And that worked for a bit. But once I started going to conferences, heading out to take the kids to practice or swim lessons, I needed something I wouldn't lose so easily.
I saw this fun tutorial from Damask Love for a super simple pouch. I loved the idea and made my own.
But again. That just wasn't enough. I mean come on. Where was I going to put all my stickers? What about the washi tape? This little pouch was only going to hold my pens.
Duh Duh Dun! Introducing the new and improved planner pouch.
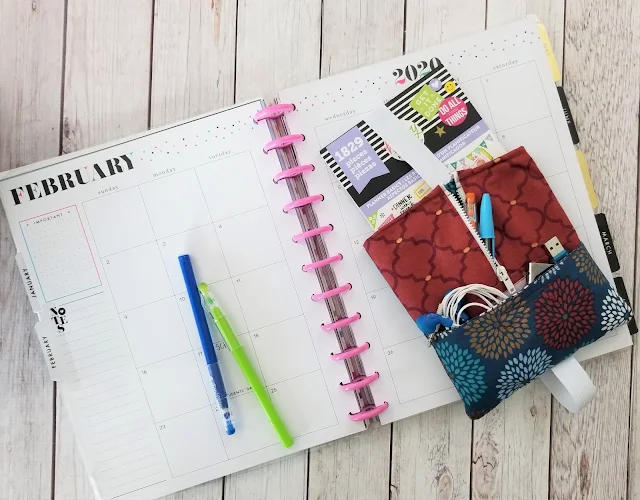
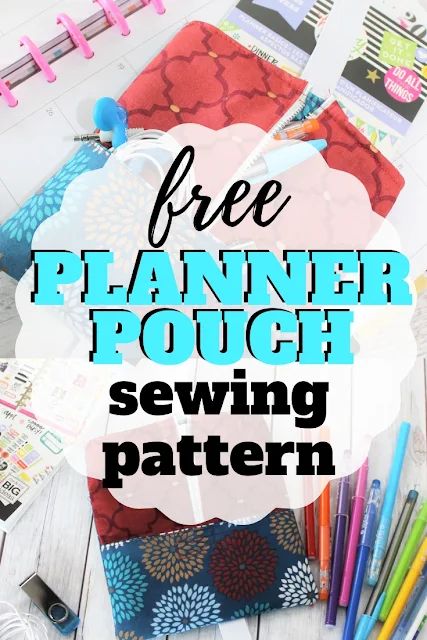
With 3 pockets, you can carry around ALL those fun planner accessories without having to haul around a giant bag. (But let's face it, you are a woman, you already carry a giant bag around.)
You get a large pocket for stickers and papers. A zipper pocket for pens, pencils and any other free moving accessories. And a small Velcro pocket for earbuds, sticky notes or a thumb drive.
Plus, with the elastic that wraps around your planner, you can customize the fit for your planner. Whether it be massive or small.
Let's get sewing!!
Planner Pouch Pattern
Materials Needed
- Free Planner Pouch Pattern - download at the end of the post
- Your Happy Planner - or whatever planner you are currently using.
- 1/4 yard cotton fabric
- 1/4 yard cotton fabric for lining
- Lightweight Fusible Interfacing
- 7" zipper
- 1" wide elastic - amount will depend on size of planner
- 2" piece of Velcro
- Matching thread
Step 1
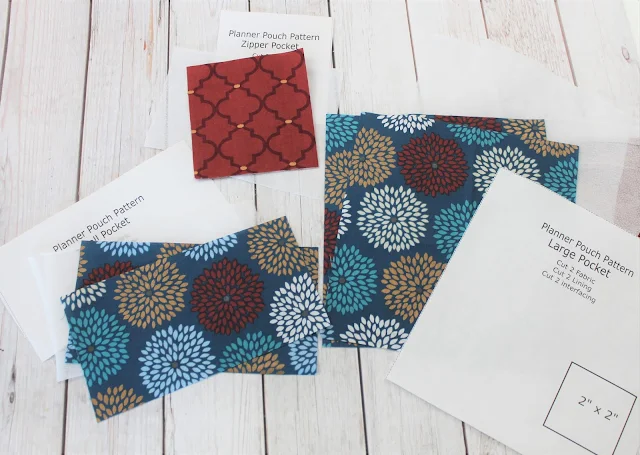
Follow the instructions on the printable pattern for cutting out each of the planner pouch pattern pieces.
Fuse interfacing to the wrong side of the pattern pieces.
Step 2
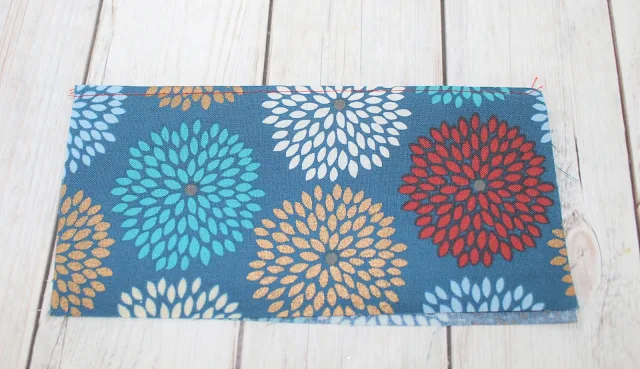
With Right Sides Together (RST), place the two small pocket pieces together and stitch across one of the long edges. Press.
Turn the pieces right side out and topstitch along the top of that same stitched edge. Set aside.
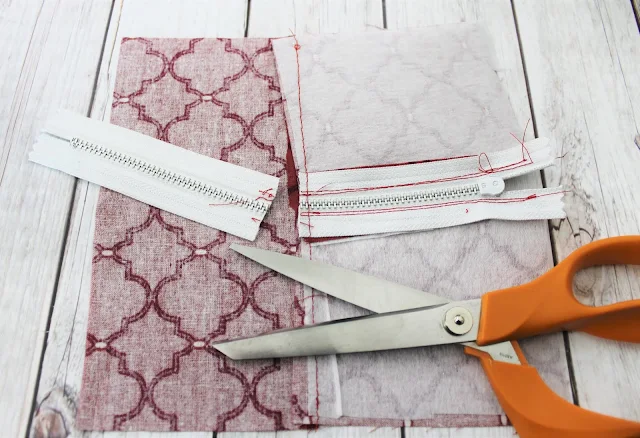
Sew the zipper to the two zipper pocket pieces. Make sure they line up as best as possible.
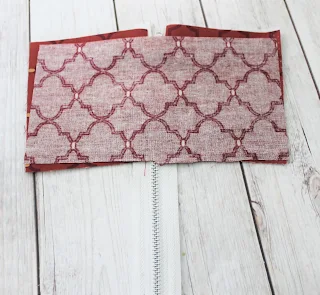
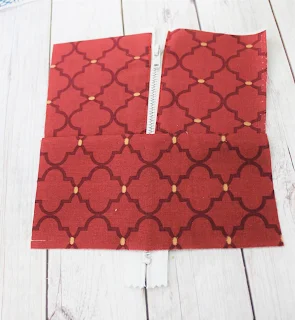
Take the remaining small pocket pieces. With RST, match the pocket piece to the zipper pieces.
Stitch the pieces together along the bottom edges.
Turn down the piece and press.
Step 5
Turn the zipper over and trim off the excess zipper.
Step 6
Match the small pocket and the zipper piece together. Mark in the center where the Velcro should be sewn.
Stitch one side of the Velcro to the small pocket and the other side to the zipper piece.
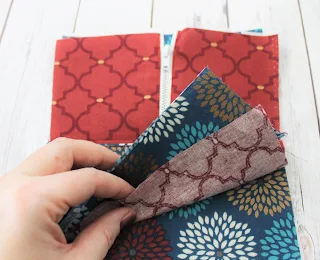

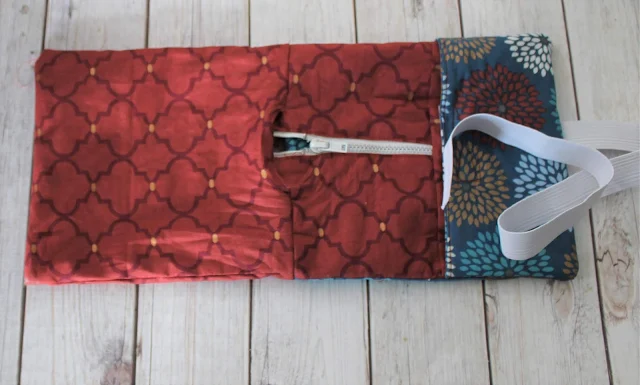
Place one side of the large pocket face up on a flat surface. Place the zipper pocket over the top. Velcro the small pocket to the zipper pocket.
All 3 pieces should be face up.
Take elastic and measure around your planner. The elastic should be 5" smaller than the circumference of your planner.
Pin one end of your elastic to the bottom of the 3 layers you just put together.
Step 8
With RST, place the other side of the large pocket over the 3 layers and the elastic. Stitch around the two sides and the bottom.
Trim your corners.
Step 9
Turn pocket right side and out and press well. Tuck the remaining side of the elastic into the Velcro pocket.
Step 10
Place the two large pocket lining pieces with RST. Sew around the two sides and the bottom and trim.
Step 12
Use a fabric pen to mark a 2-3 inch opening in the lining.
Step 13
Tuck the main pocket into the lining. Matching around the top. Stitch around the top but leave the 2-3" opening.
Step 14
Pull the pouch out through the opening. Press.
Tuck the lining into the main pocket.
Step 15
Place the remaining side of the elastic into the 2-3" opening. Pin.
Topstitch around the top of the pouch to close the opening and finish the pouch.
Wahoo! You did it!
Now you have a planner pouch with a small Velcro pocket, a large zipper pocket for pens, and a big open pocket for stickers and papers.
Want the free planner pouch PDF sewing pattern pieces? Click the button below to download
Now that you've got your planner all organized. Perhaps you'd want to learn how to make planner stickers just for your planner! It's easy and a lot of fun.









No comments
I'd love to hear from you!