"It's melting! There's a giant hole!"
That's what my childhood friend screamed as the pot holding the popcorn sunk into the countertop.
Yep, that is right. They burned a giant hole through their counters. Granted this was the 80's are their home was probably built in the 70's. But still.....a hole!
Now a days we have granite counters tops and all sorts of diy pot holders to ensure this doesn't happen to us.
But no matter what your countertop is made of, pot holders always make a great gift.
Do you know how to make pot holders? It is actually much easier than you might think.
It is important to have several layers of 100% cotton batting to ensure they don't scorch your table, but otherwise, these are a great beginner sewing project.
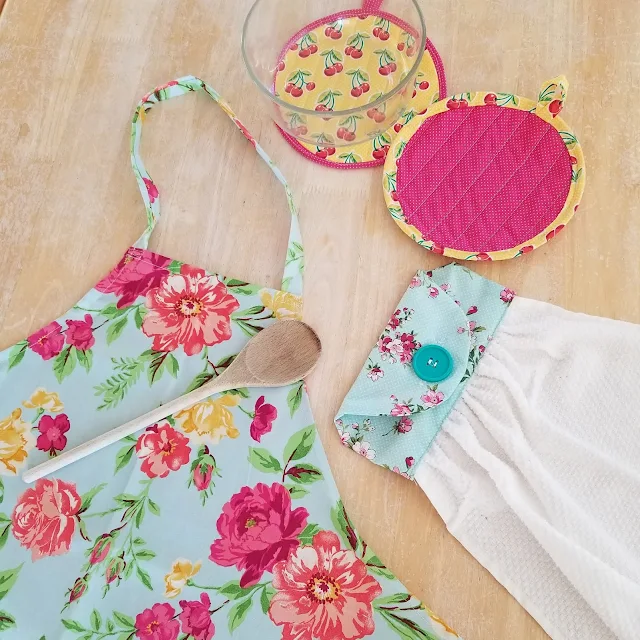
Pot holders can be paired with many great sewing projects like aprons or our hanging towel sewing pattern as well. You can even make your own personalized kitchen set for gifting.
Let us show you how simple it is to sew up your own custom pot holders.
How to Make A Pot Holder
Materials Need
- DIY Pot Holder Sewing Pattern - download it at the end of the post
- ¼ yard or fat quarter of cotton fabric
- 3” wide bias tape in contrasting color – at least 26”
- Thick Cotton Batting - I try for 100% cotton to make sure it doesn't melt
- Washable Fabric Pen
- Thread
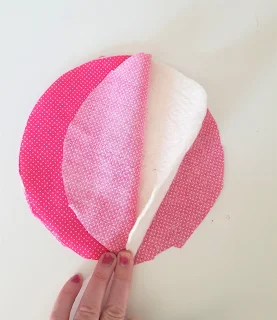

Step 1
Place one fabric right side down, add the batting layers on
top and place the other layer of fabric right side up.
Use a ruler and washable
fabric pen to mark lines down the pot holder that are 1” apart.
Pin the layers together to prevent slippage during sewing.
Step 2
Sew down each of the lines you just drew.
Step 3
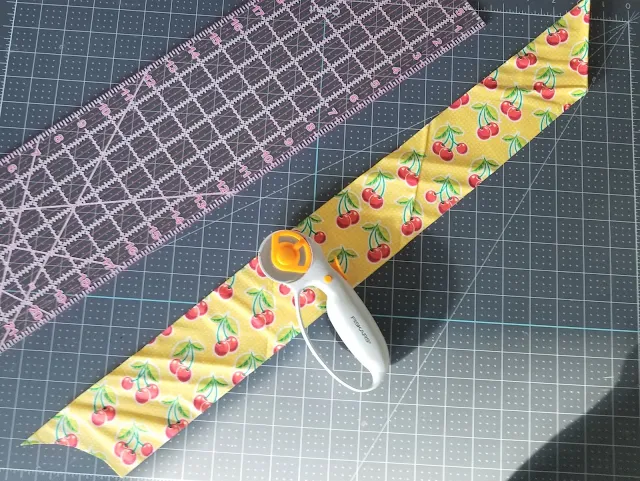
Cut out a piece of bias tape that is 26” long and 3”
wide. Make your own bias tape or check out our tutorial on how.
Step 4
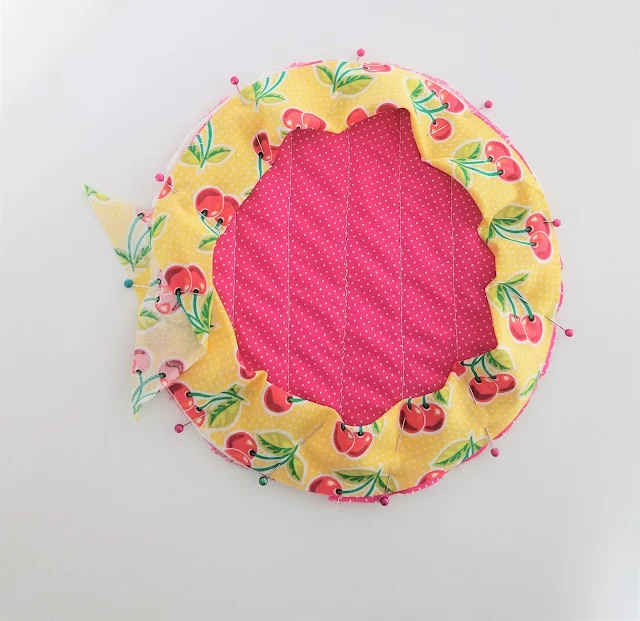
Fold the bias tape in half matching the raw edges. Pin around the pot holder overlapping the
ends of the bias tape.
Sew bias tape to pot holder.
Step 5
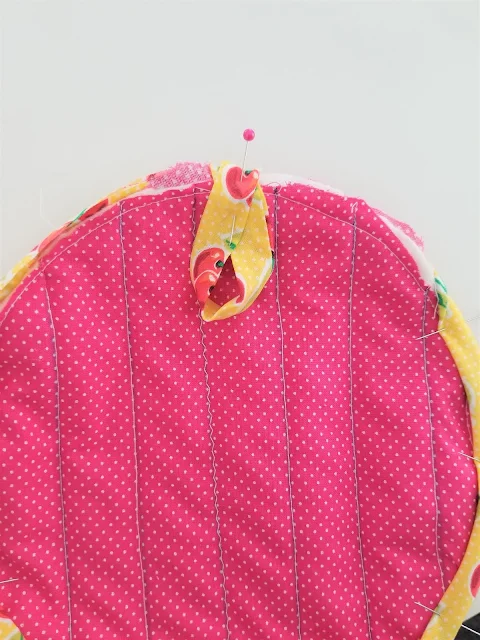
Fold the pot holder loop in half matching right sides. Stitch along the long edge.
Turn loop right side out and press.
Form a loop by matching up the two short ends. Pin to the curve on the back of the pot holder. Stitch in place.
Step 6
Fold the bias tape towards the wrong side of the pot
holder. Pin in place.
Stitch around the circle making sure that the bias tape
covers the raw edges of the pot holder.
Step 7
Flip the loop up and stitch in place.
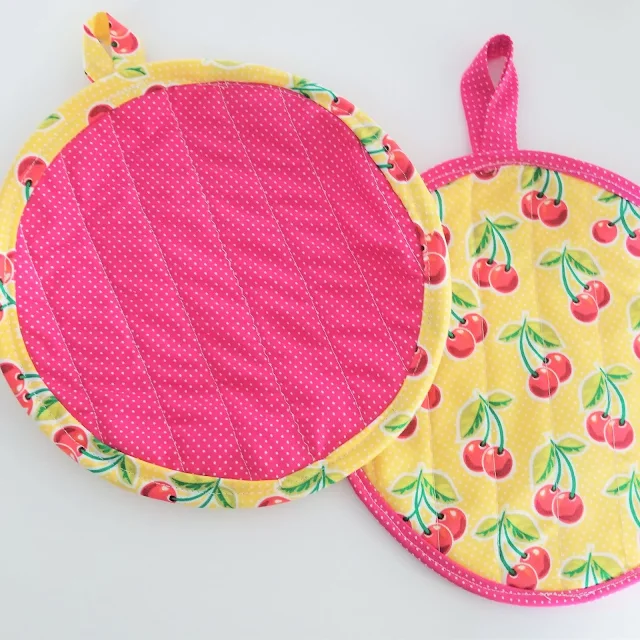
There you go! It is super simple learning how to make a pot holder.
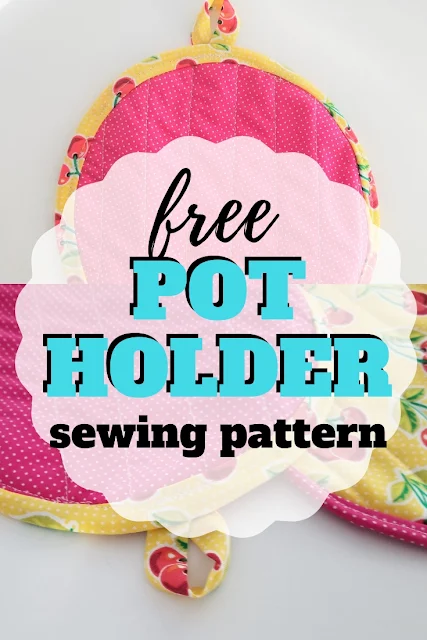
Now, want the free DIY Pot Holder PDF sewing pattern? Just click the button below and get sewing!







No comments
I'd love to hear from you!