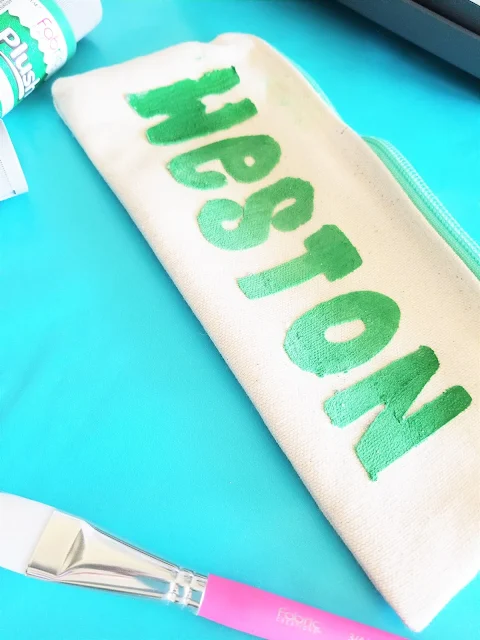
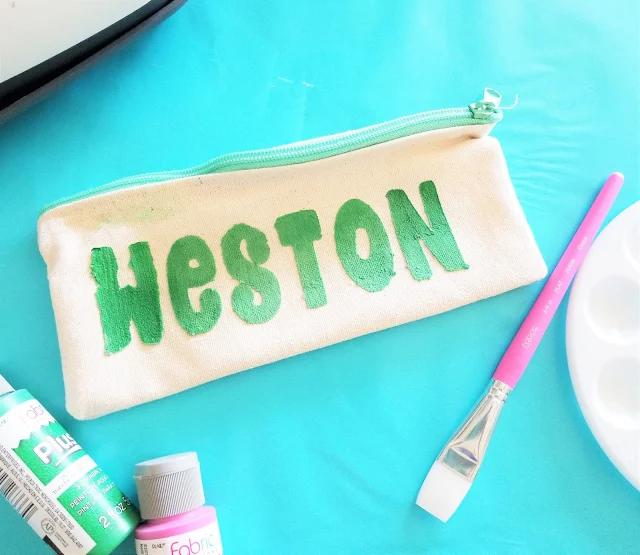
For years I didn't have a cutting machine.
Which for a crafter is a pretty big deal. I mean, everyone is making custom tees and cute designs they are adding to bags or gifts.
I felt a little silly. But then I discovered how to make freezer paper stencils.
This post contains affiliate links to products I recommend. I do make a portion off any you may purchase. See full disclosure here.
What are freezer paper stencils?
Simply put, it is screen printing without the machine.
Freezer paper has a "sticky" side when ironed on or pressed to fabrics and materials. Because it sticks, it makes painting designs much easier.
Is it perfect, heck no! But it is a great way to get a permanent design on a project without needing a cutting machine.
Many people ask where can you buy freezer paper. Look at the grocery store near the foil and plastic wrap. Most stores I've been to it is either on the very top shelf or on the bottom shelf. Almost every time.
What can I use to design using freezer paper?
Using a freezer paper stencil you can paint using fabric paint, spray paint and even bleach.
You may want to experiment first before trying different paints. I typically stick with fabric paints.
I've also used freezer paper to print on fabric using my home printer. I used it to make these photo pillows.
How to Use Freezer Paper Stencils
Freezer paper stencils are actually really easy to use.
Find the design you like. Print it out on computer paper. Place the freezer paper over the top and trace with a marker.
Take your craft knife and carefully cut out the design. Making sure to keep all the small pieces that go in letters or numbers.
Once your design is cut out, just iron it to your material and you are ready to go.
Have a cutting machine? You can cut out your freezer paper using a cutting machine. Just make sure your pressure is low for materials like tissue paper. Freezer paper is fairly thin and can get a little tricky on a cutting machine.
Let me walk you through the steps to make your own freezer paper project.
- Freezer Paper
- Iron or EasyPress
- Plush Fabric Paint
- Cutting machine or craft knife
Step 1
Using either a craft knife or a cutting machine, cut out your pattern or design.
Make sure that you keep the insides of letters and numbers. You'll need these.
Step 2
Press freezer paper stencil to the fabric or material. Make sure to press the small insides of letters like 'e', 'o', and 'p'.
Tip: Freezer paper has a matte side and a shiny side. The shiny side is the side you press to the fabric.
Step 3
Gather your paint and paint brushes. Make sure you have a fabric paint. They are specifically designed to adhere to fabrics.


Paint over your stencil. Start with one layer and allow it to dry.
You can do a second or third layer based on how thick your material is or how much your fabric absorbs.
Allow to dry completely.
Step 5
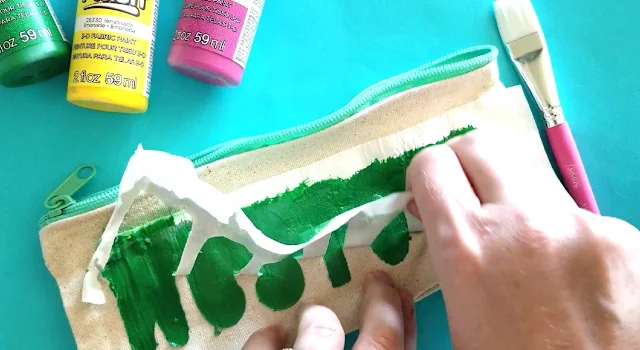
Remove freezer paper. It should peel right off. Make sure to remove those insides of letters and numbers as well.
Cover your design with a pressing cloth and press your design. You can also turn you design inside out and press.
Using freezer paper stencils can really make a project custom and special. Check out these custom pajamas and this freezer paper stenciled pillow.
Want to learn other ways to create your own fabric designs? We've got an entire post on different 7 ways to print on fabric from home.


This comment has been removed by a blog administrator.
ReplyDeletethis is wonderful news. I have always bemoaned the fact that i do not have an embroidery machine etc to be able to use the files !!!!!!!!!!!!!!!!!!!!!!!!!!!!!!!!!!!1thank you
ReplyDelete