For years and years and years, my bedroom growing up was just a giant picture collage. There were pictures everywhere.
My room was on the loft side of our home and had a big slanting ceiling that came down to a short like 2 foot wall.
That entire 2 foot wall was covered in photos of me and friends, adventures, favorite family trips.
I absolutely loved it. I still love taking ridiculous amounts of photos. But now I look for fun ways to display them.
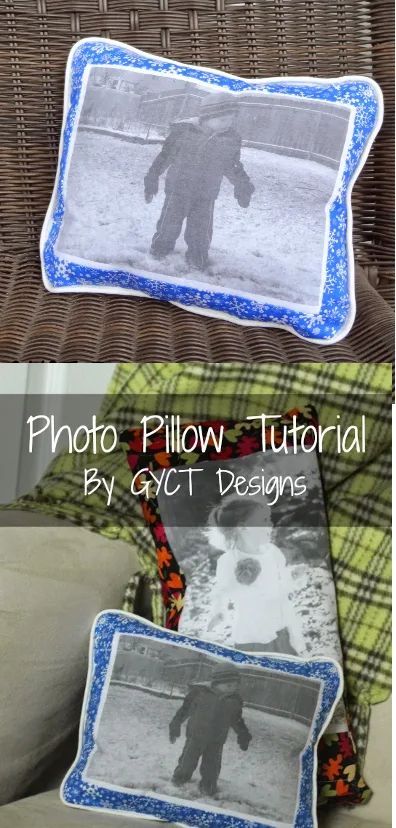
Instead I have picture pillows.
This post contains affiliate links to products I recommend. I do make a portion off any you may purchase. See full disclosure here.
Over the years I have shared some of the other unique ways I've displayed photos like this DIY Canvas and an adorable Baby Bunting Photo Blanket.
Both of which are fun ways to display photos or keepsakes, but also are a way I can share photos without people thinking I'm a crazy collage lady.
However, I've always wanted to learn how to print photos on fabric to make photo pillows
Yes, I know you can get cool photo pillows on Shutterfly and not have to do much work. However, there is something about being able to make your own that makes it special and saves money too!!
Plus, once you've made one you realize how easy it really is and can make a ton for gifts for family, friends and teachers.
So today I wanted to share with you this step by step tutorial on creating picture pillows and making them your own.
How to print photos on fabric
For this tutorial you will need to use a laser jet printer. And inkjet printer won't print as well on your fabric.
Materials Needed:
Muslin Fabric (this is a piece of plain white/cream cotton fabric)
1/4 yard fabric for "frame" and backing
Piping
Printer
Thread
Step 1
Cut out your freezer paper to be the size of a piece of printer paper. For me that is 8.5 x 11". Start by tracing the printer paper dimensions onto your freezer paper and then cut it out.
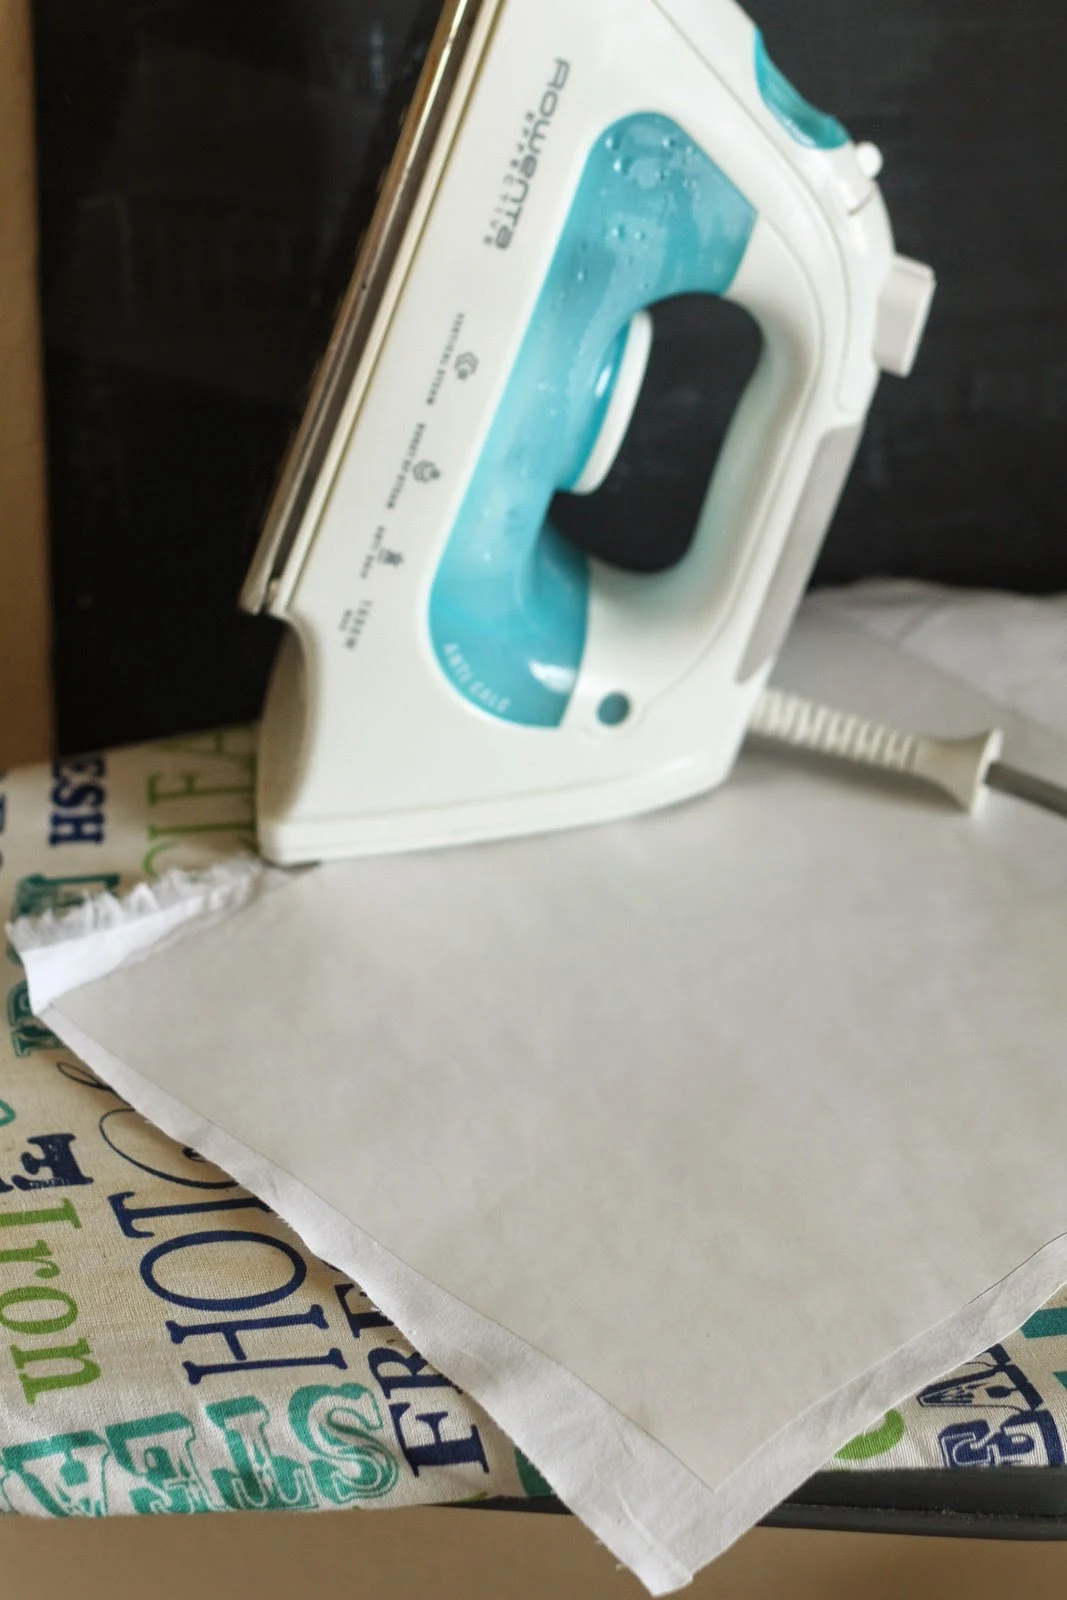
Iron the freezer paper to your muslin fabric. (You'll want to pick fairly thick fabric so that the ink does bleed through too much.) If your fabric is larger than your freezer paper, just cut it down to size.
Step 3
Next, place your fabric/freezer paper into your printer. Choose your photo and print it in black and white. Make sure that your photo will print on your fabric side.
Step 4
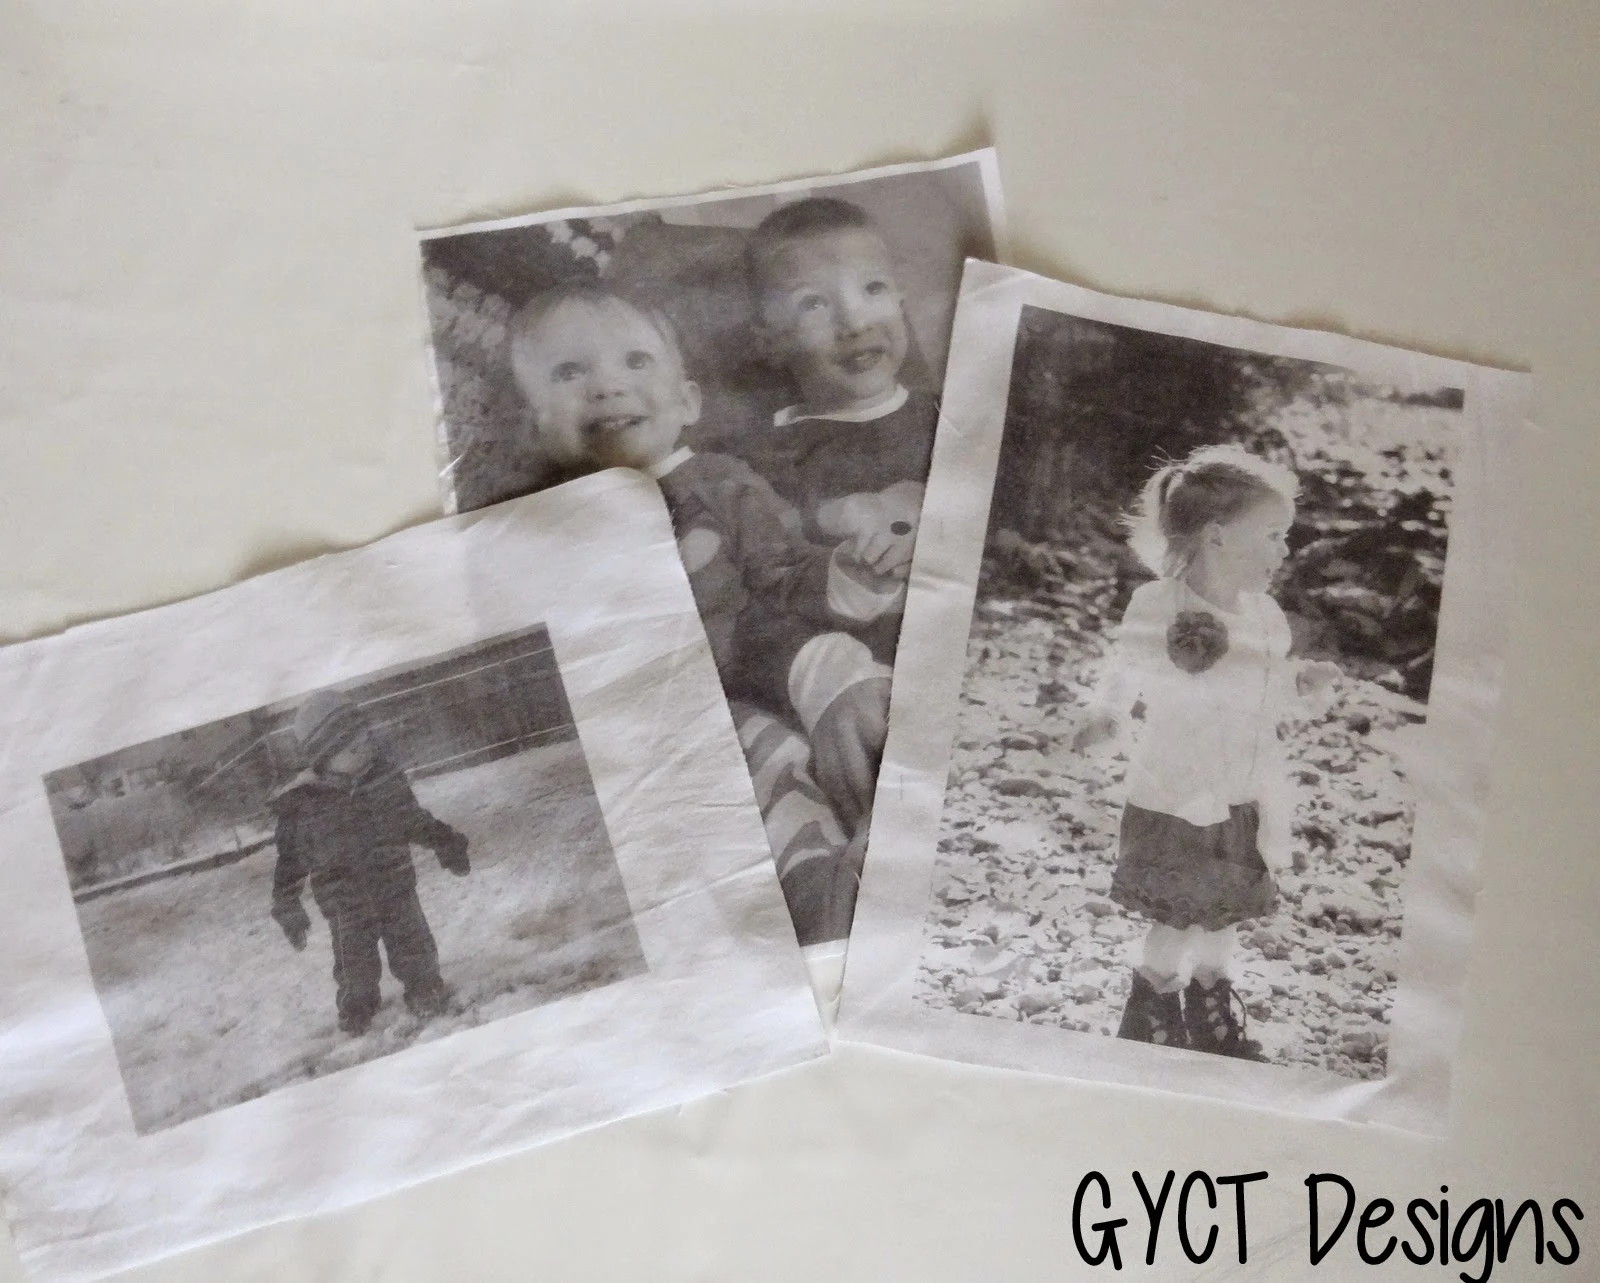
Finally, pull your fabric and freezer paper apart. Congratulations! You have photo fabric.
My pillows finally measurements are 8 x 10.5". You can customize your pillow to whatever size you'd like. But the following are measurements based on this.
Step 5
Cut 2 strips of fabric size 11 x 2.5". Cut 2 strips of fabric 8.5 x 2.5". Cut one rectangle of fabric 8.5 x 11".
Step 6
The photo that I used has a 5x8" photo. I cut it down so it had about a 1/2" seam allowance around the photo. Place the two shorter strips right sides together on the photo. Stitch down. Press open.


Step 7
Place the two longer strips right sides together on the long side of the photo. Stitch. Press open.
Step 8
Pin your piping around the outside edge of your pillow front. I wanted rounded edges so I curved my corners as you can see in the photo. On the bottom of the pillow, overlap the piping slightly and curve down to the raw edge. Using a zipper foot, stitch down your piping. (Need help with sewing your piping? Check out this tutorial.)
With right sides together, place the pillow front and pillow back together. Pin together and leave a 4" opening on one of the sides. Stitch around the pillow. If you used piping, make sure to continue using your zipper foot so you can get right up to the edge. Turn your pillow right side out and press. Now stuff your pillow and stitch the opening closed.
Tada!! You are done!!! Isn't that the fast, coolest and best project ever? Simple go through your favorite photos and find a few to try.
Grandparents would love a fun gift like this. And if you don't want to make entire pillow, why not check out how to make a simple pocket pillow cover.
Then you can reuse the pillow each month for something different.
I hope you enjoyed this simple tutorial how to print photos on fabric. Can't wait to see what you make!! Come share in our Facebook group.


