I love to make handmade clothing and projects for my family.
Most of the time they love it too. However, the trouble I've had over the years is trying to make handmade look "store bought".
Have you had this problem too? The trick is in learning to customize clothing and projects with your own personal touch.
That's why I love these different ideas to print your own fabric at home.
This post contains affiliate links to products I recommend. I do make a portion off any you may purchase. See full disclosure here.
What do I mean when I say "customize"?
Well, to add your own ideas and design elements to a finished product. Your children are probably like mine and always want the latest and greatest superhero or pony on whatever top or dress you make.
Or how about those cute ideas you see on Pinterest to make custom tote bags with names on them?
Well, you can make those things! You just need the right tools.
Let me share with you some of the fun ways you can create custom looks for your family.
Print Your Own Fabric at Home
#1 - Freezer Paper Stenciling
This is a great and cheap method for adding a design applique. I guess it isn't technically "applique" since you aren't sewing. However, you can add designs to tops easily with freezer paper and a little paint. We've done this several times here on the blog.
How It Works:
Using a piece of freezer paper, cut out your design. You can trace the design and cut with scissors or a knife. Or you can use a cutting machine. Iron the freezer paper, shiny side down, to your fabric. Then paint. Let it dry and peel back the freezer paper.
Freezer paper stenciling is also a great way to create your own fabric designs. Repeat the design in a pattern and then paint to fabrics.
#2 - Sewing Machine Applique
I love doing applique designs with my sewing machine. This is such a simple way to add a design without needing a special machine. I will admit, this is probably my most used method of customizing a shirt. Because you simply decide on your design and sew it to your top.
How It Works:
We've even put together a video tutorial on how to apply applique. {Includes the free reindeer applique.} You can see exactly how I do it. But basically, using Heat'n Bond, I trace the design, iron it on and sew it up.
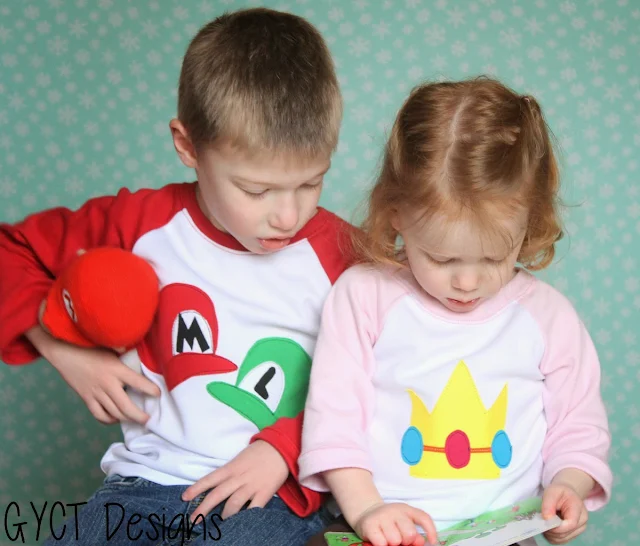
Or check out this photo tutorial using tshirts for my Mario Cart loving children. {You can grab those cute appliques for free too.}
#3 - Fabric Dyeing
I typically don't have to dye my fabrics because I buy them the color and pattern I want. But sometimes that doesn't work out. Or you might have a custom color you want to match for a special event. That's when fabric dyeing can come in handy.
That's what I did for these cute baby leggings. I wanted them to match the dress exactly, so I just some dye and they turned out great.
Dyeing fabrics can be tricky. Mostly because you have to make sure to use fabrics and threads that will take the dye. We've got a great tutorial on Dyeing Leggings. That will walk you through all the steps for perfect results.
This is my new favorite method to customize clothing. Using Heat Transfer Vinyl, or Iron-On Vinyl. This method does require you to have a cutting machine like a Cricut Maker or Silhouette Cameo 3. (These are the 2 machines I have. I love them both for different reasons. But they both do great with HTV.)
If you are looking for HTV vinyl, I personally really like Expressions Vinyl. They've got great vinyl, fast shipping and lots of great sales and fast shipping!


How It Works:
You find an image you like, upload it to your software, send it to your cutting machine, cut it out on HTV and press it to your article of clothing. That's a super simplified way of explain. But you can see exactly how in our post on How to Apply Iron-on Vinyl.
#5 - Design Fabric Pattern with HTV
Just like in idea #4, you'd use HTV to create your own design. However, this time you'd create a repeating pattern to create an entire fabric design.
This is a fun idea if you can't find exactly what you imagined in the fabric store or online. Find a background fabric and add your own pattern with vinyl.
Create several small copies of your design either by hand or cut it out on a cutting machine. Place the design randomly on your fabric and press. Learn more on how to design your own fabric with vinyl.
#6 - Embroidery Machine Applique
For this kind of customization you'd need an embroidery machine. So go put it on your wish list.
I did, and that is how I finally got mine for Christmas. I have the Brother pe770 which is pretty amazing.
How It Works:First, pick your design and decide where you plan to place it. Most machines include several designs and you can purchase others online.
If you are doing a t-shirt, I usually will start by measuring down from the neckline 2-3 inches. This is where the top of your applique should start. One great method to use to find the placement, is to use a piece of paper or a sticky note to mark where the design will go. This helps you see where it will go and decide if it is the right placement.
Thinking about doing some machine applique?
How about some free appliques?
We've got a TON!
How about some free appliques?
We've got a TON!

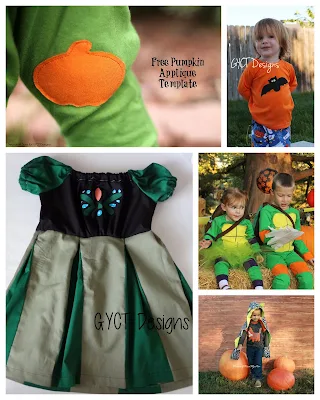
Pumpkin Applique
Tiger and Duck Applique
Reindeer Jammies
Ninja Turtle Applique
Princess Applique
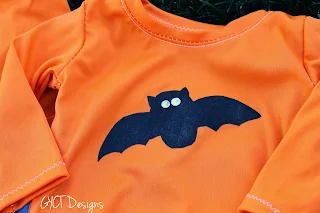
Bat applique
Turtle Shell
#7 - Print Photos on Fabric
Photos not only bring back great memories, but they help an ordinary project become extraordinary.
With the help of your printer and some freezer paper, you'll have beautiful fabric photos in no time. Check out our post on how to print photos on fabric.
How it works:
Using a laser printer and some freezer paper, you'll run fabric through to print your favorite photo. Cut it out and use it on a quilt, pillow or fun photo skirt or shirt.


