There was just SO much stuff. I mean where was I suppose to put it all.
From the bottles to diapers to extra clothes, plus my own keys, wallet, and essentials. AND the toddler snacks and books.
People just didn't make bags the right size for my needs! I needed an easy tote bag pattern that could haul all our stuff and not break the bank in the process.
But I couldn't find what I was looking for or I didn't want to spend $60 on a bag I wasn't sure I'd like all that much anyway.
This post contains affiliate links to products I recommend. I do make a portion off any you may purchase. See full disclosure here.
I started looking at bags online that I liked and in the stores. What did they have that made them more appealing to a woman and a mom? POCKETS!
Not just pockets on the inside but easy access pockets on the outside for all those little things. Like that ever elusive pacifier, pile of burp cloths or those emergency toddler snacks.
I knew my easy tote bag pattern HAD to have pockets.
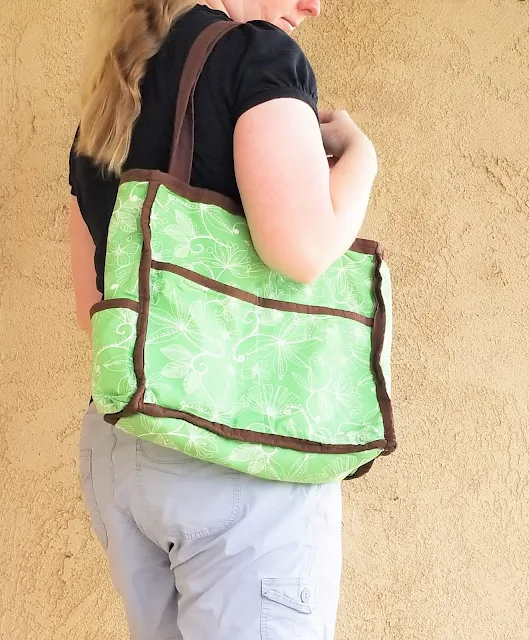
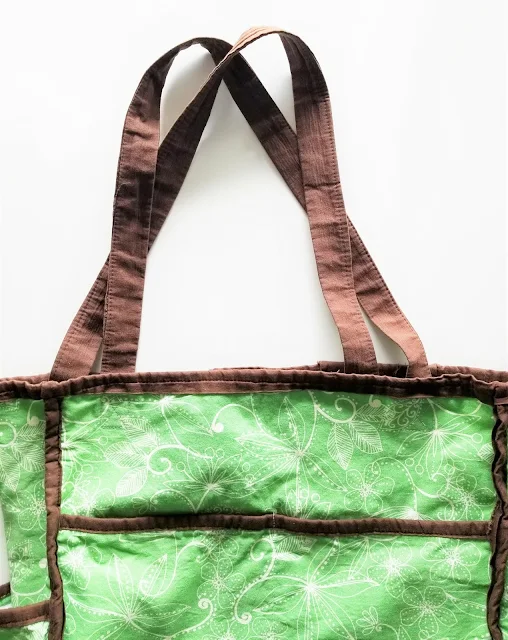
Another must have was nice long straps. Long enough to throw over the shoulder, but short enough that it wouldn't fall off the shoulder easily when one bent over to help that little person.
Straps that tuck the bag right under your arm.
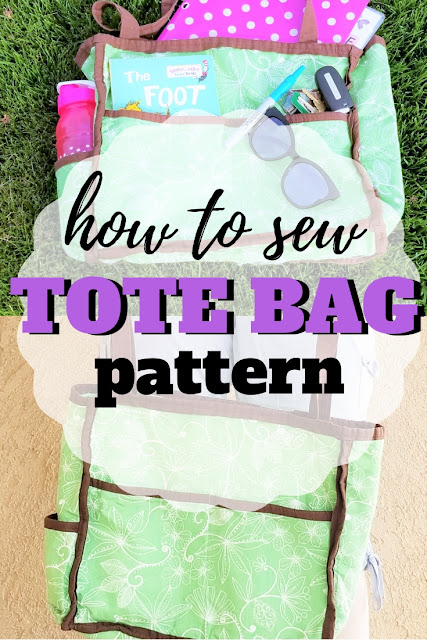
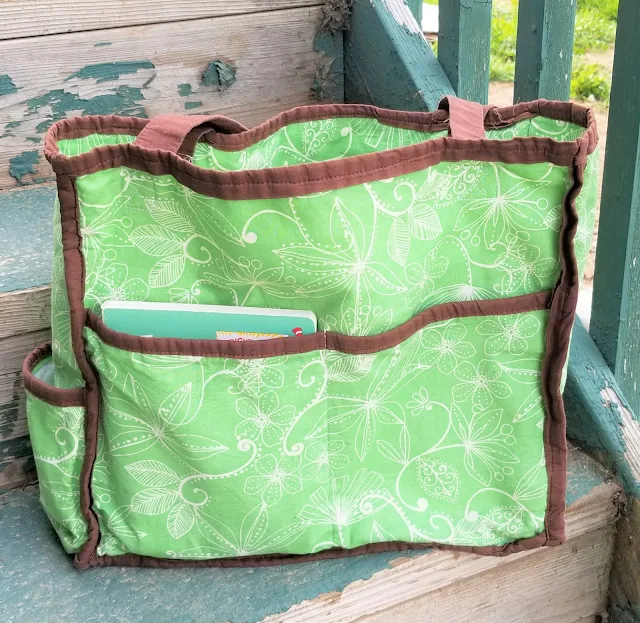
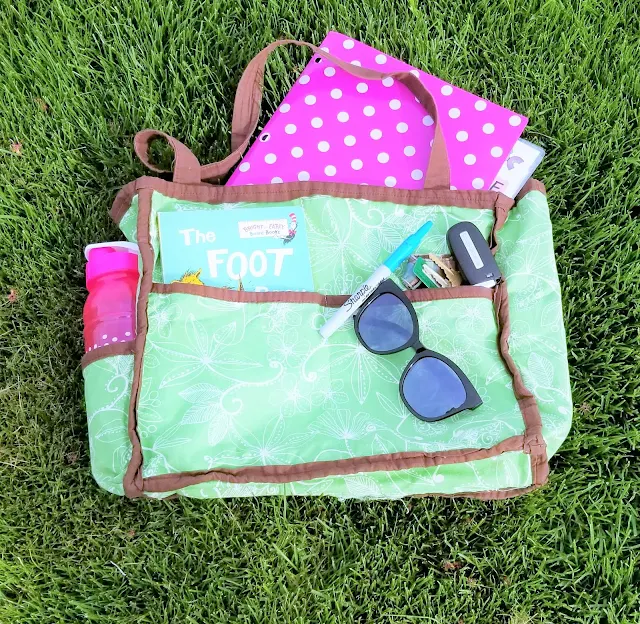
This pattern can easily be used as a diy diaper bag but it is a simple enough design that it can be used for a regular tote bag as well. The side pocket is the perfect fit for a water bottle or a bottle.
The width of the bag is perfect for folders and notebooks.
Choose a fashionable and fun fabric that fits your personality and you'll have a bag that grows with your needs and your family needs.
I love how quick and easy this project can be. It is a great addition to our best beginner sewing projects.
How to Sew a Bag
Materials Needed
- Utility Tote Bag Pattern - get the printable pattern at the end of the post
- 1 yard main fabric - Cotton, cotton/blends
- 1 yard lining fabric - Cotton, cotton/blends
- 1 yard lightweight to medium weight fusible interfacing
- 4 yards bias tape, double fold --- Learn how to make bias tape from your own fabrics.
- Thread
Following the cutting directions below for cutting out your pattern pieces. Or you can print the free DIY tote bag sewing pattern to cut out the pieces.
Cut 2 Main Bag Pieces - 15" x 13"
Cut 2 Side Pieces - 5.5" x 13"
Cut 1 Bottom Piece - 15" x 5"
Cut 2 Front Pocket - 15" x 8"
Cut 2 Side Pocket - 5.5" x 6"
Contrasting Lining Fabric
Cut 2 Main Bag Pieces - 15" x 13"
Cut 2 Side Pieces - 5.5" x 13"
Cut 1 Bottom Piece - 15" x 5"
Cut 2 Straps - 30" x 2"
4 yards Bias Tape
Interfacing
Cut 2 Main Bag Pieces - 13" x 11"
Cut 2 Side Pieces - 5" x 11"
Cut 1 Bottom Piece - 13" x 4"
Cut 2 Front Pocket - 13" x 7"
Cut 1 Side Pocket - 5" x 5"
DIY Tote Bag Sewing Instructions
Follow the directions below to start sewing the easy tote bag pattern.
Step 1
Press interfacing to the lining pieces of all your pattern pieces. Next, pair the lining piece with the main piece for the main bag pieces, side pieces and bottom piece.

Step 2
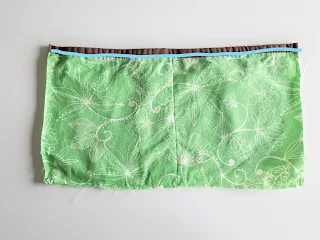
Place bias tape along the top edge of the front pocket and side pocket. Stitch down.
Learn how to make bias tape from your own fabrics.
Place front pocket right side up on the main fabric front. Match the bottom edge of both. Stitch a line down the middle of the pocket.
Place the side pocket on the top of one of the side edges. Stitch down the sides and bottom.
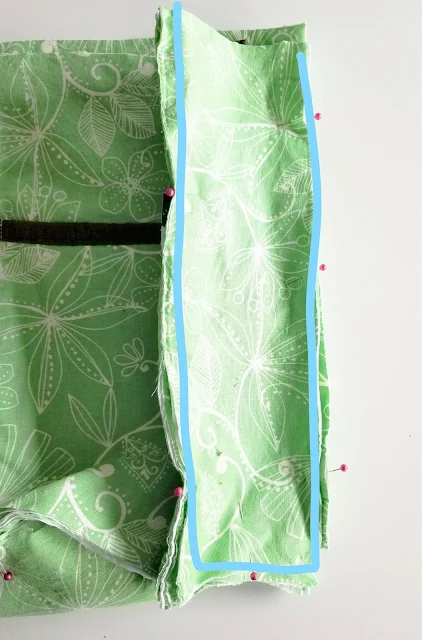
With wrong sides together, sandwich the bag side between the main front and back pieces. Pin pieces together. Stitch down the side seams. Repeat with opposite side.
Pin the bottom to the bag with wrong sides together. Stitch the bottom to the bag.
It will look strange with the raw edges on the outside, but you'll be covering them with your bias tape.
Step 5
Place bias tap along the raw edges of the bag. Pin in place to ensure all the raw edges have coverage before sewing.
Step 6
Stitch bias tape in place.
Fold the straps in half with right sides together. Stitch down the long side of the strap. Turn the strap right side out with a safety pin or a bodkin.
Repeat with other strap.
Step 8
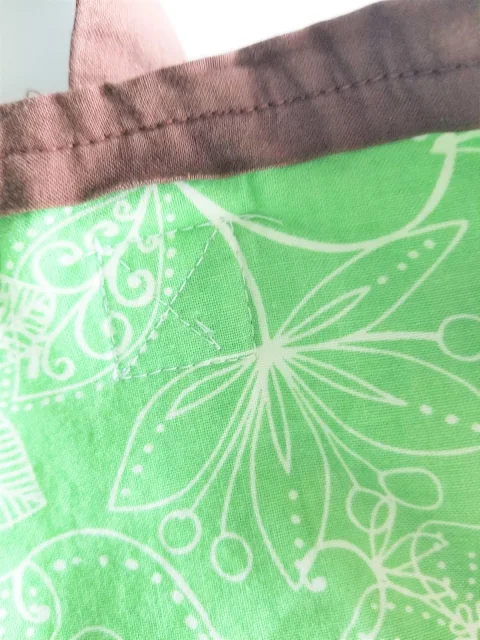
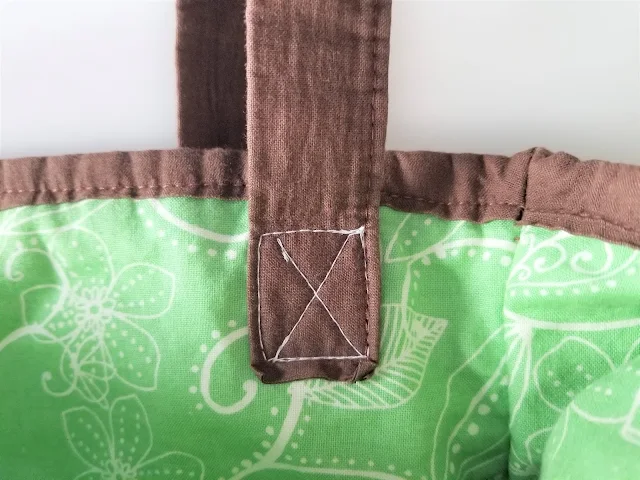
Place strap on the inside of the front of the bag about an inch and half away from the corner. Place a box stitch around the bottom of the strap.
Place the other end of the strap on the opposite side of the inside of the front of the bag. Sew a box stitch.
Repeat with other strap on the back of the bag.
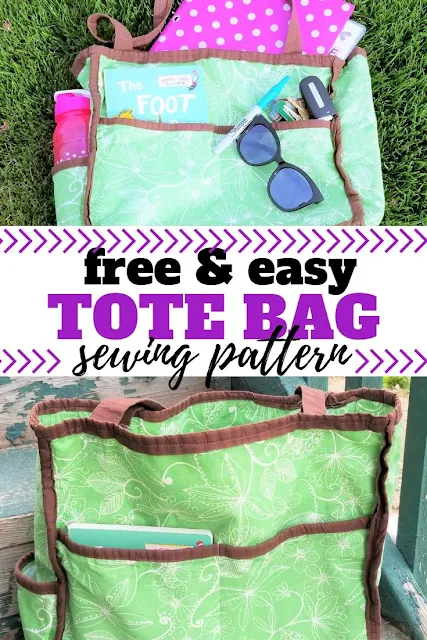
You did it!!! Now you have a great and stylish tote bag that you can take with you to work, the park and church.
Want the free Utility Tote Bag Pattern? Simply click the peach button below









It's not ugly at all! I'm giving you a versitile blogger award, I hope you'll accept. Pick it up at my site later tonight. domesticdeadline.blogspot.com
ReplyDeletegreat fabric and dimensions!
ReplyDeletehello, my stoppage here for the first time, but i love the way you make things.
ReplyDeleteyou are genius ,making many things is good but making useful and needed things gives you ten out of ten marks. few things but fantastic i will follow u . love take care , greetings from India.