
.jpg)
My sweet friend had her baby about a month ago. I wanted to give her a simple handmade gift, but also wanted something I could use for future friends babies.
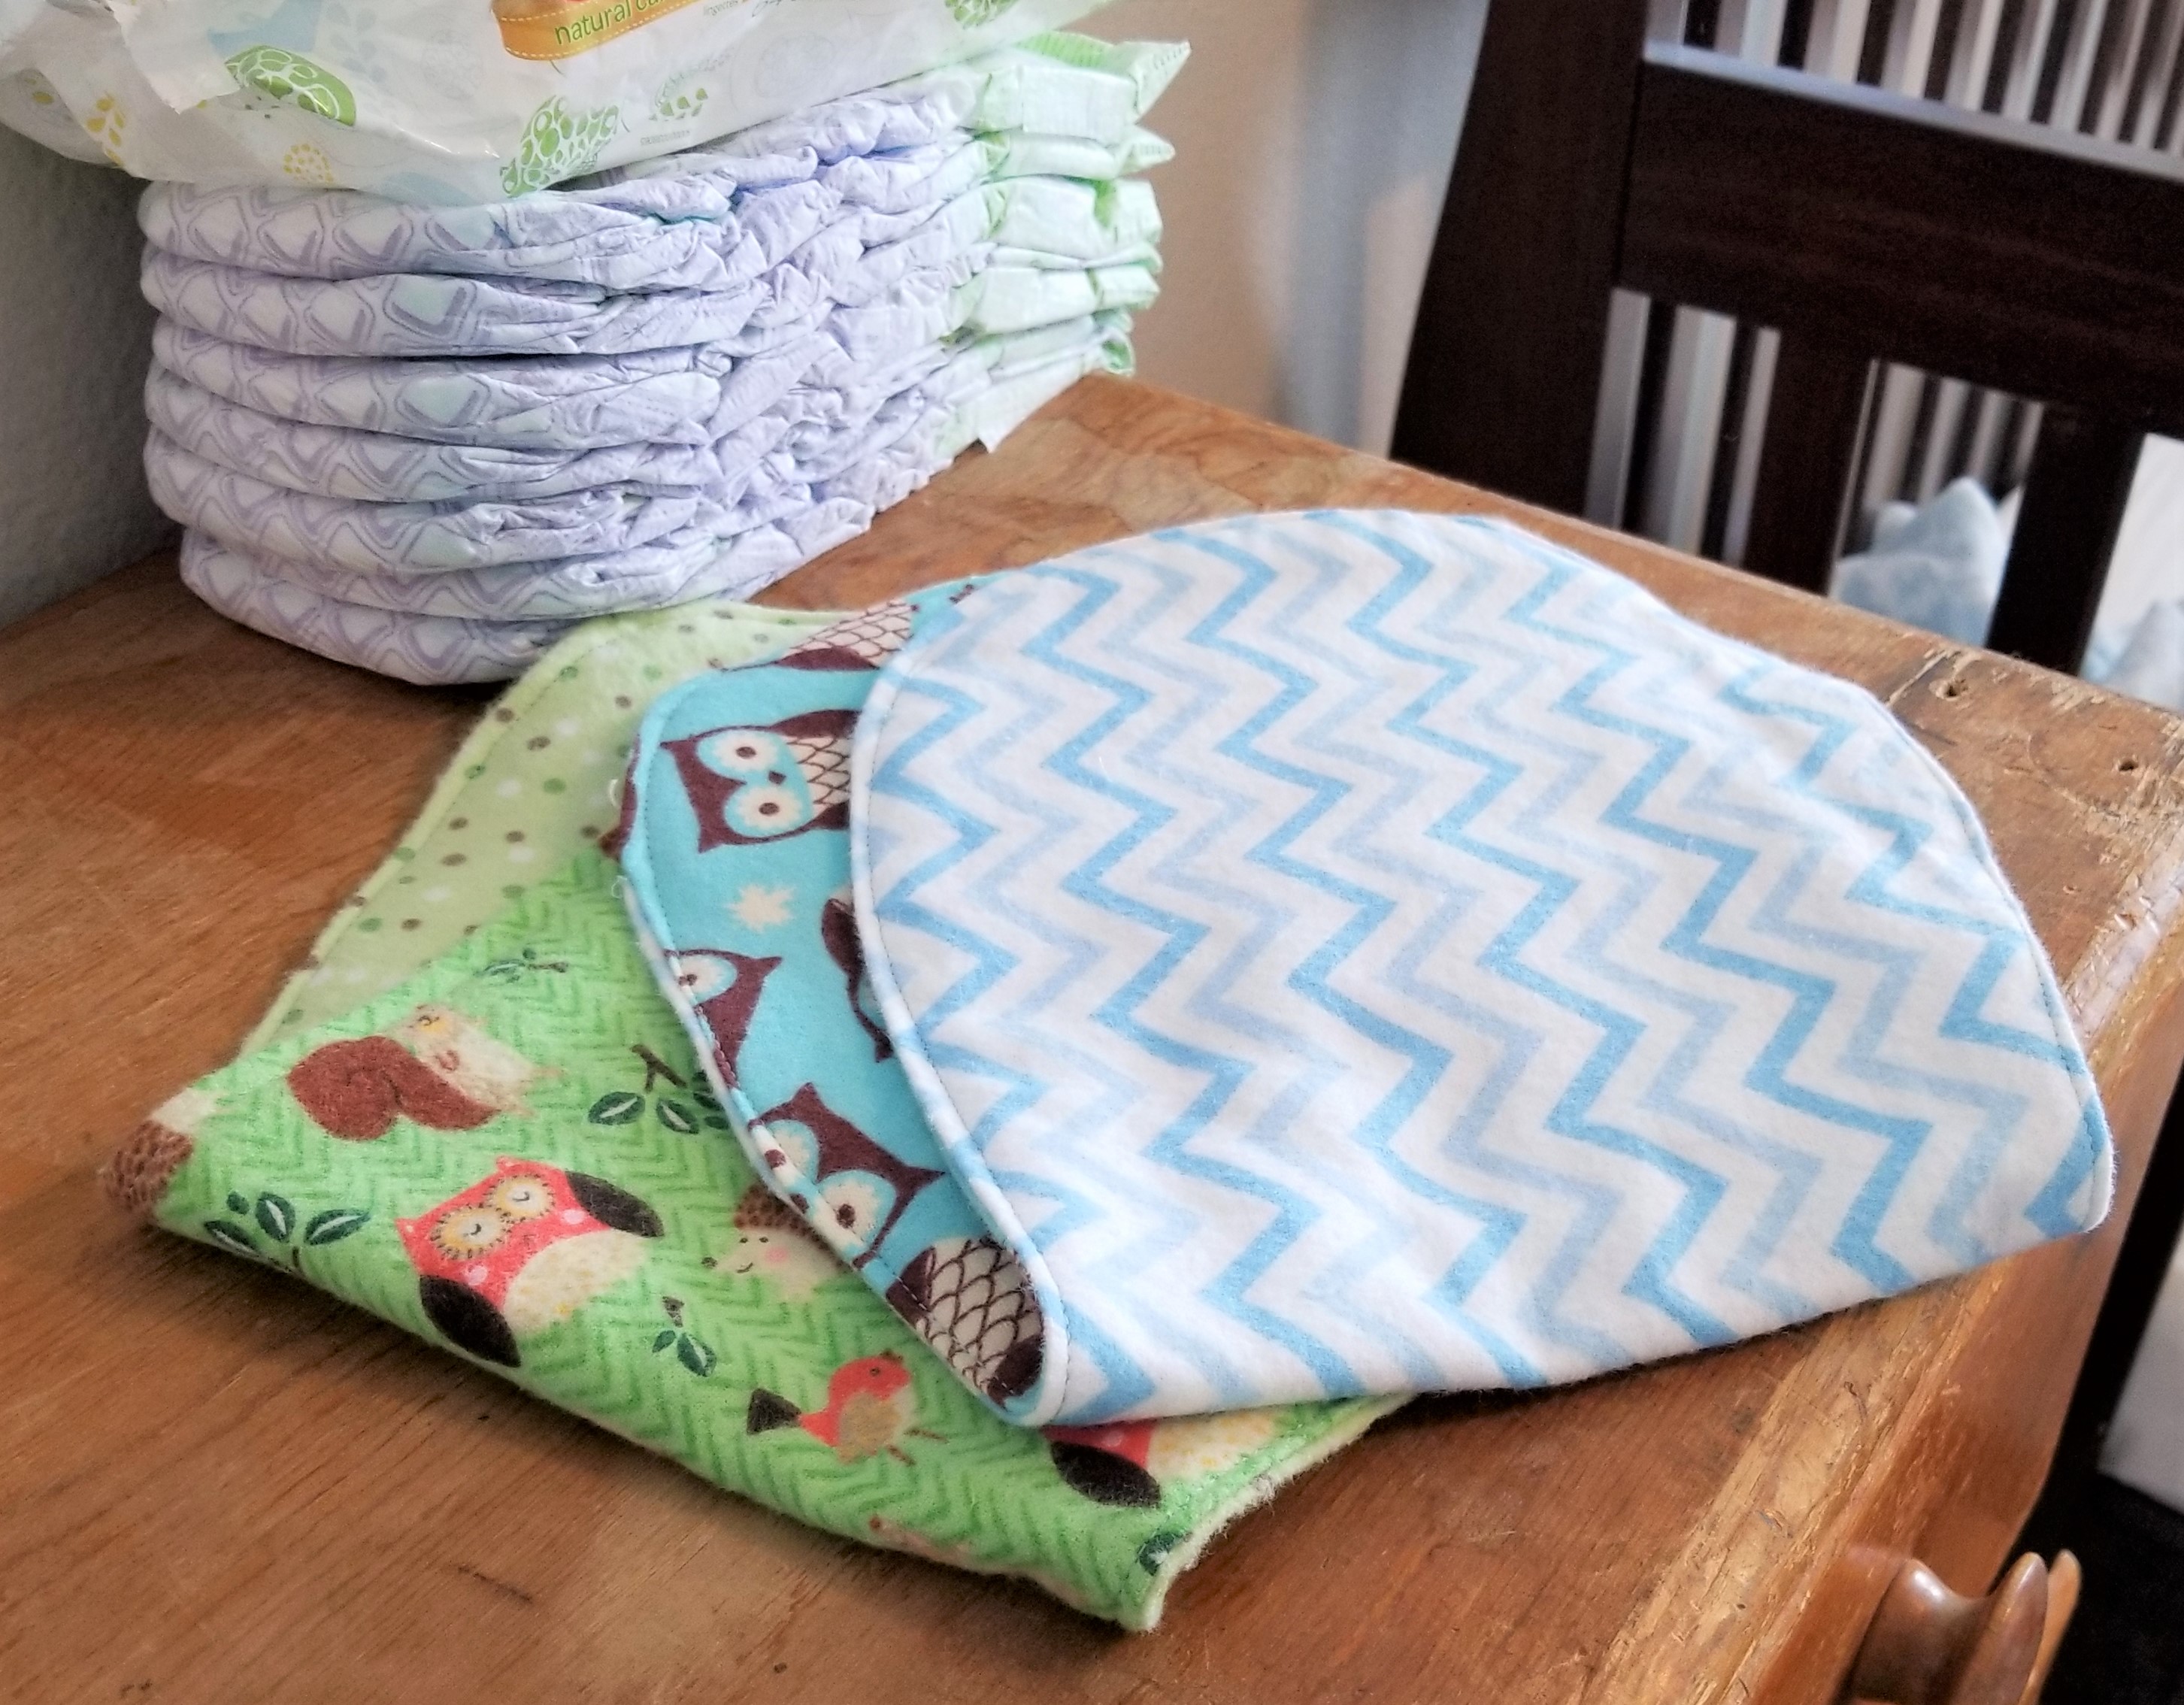
Of course I thought of burp cloths. They are useful, simple and you can never have enough.
.jpg "burp cloth pattern")
This post contains affiliate links to products I recommend. I do make a portion off any you may purchase. See full disclosure here.
And why not use my new Cricut Maker to help me design and cut out the perfect shaped baby burp cloth pattern.
Now if you want to sew a burp cloth, you don't have to have a Cricut Maker to cut out your fabric pieces. But one of the things I loved was that I didn't have to measure or be super careful with my cutting.
My machine did all the hard work. I just loaded up my fabric and my SVG design and it cut all my pieces exactly the same size.
No pinning. No hassel. It was awesome.

I've included a free SVG file for downloading at the end of the post for anyone that wants to use the file on their cutting machine.
If you don't have a Cricut, you can also download our free PDF baby burp cloth pattern. Both files are free for at the end of the post.

What are the dimensions for a burp cloth?
For this project, our dimensions for the pattern are 20.5" x 9.5". If you print the PDF pattern, you won't need those measurements. But if you upload the SVG to Cricut Design Space, you'll want those measurements.
What is the best fabric to make burp cloths?
Any type of cotton works well for burp cloths, but the most common fabric used is flannel. Flannel fabric has a nice pile which helps absorb more moisture, keeps it shape and helps stick to surfaces a bit easier.
How much fabric do you need to make a burp cloth?
You'll need about a 1/4" yard of main fabric and 1/4" yard of lining fabric. If your fabric is a directional print, you may need a bit more fabric for this.
Do burp cloths need batting?
No. You don't need batting to make a burp cloth. For this pattern, we are not using any batting. If you want to give it a quilted look, you could for sure use batting, but it isn't necessary.
Baby Burp Cloth Pattern
Materials Needed
- Burp Cloth SVG Pattern - free at the end of the post
- 2 - 1/4 yard of flannel fabric
- Gutermann Thread
- 12 x 24 Fabric Grip Mat
- Cricut Maker
- Rotary Blade

Before you start sewing, check out our fast video tutorial on how to sew up your burp cloths.
Cricut Maker Instructions
Step 1
Upload the burp cloth svg to your Cricut Design Space. You'll need to edit the file so that your pattern is 10" wide and 20" long. You can adjust this to be bigger or smaller.
If you are not using your Cricut Maker, grab the pattern at the end of the post and download the PDF, cut it out and tape the pieces together.

Step 2
Place your fabric on the Cricut 12 x 24 Fabric Grip Mat. Make sure to change your blade to the rotary cutter. Load your mat into your machine. Cut out your pattern.

Step 3
Unload your cutting mat and peel away the excess fabric. Remove burp cloth layer and repeat steps 1-3 for opposite side of the burp cloth.

Burp Cloth Sewing Video
Sewing Instructions
Step 4
Place 2 burp cloth pieces with right sides together. Stitch the 2 pieces together but make sure to leave a 2-3" opening so you can turn it right side out.

Step 5
Use scissors to clip around the entire burp cloth. Press. Turn burp cloth right side out through the 2-3" opening. Press.


Step 6
Topstitch around the entire burp cloth at about 1/8". Press.

Tada! You're done. See how fast and simple that was. But it is such a great project and anyone you sew burp cloths for will be so thankful.
This would even be a great beginner sewing project. Maybe if you plan to introduce your child to how to use the Cricut Maker and how to sew.

To download the free baby burp cloth pattern PDF or SVG cut file, simply click the buttons below and download to your device.


Scared of sewing with stretchy, knit fabrics? Enroll in our FREE Knit Sew Scary course and learn tips and tricks to sewing with knit fabrics.


Thank you so much for the svg and pdf:)
ReplyDeleteThank you very much for the svg. This will save me so much time when making a gift for my friend's granddaughter
ReplyDeletethank you for the svg this is my first svg that i have downloaded for my new cricut explore3 and will be the first item I make from my cricut i hope it goes faster then cuting at least the cut will be perfect
ReplyDeleteThank you for sharing! So rare these days!
ReplyDelete