My kids love to be independent. They love to have their own space, their own books and of course their own bucket of trinkets.
That's why when I went to visit my sister-in-law a year ago and I saw that her kids each have their own bag to carry their church books I HAD to follow suit.
This post contains affiliate links to products I recommend. I do make a portion off any you may purchase. See full disclosure here.
Don't get me wrong. I don't mind loading up a bag of books, pencils, papers, and old used tissues. I hauled around my utility tote bag for years and loved it. But let's be honest, it gets heavy and cumbersome real fast.
I also want to teach my kids a bit about responsibility and keeping track of their own items. That's why I am excited to share this free fabric tote bag tutorial with you today.
Perhaps your kids need to learn to carry their own Sunday treasures as well. Or you are just looking for a cute bag for them to have for dress up and play time. Whatever your thoughts, you'll love this project.
Free Fabric Tote Bag Tutorial and Pattern
Materials Needed- Free Fabric Tote Bag Pattern - download at the end of the post
- 2-3 contrasting fat quarters
- Thread
- Fusible Fleece
Finished Dimensions: 8.5" x 12"
Step 1
Use the free fabric tote bag pattern at the end of the post to cut out your pieces.
Step 2
With Right Sides Together (RST), place the contrasting tote piece and main tote piece together along the top. Stitch across the edge.
Repeat this step with the opposite bag front.
Step 3
Press a piece of fusible fleece to the wrong side of both the main tote pieces.
TIP: If you don't have fusible fleece, you can cut out regular fleece and use a temporary adhesive spray to adhere it to the wrong side of the fabric.
Place the two front tote pieces with RST. Stitch down the two side seams. Ending at the small box cut out at the bottom.
Step 4
Find the box corner. Open it up. Match the side seam and bottom seam. It should look like the photo above.
Stitch across this line.
Repeat with opposite box.
Step 5
Fold one strap in half matching right sides and the long seam. Stitch across the strap.
Repeat with other strap.
Step 6
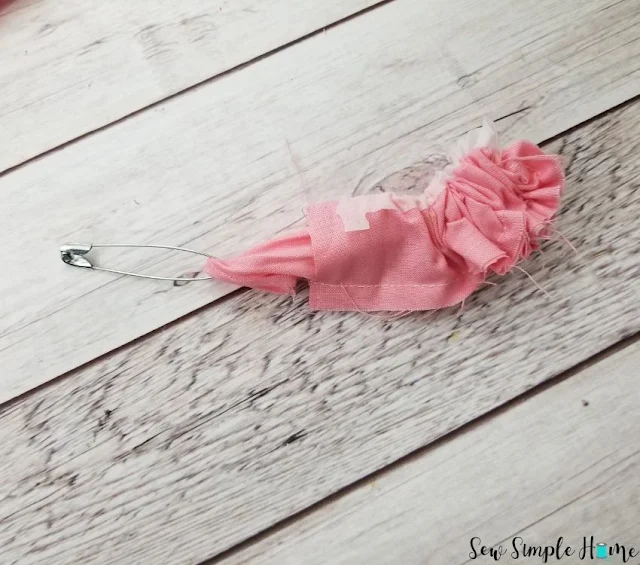
Use a safety pin to turn the straps right side out.
Press.
Step 7
Pin the straps to the outside of the tote. Make sure they are evenly spaced. One on the front of the bag and one on the back.
Step 8
With RST, place the main tote inside the lining. Match the side seams. Pin.
Stitch around the top of the bag. Leaving a 3-4 inch opening in the center back of the back.
Step 9
Turn the bag right side out through the 3-4 inch opening. Press well. Topstitch around the top of the bag to close the opening and finish off the bag.
Isn't that just the cutest little bag?!
Now you can use this fabric tote bag tutorial to make your own little bag. Or scale the bag up for yourself.
I am looking forward to not having to carry such a large bag to church from now on.
Want the fabric tote bag pattern? Simply click the button below to download.


Adorable bag! You are right that every kid deserves their own bag to pack and carry along their treasures! Thanks for the awesome pattern!
ReplyDeleteYou are so welcome. I hope you enjoy sewing some up.
DeleteCute bag. However i wasn’t able to download any physical measurements ex. 8x8, 8x4 etc. The PDF file came through, but no measurements. Can you help. Thanks
ReplyDeleteThe pattern is only available for printing. It doesn't have measurements.
DeleteWhat width seams did you use?
ReplyDeleteAll the seam allowances are 1/4" and included in the finished pattern measurements.
Deleteyou mentioned the seam allowance is included inthe finnished pattern measurements, but i dont' see those anywhere.
ReplyDeleteThe seam allowances are 1/4". Hope that helps
DeleteThis comment has been removed by a blog administrator.
ReplyDeleteI made two of these little bags and the pattern is easy to follow. fabulous thankyou so much for letting everyone have the free pattern
ReplyDelete