I grew up with a lot of cousins that were mostly older than me and boys.
Which pretty much means I spent a lot of summer vacations hanging out with my sisters and being ignored a lot.
Don't get me wrong. I love my cousins. But I like to sew and craft and well....
This post contains affiliate links to products I recommend. I do make a portion off any you may purchase. See full disclosure here.
Naturally, I envied kids that had loads of cousin friends.
As a Mom, I wanted to change this for my kids. I wanted to them to have relationships and friendships with their cousins.
So I came up with Cousins Day. One of the many fun things we like to do each summer.
Which basically is a win-win for me all around. Not only do we get together with cousins and family every summer but I get to plan a PARTY!!!
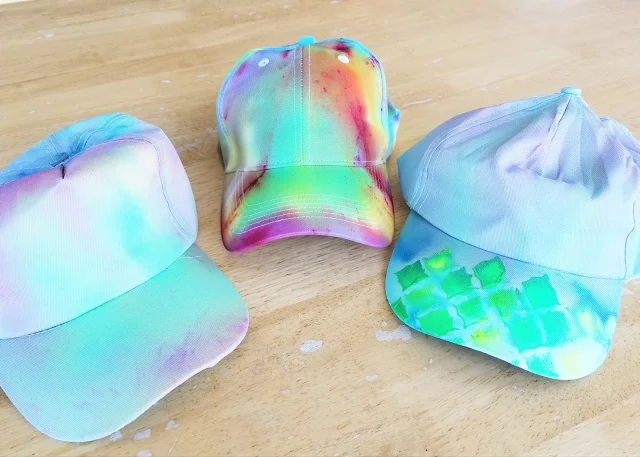
One tradition we started was doing tie dye projects. We've done both tshirts and hats.
Surprisingly, many people have never tried tie dyeing. It is really easy. Let me show you how to tie dye step by step.
You'll love it and want to tie dye all the fabric you can find.
Tips on How to Tie Dye
Before we tie dye, I wanted to give you a few tips and tricks that I've learned, sometimes the hard way. And hopefully answer a few questions.
Which tie dye is best?
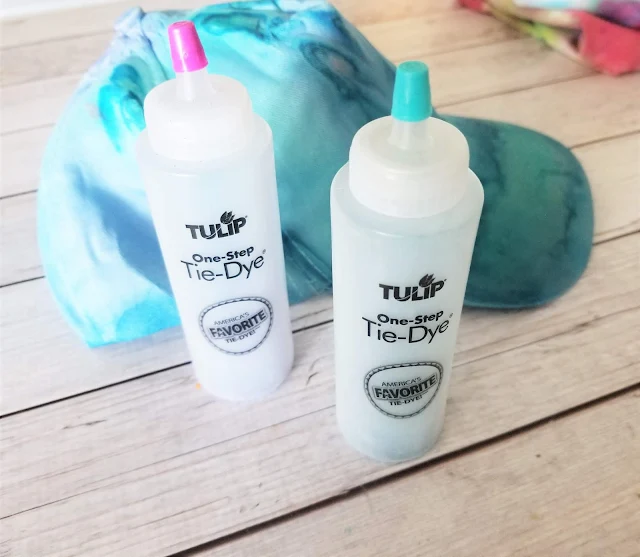
There are a lot of brands of tie dye to purchase or ways to tie dye. I personally like using Tulip Tie Dye kits. The colors come out very vibrant.
Now a little disclosure. Tie dye vibrancy isn't always based on the brand of tie dye. The fabric matters too!! You need a nice 100% cotton AND make sure to pick a good quality fabric.
I've made hats that were super vibrant and some that were more pastel using the exact same dye. One set of hats was a high quality material and the colors were amazing. The others were more pastel.
What can you tie dye?
There are tons of items you can tie dye including hats, tshirts, socks, and shoes. Just make sure that you get a nice cotton material or the dye won't infuse itself with the material as well.
Feel free to experiment with different materials and items.
Does tie dye stain?
Heck YES!! Make sure to wear gloves or you'll have colorful hands for several days. It will ruin clothing, tables, really anything with a porous surface.
Tie dye can also stain your sink if you aren't careful. Make sure to clean and wipe down your sink after washing out bottles, gloves or rinsing tie dye projects.
I find that Mr. Clean Magic Erasers are great at helping get off tie dye, but not on porous surfaces.
Is tie dye safe for kids?
Yep. Just make sure to wear gloves and clothing that can be ruined just to be safe.
If you have creative kids, they'll love to tie dye. Also, check out these other great creative kids ideas.
If you have creative kids, they'll love to tie dye. Also, check out these other great creative kids ideas.
How to Tie Dye Step By Step
Materials Needed
- Free Tie Dye Cheat Sheet - download at the end of the post
- Tie Dye - I got a big package of Tulip dyes in loads of colors
- The smaller kit with 5 colors can be picked up today in most areas
- 100% Cotton Tees - I like Jiffy Tees for good priced tees
- 100% Cotton Hats
- Gloves
- Plastic Tablecloth - to keep from dyeing your table
- Paper Towels - for clean up
- Gallon sized Ziploc plastic bags
Check out our step by step video in the post to demonstrate how to tie dye.
Step 1
Soak tees or hat in water. You can also throw them in the washing machine for a first wash. Just don't dry them.
This step is often skipped but for the best results you want your project to be damp.
Step 2
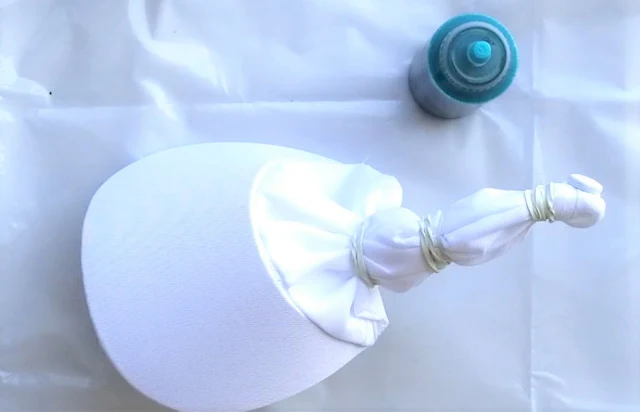
Use rubber bands to create the design on your hat or tee. You can get creative with your design.
Here are some great tie dye techniques or download our free cheat sheet at the end of the post.

Step 3
Put on gloves and fill your tie dye bottles up. Shake them well.
Step 4
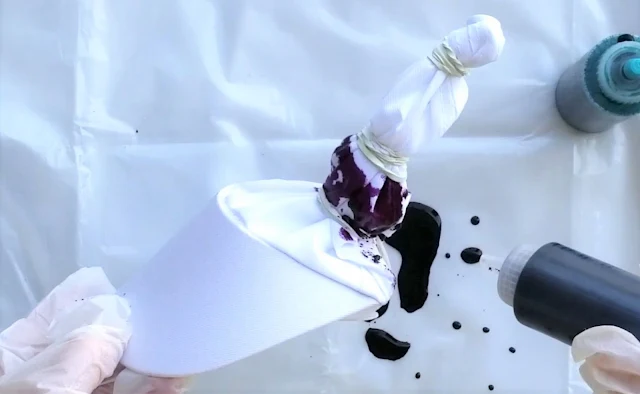
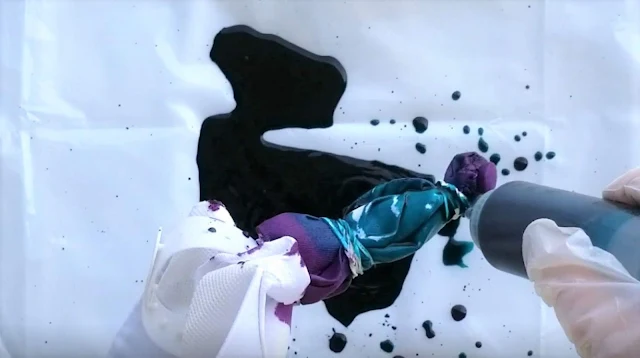
Add dye to one section of your hat or tee. Make sure not to leave any white but don't overly soak your material or your design won't look as nice.
Step 5
Add color to the second section. Continue adding dye to each section.

Step 6
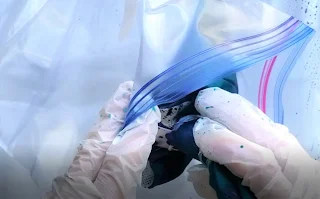
Place hat or tee into a ziploc bag. This will keep it moist while it sits for the next 24 hours.
Step 7
Remove from bag and rinse under cold water until the water comes out clear.
Or put in washing machine and wash on cold. If you have several projects, I'd rinse them first before putting them all in the wash together so they don't bleed.
Dry.
Step 2
Use rubber bands to create the design on your hat or tee. You can get creative with your design.
Here are some great tie dye techniques or download our free cheat sheet at the end of the post.

Put on gloves and fill your tie dye bottles up. Shake them well.
Add dye to one section of your hat or tee. Make sure not to leave any white but don't overly soak your material or your design won't look as nice.
Add color to the second section. Continue adding dye to each section.


Step 6
Place hat or tee into a ziploc bag. This will keep it moist while it sits for the next 24 hours.
Step 7
Remove from bag and rinse under cold water until the water comes out clear.
Or put in washing machine and wash on cold. If you have several projects, I'd rinse them first before putting them all in the wash together so they don't bleed.
Dry.
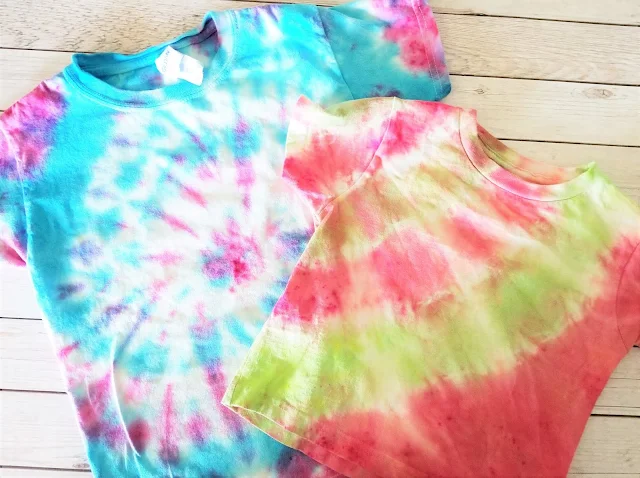
BAM!! Tie dyeing complete. Wasn't that super easy?
Learning how to tie dye isn't hard. It just takes a bit of practice and some patience.
We've been doing a new tie dye project for the last 4 summers and it never gets old. And since it is so simple to tie dye, you can take projects with you almost anywhere. Camping, the park, to church activities.
And you don't have to remember everything. Instead grab the cheat sheet below and pack it with your tie dyeing kit. That way you have some ideas and tips right at your finger tips.
Get the free tie dye cheat sheet for tips, tricks and easy tie dye techniques to try. Simply click the button below to download.






We are getting ready to try tye dye. Thank you so much for sharing this! I believe we can do this now.
ReplyDelete