Over spring break our family went to the Oregon Coast. That means we got to go to the beach.
It was the first time for our kids and they had SO much fun. But I had a bit of anxiety.
Why?
I don't really like sand.
This post contains affiliate links to products I recommend. I do make a portion off any you may purchase. See full disclosure here.
It is messy, lives in your car for years and fills every crevice of your body. Not my idea of fun. But I don't want to be the lame mom that never lets her kids do anything because she doesn't like it.
No. I had to make it work. My sister in law introduced me to using baby powder to help get the sand off feet and hands.
IT WORKS!!
But spilling baby powder all over your towels and sand toys will not make the sand disappear. Mostly you'll just have a giant mess and a lot of wasted baby powder.
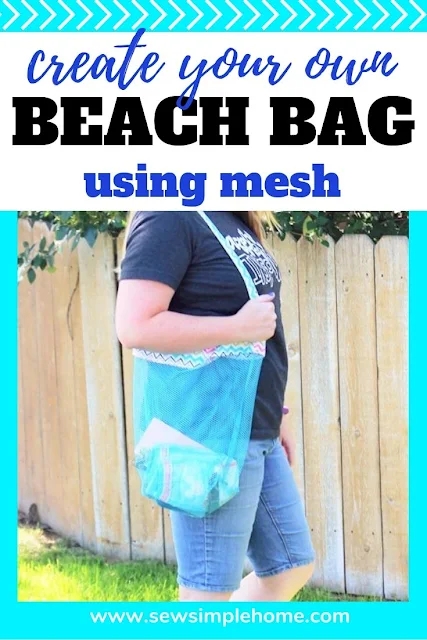
That is what inspired this super simple, super fast mesh beach bag pattern. I needed something to sift out the sand.
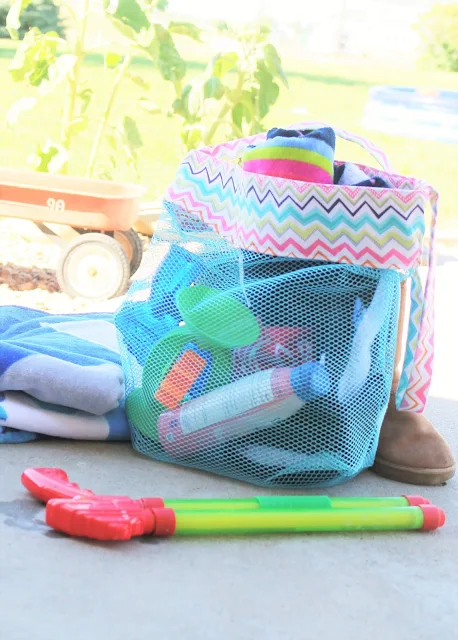
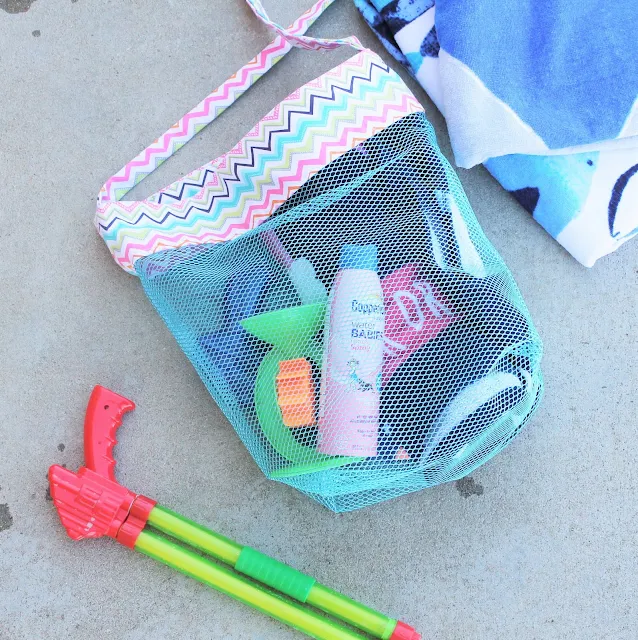
This DIY beach bag could take care of the sand for me the next time we went to the coast or even headed up to the lake camping.
I could load my bag full of sand toys and simply shake it for all the sand to come out.
I even thought how smart it would be to make my kids their own seashell collecting mesh drawstring bags. Now they could collect shells and I wouldn't have to deal with all the sand.
The great thing about this beach bag pattern is you can always make it bigger or smaller depending on your needs.
DIY Beach Bag Pattern
- Mesh Fabric - I got a 3 pack on Amazon of By Annie's Mesh Fabric
- 1/4 yard canvas fabric or a nice twill
- Matching Thread
Cut out the following pieces:
- (1) 15 x 30" in Mesh
- (2) 8 x 15" Cotton, Canvas
- (1) 2.5 x 31" Strap
Step 1
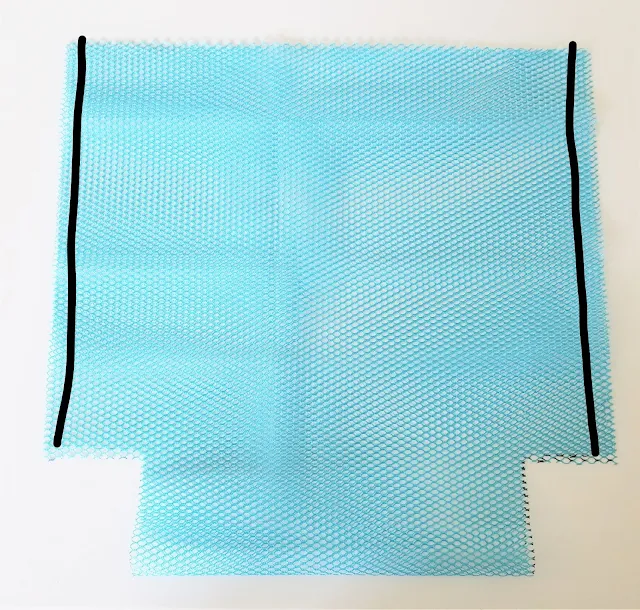
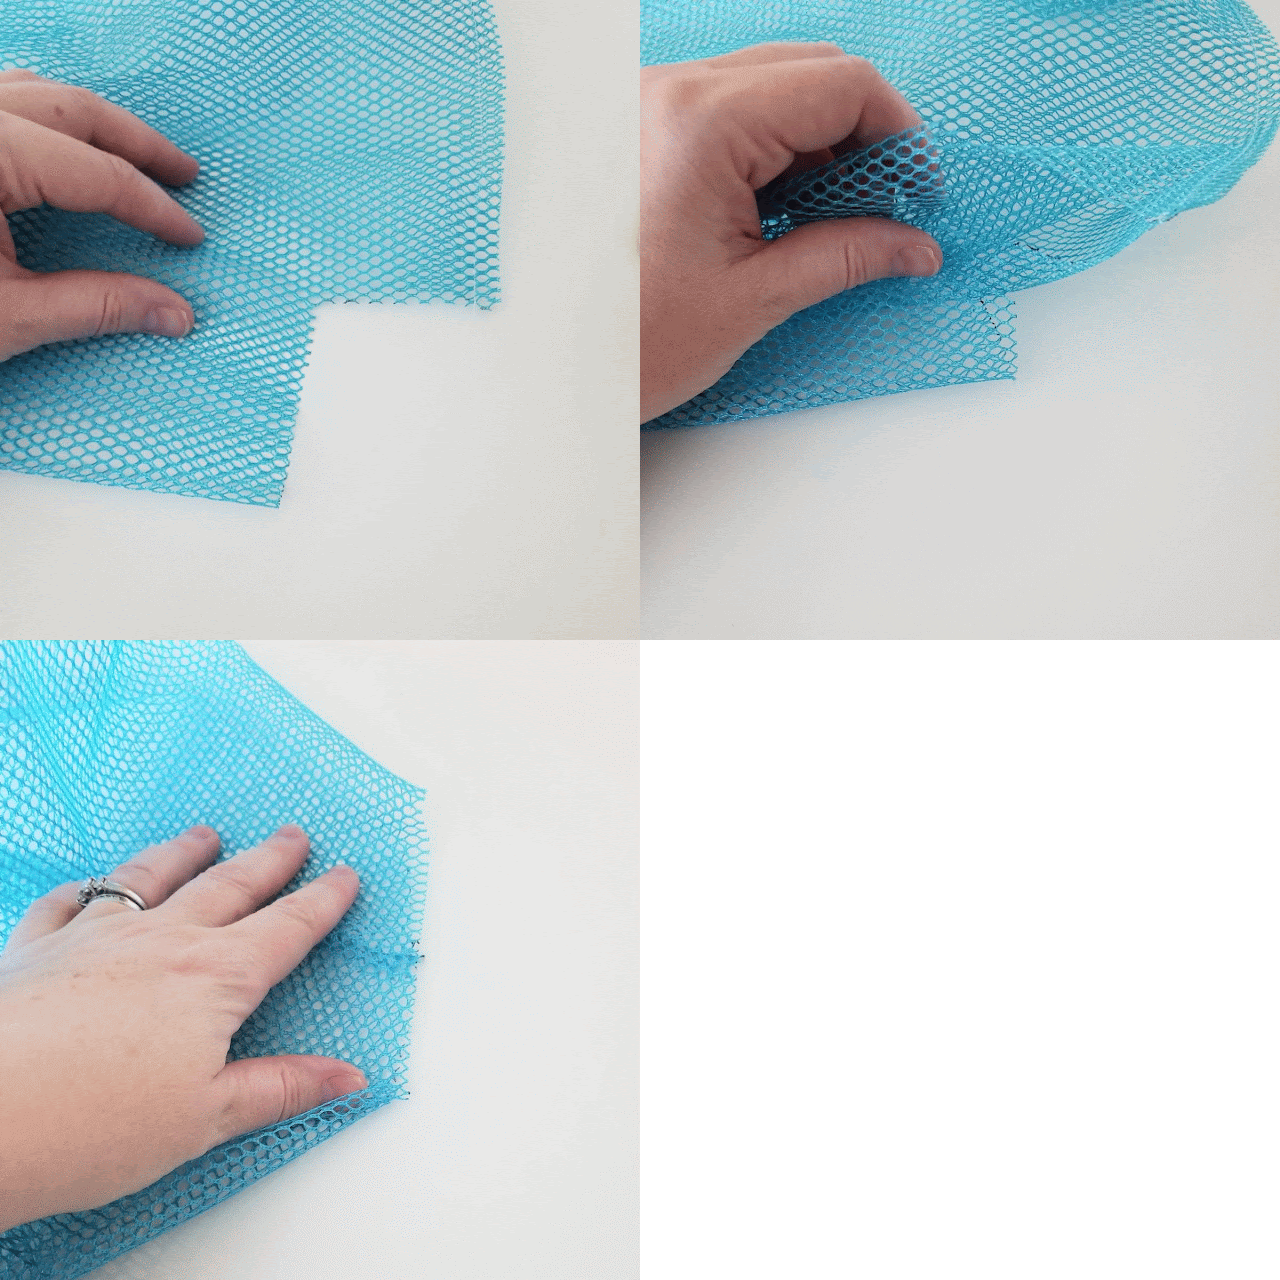
Fold the mesh fabric in half matching the two short edges at the top. Draw a 2.5 x 3" box in each corner where the fold is.
Carefully cut out the box.
Step 2
Stitch together the two long sides. Stopping at the top of the box you cut out.
Step 3
Open the cut out box on one side. You want the "fold" side to match up with the seam in step two. Stitch across.
Step 4
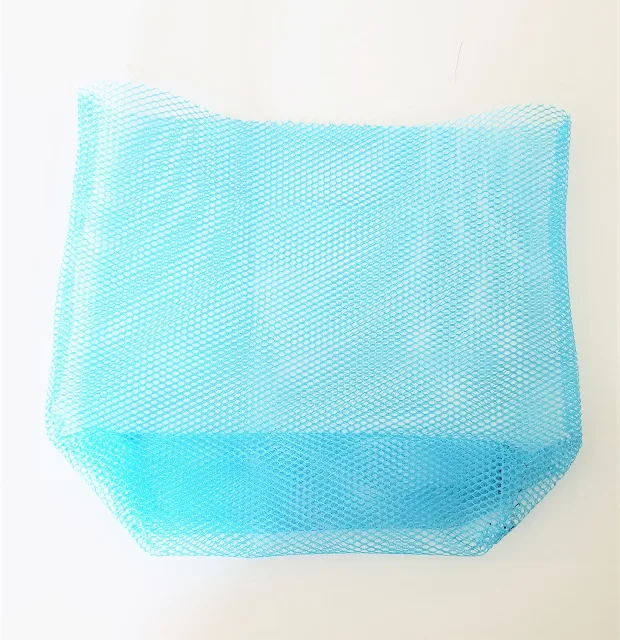
Turn the bag right side out.
Step 5
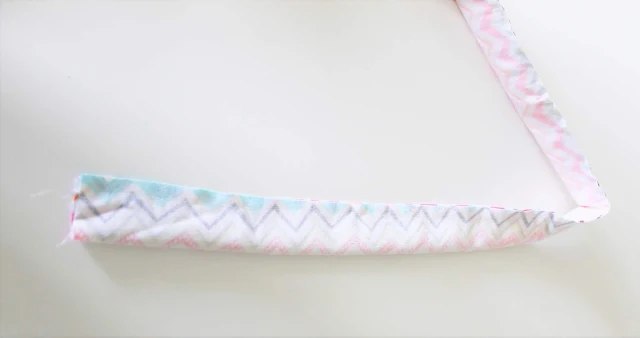
With Right Sides Together (RST), fold the strap piece in half matching the long sides. Sew down the long side.
Turn the strap right side out. You can use a safety pin or a bodkin. Press.
Step 7
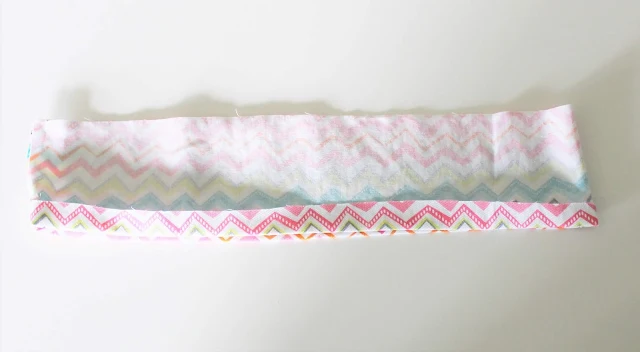
Place the two canvas pieces RST. Match the short sides. Stitch the short sides together.
Press the raw edge towards the wrong side of the fabric at a 1/2" all the way around one of the sides.

Pin the strap piece to either seam on the beach bag. Place the canvas piece over the top of the mesh bag and strap. You'll want the pressed side to be at the bottom.
Stitch the canvas to the mesh bag.
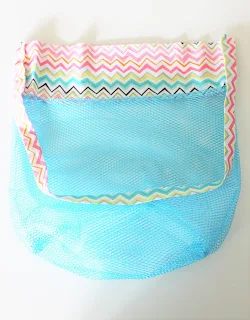

Pull the canvas up over the bag. Fold in half and match the pressed seam to the inside of the bag and pin to the raw edges that are exposed inside the bag.
Stitch around the bag along the folded edge of the canvas.
Press entire bag.
Now the next time we head to the beach, lake or even river, we've got a great beach bag pattern that will keep the sand at the beach and not in my car.
I'll just have to remember to bring the baby powder too!
If you like this pattern, you'll love our tutorial for a Sand Free Beach Tote. It works great for sitting on as well.








It looks like you wanted 2 8x30 pieces of canvas. Unless I missed something. The way you attached the strap looks like it’s between 2 pieces of fabric, but there’s only one if you’re sewing 2 -15” pieces together.
ReplyDeleteIf you look in the materials needed, you'll see you need 2 pieces of 8 x 15 pieces of canvas. That would give you the two separate pieces to place the straps in between. Hope that helps.
DeleteVery cute idea!
ReplyDeleteMy bag came out really cute, but the strap comes out from the bottom of the canvas trim. I went over the directions several times, and I can't see how it would have come out otherwise. so I stitched them upwards towards the top of the bag, and it is fine, but I lost several inches of the strap. I might just add the straps at the end next time. My machine wouldn't sew the netting seams, so I encased them in bias tape, but that shouldn't have affected the straps. I'll make 6 more, for the grandkids!
ReplyDeleteNo worries. Glad you found a method that works for you.
Delete