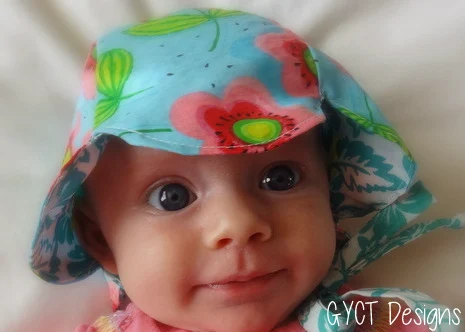
She has "baby doll eyes". That's what everyone says about my sweet daughter's eyes.
They are HUGE. And I have found they get bigger when I can keep her hair out of her face.
But with those big eyes came fair skin and red hair. Which means she needs a lot of protection from the sun.
This post contains affiliate links to products I recommend. I do make a portion off any you may purchase. See full disclosure here.
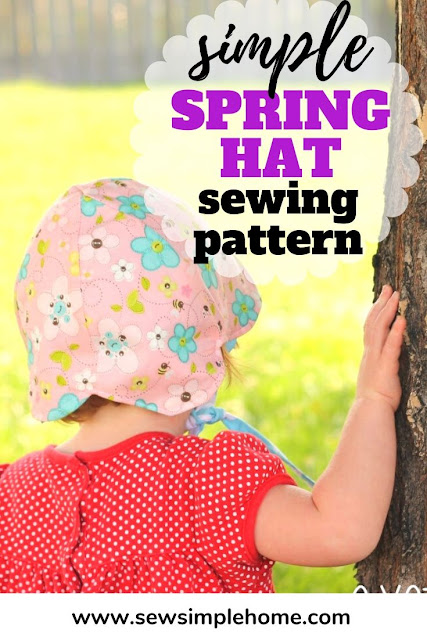
Since I love to sew, I wanted to come up with a unique and cute baby hat pattern to block the sun, but also accent that cute face and those eyes. I mean who doesn't love baby sewing projects?
Why not make her into a flower? So was born this petal hat pattern.
I love this petal hat. It is a cross between a bucket hat and a bonnet.
The pattern comes in 3 sizes Small (3 months to 6 months), Medium (6 months to 12 months), and large (12 months to 24 months) to protect the tiniest baby head.
To be honest, the 24 month size can fit some toddlers as well. Just depends on how big that noggin of theirs is.
But if this one doesn't fit, or you don't want that little boy being a flower. We also have a fun aviator hat pattern.
This hat is great for covering the top of the head and ears. It is more bonnet like for sure. But you could extend the petals to make it cover more of the face.
She loves her hat. Especially because it has a bow that ties in the front.
She is ALL girl for sure.
Okay, how about I share with you this easy pattern and tutorial. I promise you are going to love it!
Petal Shaped Baby Hat Pattern
Materials Need
- Petal Hat Pattern Pieces - Download for free at the end of the post
- 2 fat quarters (I like contrasting fabrics, but you can do whatever)
- Thread
Picking your pattern size
Pattern Size
|
Age
|
Head Circumference
|
Small
|
0-6 Months
|
14-16 inches
|
Small - Medium
|
6-12 months
|
17-19 inches
|
Medium
|
12-18 Months
|
18-20 inches
|
Large
|
2 years
|
20 inches
|
Step 1
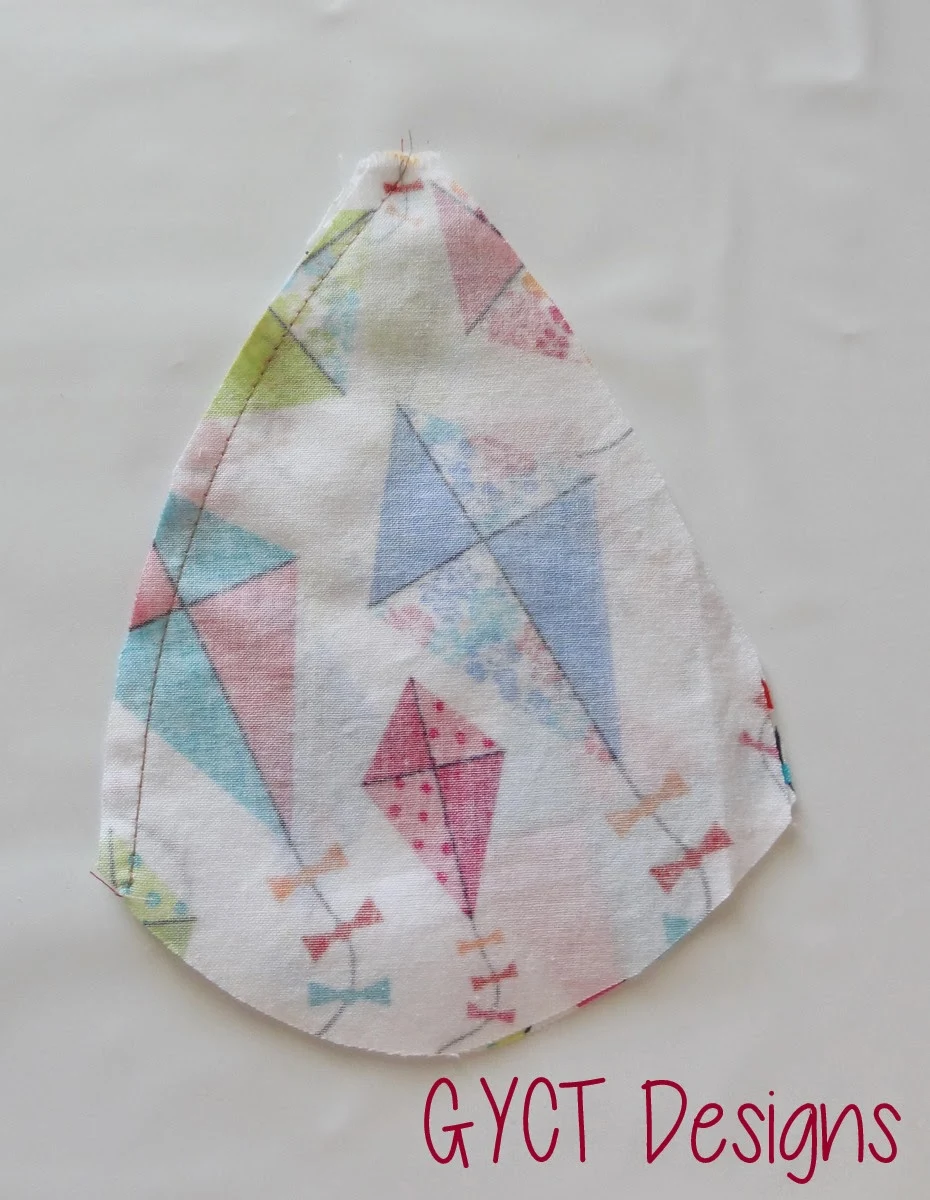
Cut out your pieces. You'll need 5 petals of your main fabric, 5 of the lining and 2 for the ties.
Step 2
Place 2 petals right sides together, matching side seams. Using a 1/4" seam allowance, stitch from the point at the top down to the end of the side seam and make sure to backstitch.
Step 3
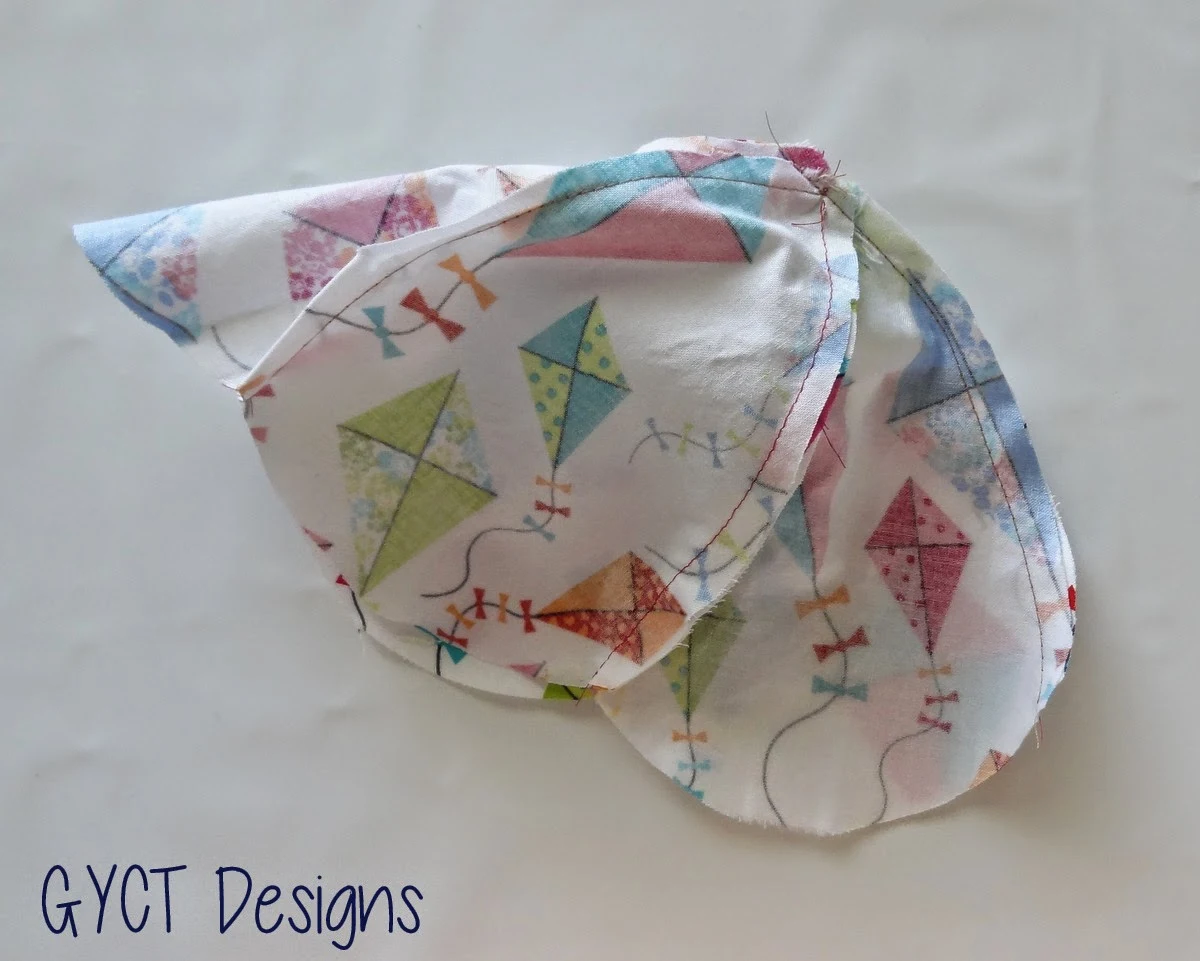
Add the next petal with right sides together and stitch down the side seam. Repeat with remaining petals until all 5 are sewn together.
Repeat step 2 with lining pieces. Set aside your main hat and lining hat.
Step 4
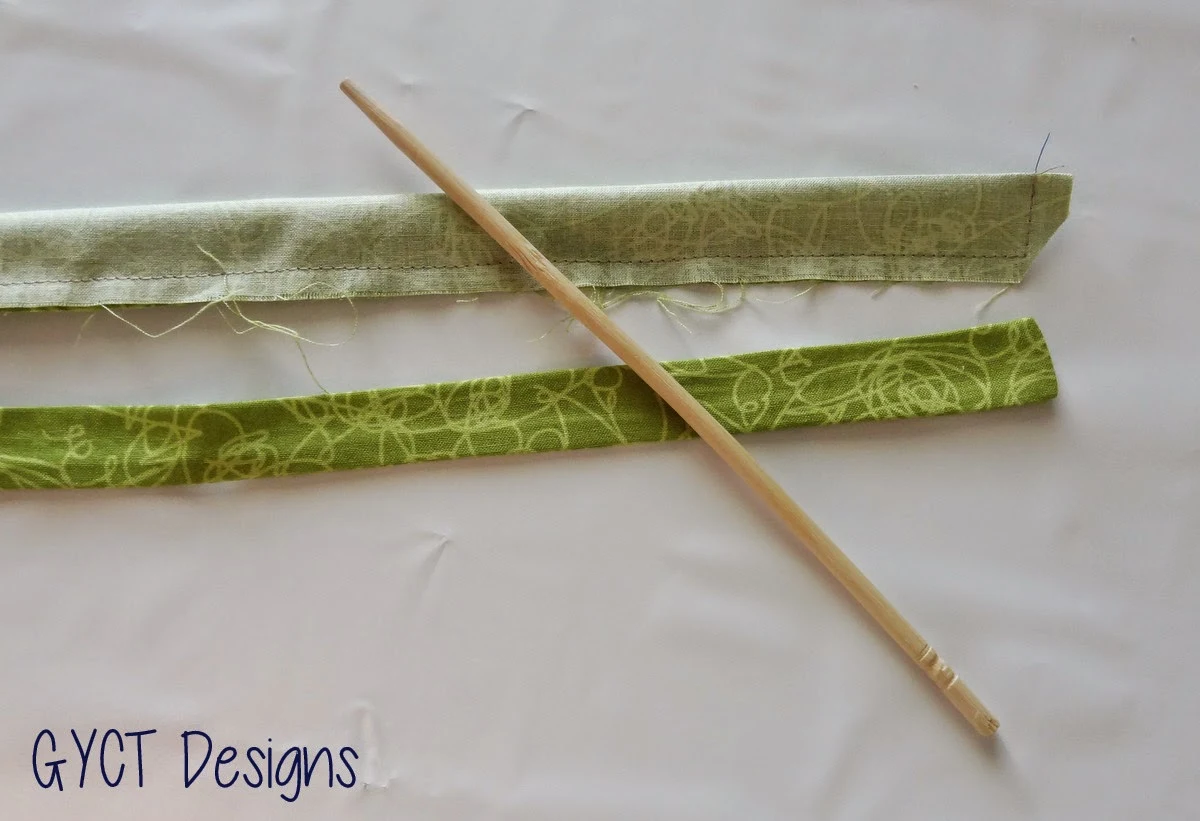
With right sides together, fold one of your ties in half vertically. Stitch across one of the short edges and down the long edge. Clip your corner. Repeat with the other tie.
Step 4
Carefully turn your ties right side out using a turning device such as a wooden dowel or the eraser side of a pencil.
Carefully turn your ties right side out using a turning device such as a wooden dowel or the eraser side of a pencil.
Step 5
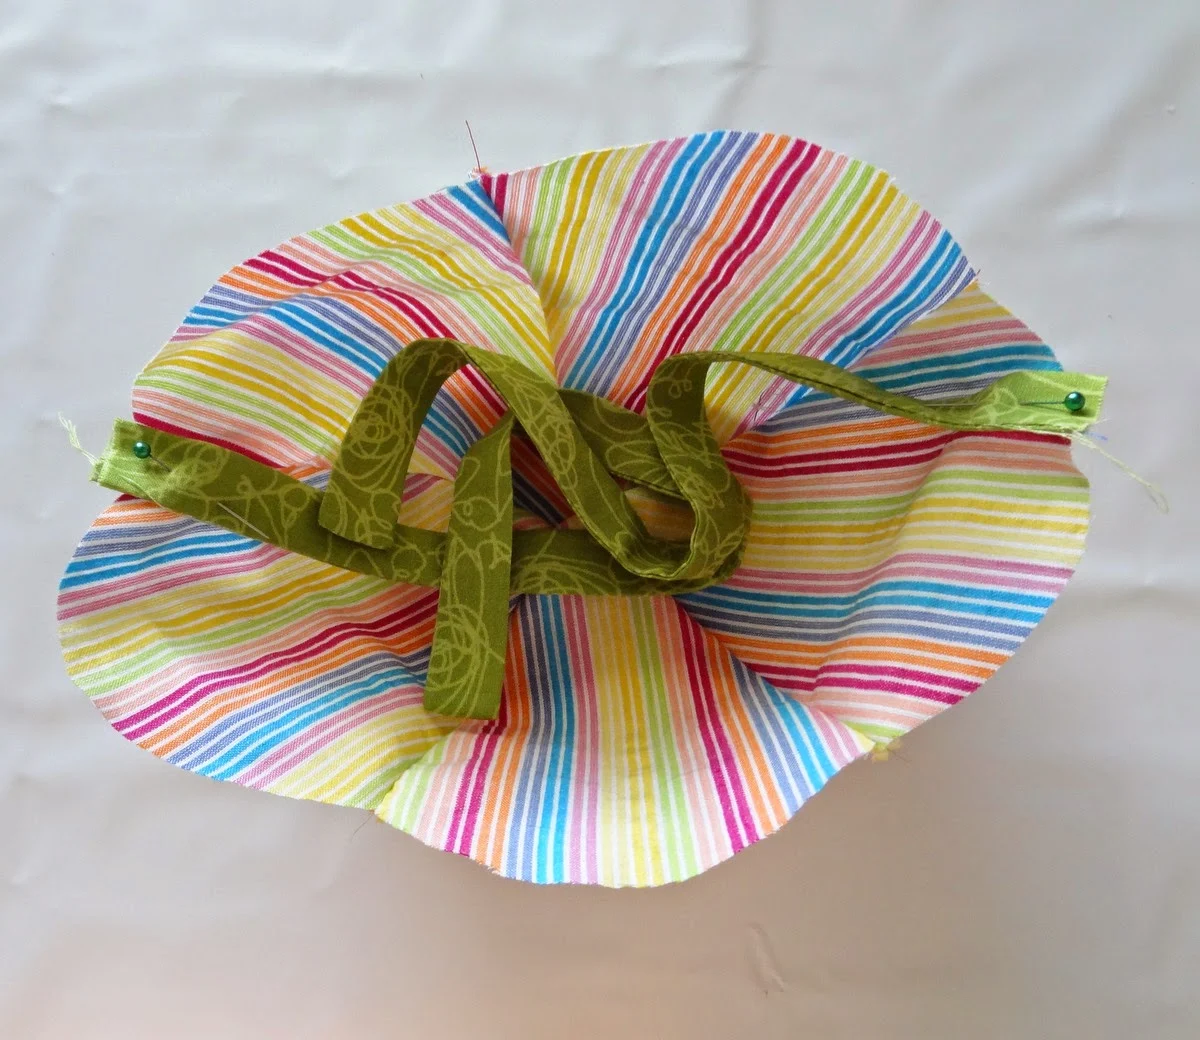
Take your hat lining and place it wrong side out. Pin your ties directly across from each other on the hat.
Step 6
Turn your main hat right side out, place it inside the lining. Match up all the petals and pin in place. Make sure you mark a spot for a 2" opening in the middle of one of your petals.
This will be used to turn the hat right side out.
Turn your main hat right side out, place it inside the lining. Match up all the petals and pin in place. Make sure you mark a spot for a 2" opening in the middle of one of your petals.
This will be used to turn the hat right side out.
Step 7
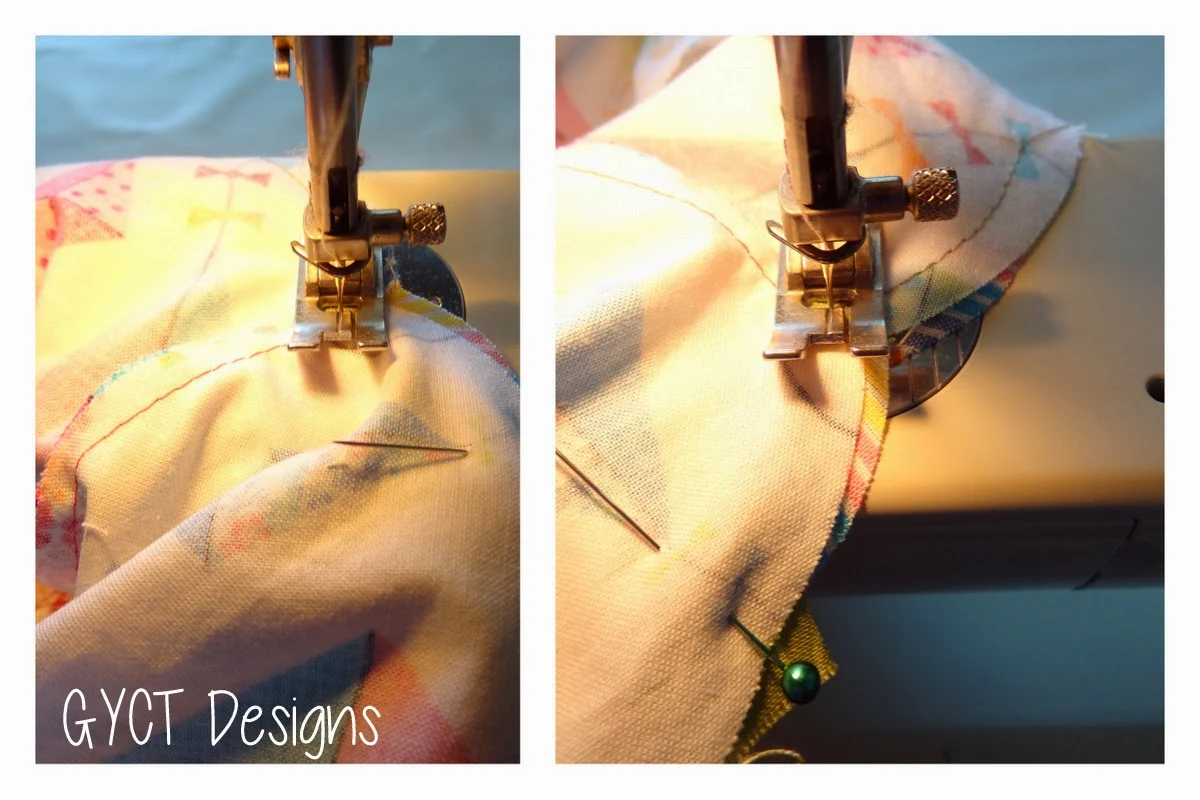
Stitch around the petals of your hat at 1/4", leaving one of your petals open. As you stitch, make sure to carefully follow the curve of the hat. When you get the a seam, make sure to put your needle down and turn your hat so that your petals have a nice shape and look separate when you turn it right side out.
.
Step 8
Clip along each of your petals every 1-2". Clip into each of your seams. This allows the petals to lay flat and curved when turned
Step 9
Carefully pull your hat right side out through the opening you left on one of your petals. Press your hat around each petal and seam. Making sure all the rounded edges and corners are flat and smooth.
Carefully pull your hat right side out through the opening you left on one of your petals. Press your hat around each petal and seam. Making sure all the rounded edges and corners are flat and smooth.
When you get to your open petal, press the raw edges inside the hat so that they don't show.
Step 10
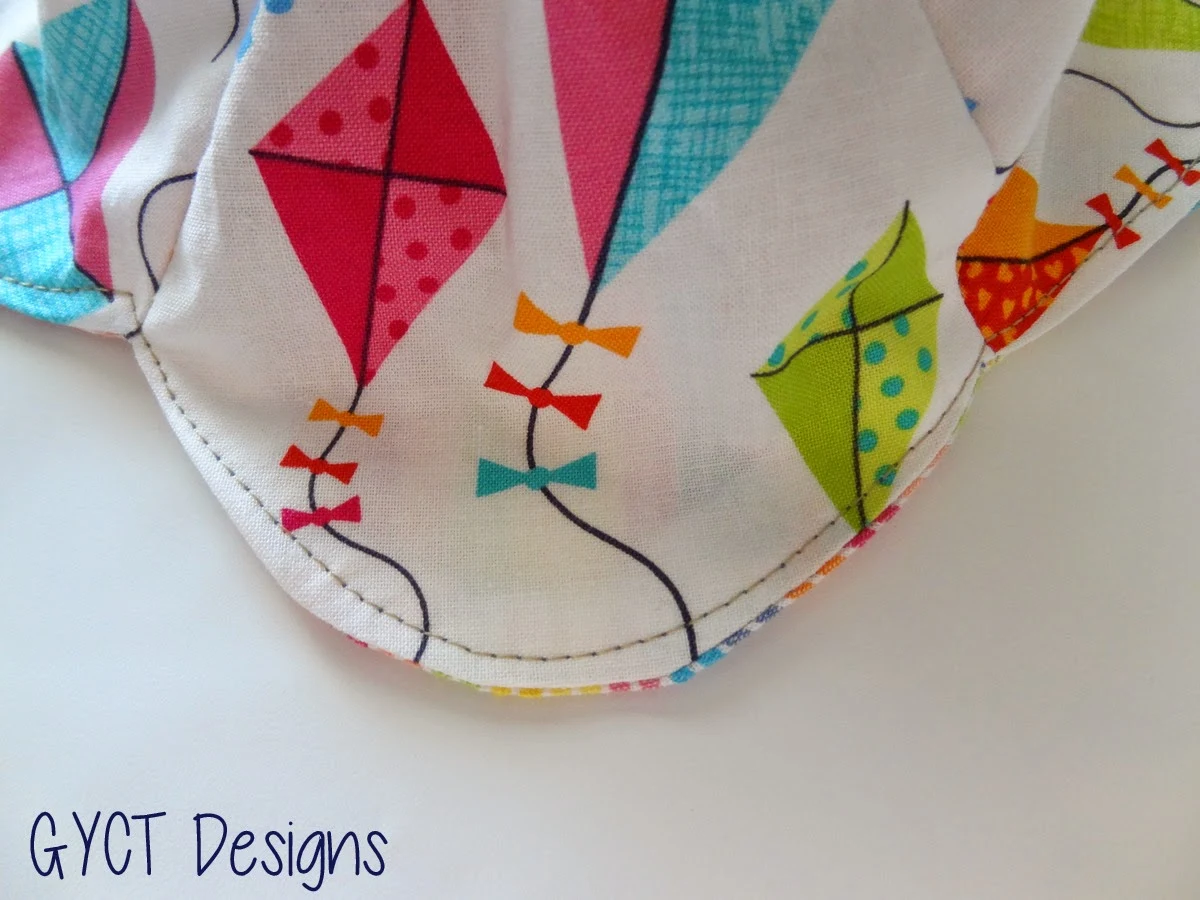
Topstitch your main fabric and lining together at 1/8" by following curve of each petal. Make sure that your topstitching closes your open petal.
Isn't that just such a fun hat idea?
That sweet baby is not only going to look adorable but will be protected from the sun.
Want the free baby petal hat pattern? Click the button below to download it for free.

