I am super excited to share some of the fun sewing I've been doing for our Halloween costumes this year. If you've followed us for any amount of time you know that we LOVE Halloween and we especially love creating family costumes.
It doesn't always work out, but most years we all work together for a fun costume idea. This year is no different. We decided to do some DIY Steampunk Family Costumes which turned out great.
It doesn't always work out, but most years we all work together for a fun costume idea. This year is no different. We decided to do some DIY Steampunk Family Costumes which turned out great.
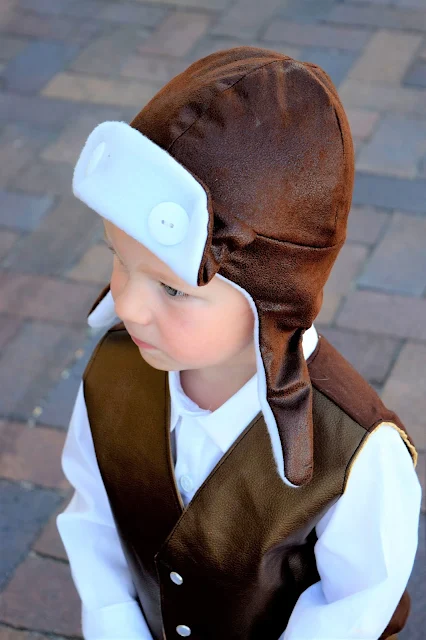
Today I wanted to share with you one of my favorite parts of my 2 year olds costume this free aviator hat pattern.
I've always loved the look of aviator hats. They are a little form fitting and sung but they look comfortable and fluffy on the inside.
Like most years, I try to make parts or all of my children's Halloween costumes reusable whether to wear everyday or for dress up, like our Cowboy hats.
I knew that if I could get it right, this hat would be perfect for our cold winters. So I got to work. I looked at lots of hats and patterns and finally came up with this Tiny Aviator Hat Pattern.
It works great for dress up or costumes but also makes a really adorable hat for everyday wearing.
This cap should fit children with heads measuring 20-21". Which should fit most toddlers and small school age children. It should fit snugly but not super tight.
You can take out the lining fabric for the hat top to give a bit more "head room" if you need to as well. I would suggest making a muslin, or practice hat, just so you get the fit right for your child. But it is so cute you might never stop making this hat.
Let me show you how to get started.
You can take out the lining fabric for the hat top to give a bit more "head room" if you need to as well. I would suggest making a muslin, or practice hat, just so you get the fit right for your child. But it is so cute you might never stop making this hat.
Let me show you how to get started.
How to Make an Aviator Hat - Free Pattern
- Free Aviator Hat Pattern - download for free at the end of the post
- 1/2 yard faux leather or pleather
- 1/2 yard of fleece
- 2 Large buttons or snaps
- Matching thread
Step 1
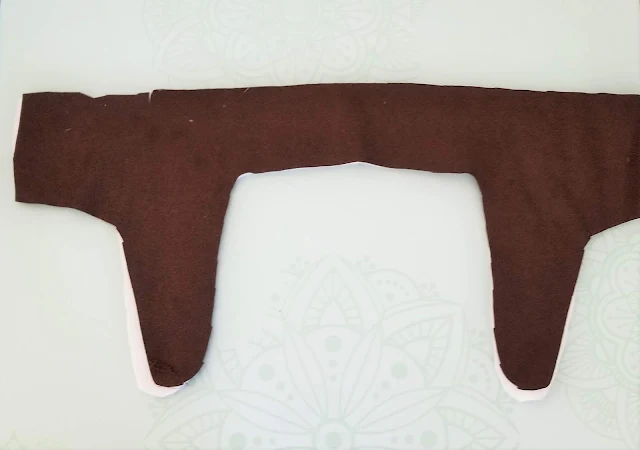
Cut out 4 cap tops in main fabric and lining. One cap flap in main fabric and one in lining. And a cap bottom in main fabric and lining.
With Right Sides Together (RST), place the cap flap main fabric and lining fabric together. Stitch around the rounded edge of the flap.
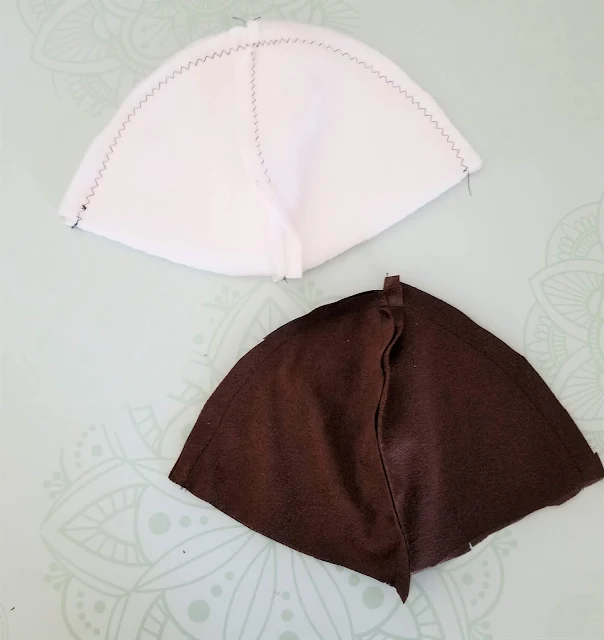
Place 2 cap top pieces with RST and stitch down one side of the curve. Repeat with other pieces of the cap top lining and main fabric.
Step 4
Open the cap top main pieces and place them with RST and stitch along the top curve. Repeat with lining pieces.
Step 5
With RST, place the cap bottom main piece and lining piece together. Sew together around the bottom edges and around the curves. Leave the two short sides and the long top edge unsewn.
Step 6
Bring the short sides of the cap together and open it so that the lining is on the bottom and and main fabric on top. Stitch down the side seam.
Step 7
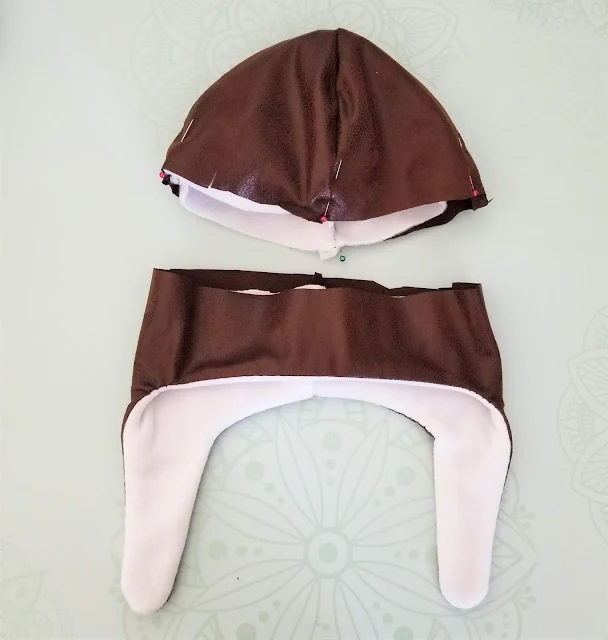
Turn the main cap fabric wrong side out and place it over the top of the lining top. Your Aviator Hat pieces should look like the above picture.
Step 8
Place the flap with the main fabric up over the center of your cap bottom. Center it. Stitch it in place.
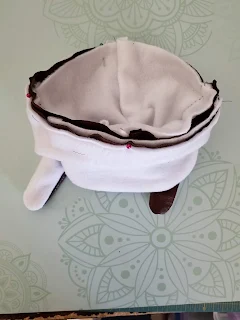

Turn the cap bottom inside out and place the cap top inside. Line up all the raw edges and stitch around the cap. Turn cap right side out.
Step 10
Fold the flap up and stitch in 2 buttons or add 2 snaps to hold the flap up in place.
Now you have your very own ADORABLE Aviator Hat that will fit most toddlers and school age kids.
I seriously love how this hat looks on my little guy. He looks so cute and with the fleece lining he'll be nice and warm all winter long.
Want the Free Aviator Hat Pattern? Simply click the link below to download your copy.


