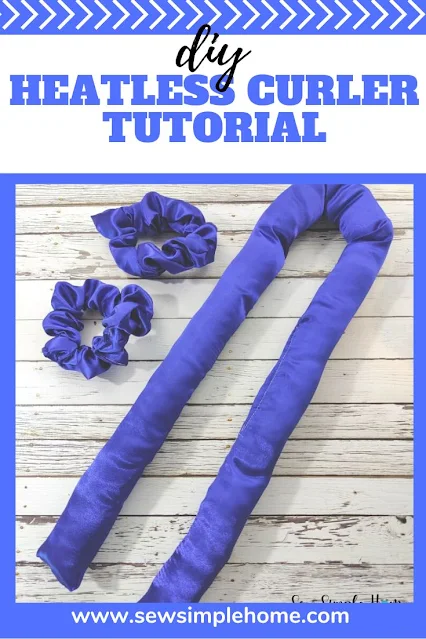
As a child, I had ridiculously straight hair. To the point that my mother chopped off all my hair in 4th grade because she didn't know what to do with my hair. It never curled. It was beyond frustrating to her.
By age 11, I was doing my own hair and had discovered hot rollers. They made a huge difference in my hair and got that crazy straight hair to learn to curl.
This post contains affiliate links to products I recommend. I do make a portion off any you may purchase. See full disclosure here.
Fast forward to today, I've finally trained my hair to take some curl. (Of course, pregnancy hormones also helped to give my hair a little wave.) But my newest favorite method of curling my hair is making robe curls or no heat curls overnight.
There are so many heatless curlers out there, but since they are basically just a strip of fabric and some scrunchies, I knew we could make our own.
After some trial and error, I'm sharing our finished heatless curler and scrunchies with you. You are going to love how easy it is and how great your hair will look.
How can I curl my hair overnight without heat?
Use our new heatless curler tutorial. It is so fast, easy and the curls can last for days if I do it right. I've looked and researched and created my own heatless curler.
Simply follow the YouTube tutorial below and you'll be making heatless curls in no time.
Heatless Curler Video
How long does it take for robe curls to work?
That depends entirely on your hair. Most can have curls within 4-6 hours. But thicker hair may take longer. Using a little moisture and allowing the hair to dry completely will help those curls set best.
Sewing Pattern - No heat curls overnight
Materials Needed- Free Heatless Curler PDF Pattern - download at the end of the post, look for the peach colored button
- 1/4 yard Stain fabric
- Matching Thread
- Poly Fiberfil
- 20" of 1/4" elastic
Step 1
Cut out the curler barrel. You can use the PDF pattern at the end of the post or you can cut out a 5 1/2" x 32" piece of satin fabric.
Step 2
Fold the barrel in half, matching the long sides. Make sure that right sides are together.
Stitch down the short sides and the long side of the barrel. Leaving a 3" opening on the long side to add your Fiberfil.
Step 3
Trim the corners and turn the barrel right side out.
Step 4
Stuff barrel with Poly Fiberfil. Don't overstuff the barrel. You want it to be soft and movable. If it is overstuffed it won't shape the curls well.
Step 5
Close the opening in the barrel using the sewing machine or sew by hand.
Step 6
Make twp scrunchies using the Burrito Scrunchie Method in this blog post or check out the video here in the post to follow along.
That's it! You made your own heatless curler with this easy tutorial. Now go try curling your hair. Just remember you need to keep them in for several hours, or even overnight for the best results.
Now to make the no heat curlers work for you.
First, wrap your hair around the barrel of the curlers. At the end, add the scrunchie to keep the hair in place.
Repeat with opposite side.
After several hours, or use overnight, remove the barrel and have beautiful curls and waves.
Can't get much easier than that.
Want the free no heat curls sewing pattern? Simply click the link below to download.

.jpg)
.jpg)


.jpg)
.jpg)
.jpg)
.jpg)
.jpg)
.jpg)
.png)
.png)
.jpg)


No comments
I'd love to hear from you!