"Mom, my lips are so chapped!! But I can't find my chapstick."
Sound familiar? Especially with my daughter. She struggles to keep track of her chapstick at school and at home.
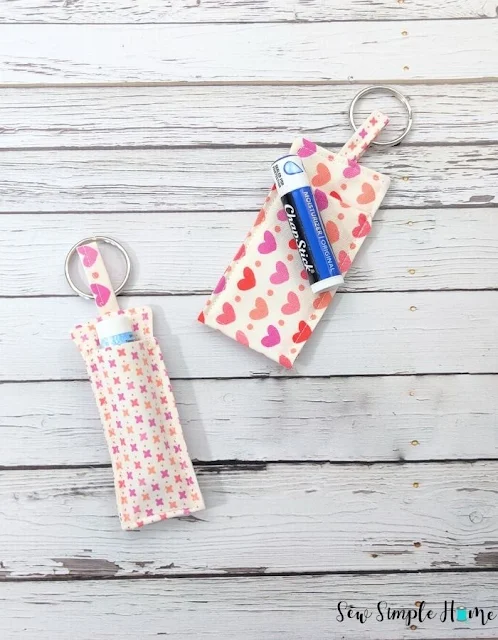
However, I think we've solved the problem. This super simple, yet functional, DIY chapstick holder has made a difference.
This post contains affiliate links to products I recommend. I do make a portion off any you may purchase. See full disclosure here.
She can attach it to the outside or the inside of her backpack and she always knows where her chapstick is.
And the best part, we can wash the holder easily when it gets a little too yucky over those busy, lip cracking months.
My son has requested one now and since this is a nice scrap buster project, we can go through and find a fabric he thinks is "cool enough" to make him one.
And if he is embarrassed by it, he can hook it in his backpack and no one will even see it.
-----
Want the Chapstick Holder pattern along with none of the hassle? Grab our Lip Balm Holder Pattern in our Etsy Shop. No need to access the internet each time you want to make your own.
-----
DIY Chapstick Holder
Materials Needed
Step 1
Download free pattern at the end of the post or cut out pieces with following measurements:
2 - 2.25 x 7" pieces for holder and interfacing
1 - 1 x 3.5" for ring tab and interfacing
Press interfacing to wrong side of the fabric.
Step 2
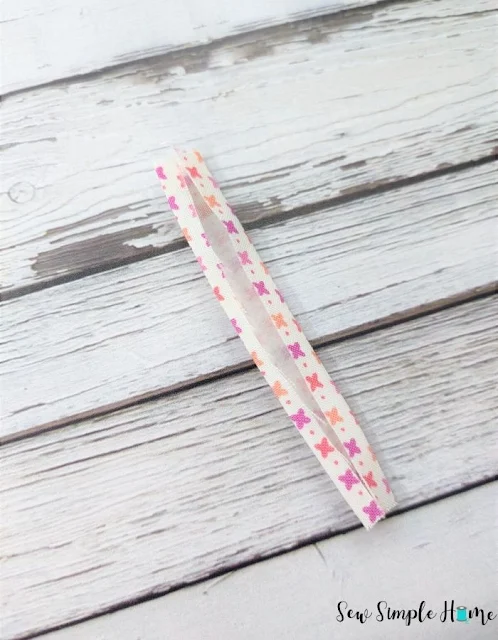
Start by pressing the long side of the ring tab towards the middle. Repeat with opposite side. The raw edges should meet in the middle.
Step 3
Fold the tab in half and press. Stitch along the long side of the tab. Press again.

Step 4
Fold tab in half, matching raw edges. It should be a loop. Pin tab to one of the short sides of the holder piece, with right sides together.
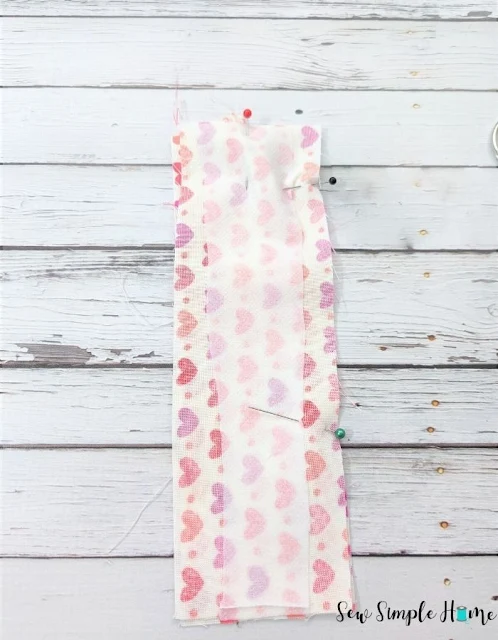
Place the other holder piece over the pinned tab. Make sure right sides are together. Mark a 2" opening along one of the long edges to leave open when sewing.
Step 6
Step 6
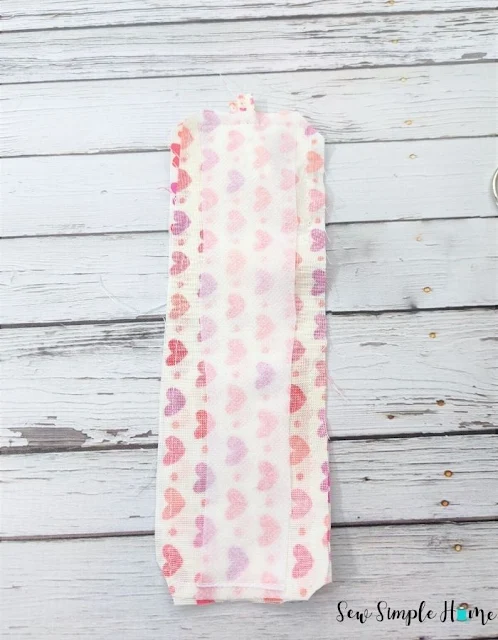
Stitch around the entire chapstick holder. Leaving the 2" opening on the one edge.
Trim corners to remove bulk. Press well.
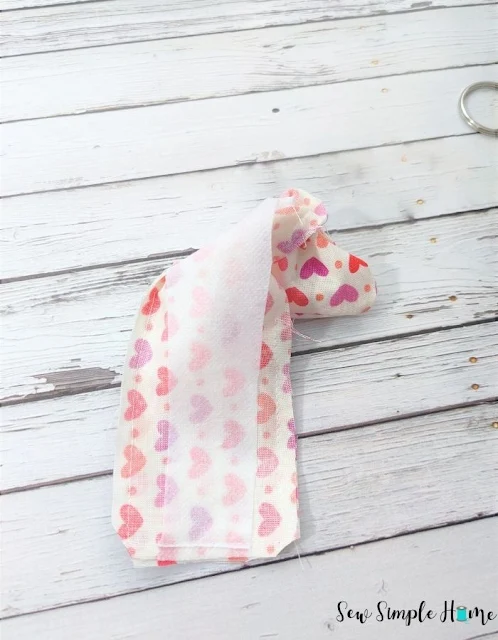
Take bottom edge of the holder and fold it up towards the top edge. Leave a 3/4" section at the top. Pin sides in place.
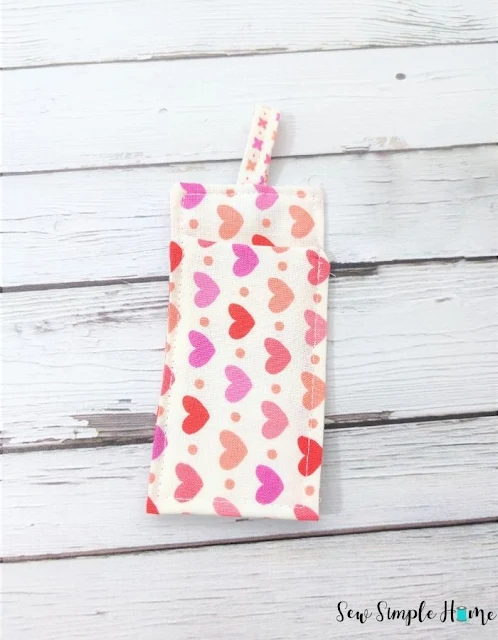
Topstitch a box around the entire holder to ensure the sides stay together.
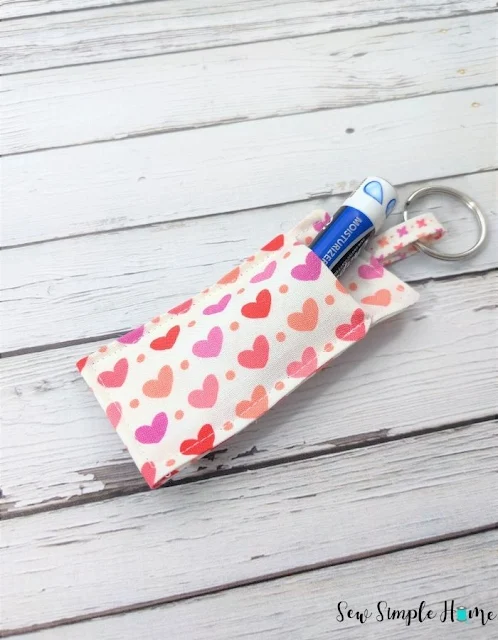
Add keychain ring to the tab.
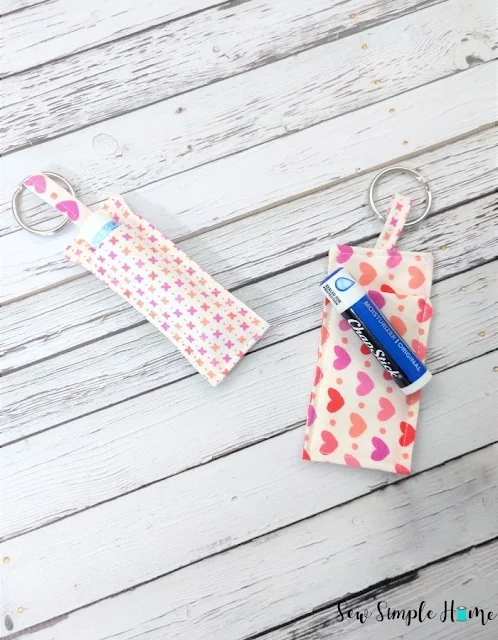
You did it! Now you get to add your chapstick or lipgloss. Whatever awesome lip protectant you like.
This is a great beginner sewing project too! Which means adults and kids can easily make this project for themselves or as gifts for upcoming birthdays and holidays.
Want the free diy chapstick holder? Simply click the peach colored button below to download the pattern.








.jpg)


Thanks for this quick and easy tutorial...and the free pattern. I've been meaning to make one of these for a while. Now I have no excuse!
ReplyDeleteCarolyn