One of the most frequent questions I get asked is if I have a better method for mitering corners when it comes to quilting projects.
This post contains affiliate links to products I recommend. I do make a portion off any you may purchase. See full disclosure here.
I will be 100% honest and say, I'm not much of a quilter. But I do enjoy making items for my home like mug rugs, table runners and placemats. And those projects often need mitered corners.
What is a mitered corner?
A mitered corner is when two 45° angles come together to create a 90° angle. In sewing, that typically means the corner of a rectangular or square project like in binding corners of a quilt.
Why would I want to miter corners?
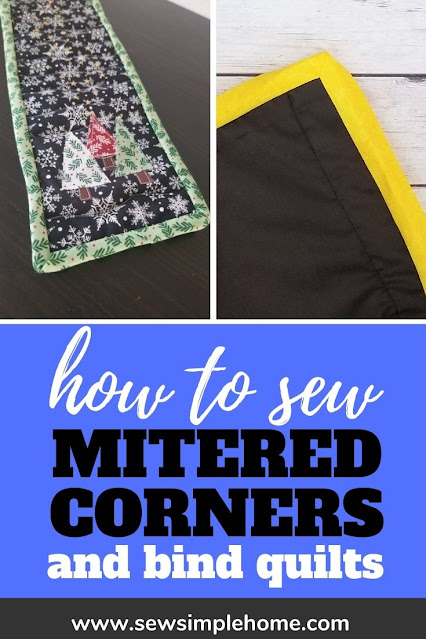
Mitered corner make a project look nice, neat and super professional. But I will admit my mitered corners didn't always look this way.
However, with the method I am going to teach you today, you are going to have some really beautiful mitered corners when I you sew with bias tape.
How to Miter Corners
Materials Needed
Simple Mug Rug Pattern - Get free at the end of the post by clicking the peach button
To demonstrate how to miter corners using bias tape, I'll be making a super simple mug rug. You can get the free pattern at the end of the post.
Step 1
Place three layers of mug rug together with batting in the middle and right sides facing out. Fold 2" bias tape in half. I like to use handmade bias tape because I can easily match it with the fabrics I have on hand.
Find the center of one of the long edges of the mug rug. Pin bias tape to the raw edge about 1" from the center of the side.
Step 2
Pin bias tape along the raw edge of the
Step 3
Start sewing at the 1st pin and sew to the end of the side. Clip threads.
Step 4
Fold the bias tape up away from the corner in a diagonal.
Step 5
Fold the bias tape back down. You should now have a little "triangle" on the end. Place mug rug back into the machine.
Step 6
Stitch from the triangle edge all the way to the opposite edge.
Repeat steps 4-6 with all your corners to miter.
Step 7
When you get back to the original side, stitch towards the center but stop 1" from the center. You should have a 2" opening.
Step 8
Match the ends of the bias tape in the center of the mug rug. Pin. Pull the bias tape away from the mug rug.
Stitch the bias tape where you placed the pin.
Step 9
Trim the excess bias tape and press the opening flat.
Step 10
Stitch across the center to close off the opening.
Step 11
Get rid of bulk by cutting corners and grade and trim down all your raw edges. Turn bias tape to the back side of the mug rug.
To get nice mitered corners, pin folded edge of the bias tape down along the two long sides first. Next, pin down the two short sides. It should automatically create and nice mitered edge.
Step 12
Hand stitch the bias tape to the main fabric using a slipstitch or a whipstitch.
Want to practice how to miter corners? Grab the free simple mug rug pattern by clicking the button below and start using bias tape to miter corners today.


No comments
I'd love to hear from you!