
Quilting has never been a passion of mine. In fact, I kind of hate it.
I think because everything has to be cut out and you have a million pieces. It can be a bit overwhelming. But not when you paper piece.
If you've never learned how to paper piece, you'll love it. Basically all you need to know is how to sew a straight line and you are ready to sew.

This post contains affiliate links to products I recommend. I do make a portion off any you may purchase. See full disclosure here.
What is paper piecing?
Basically, as you sew to create your design, you sew your sections together using the paper pattern as the base. This paper pattern is removed when you are finished sewing.
When you paper piece, you have the freedom to cut your fabric however works for you. It is a great use of scrap fabric as well.

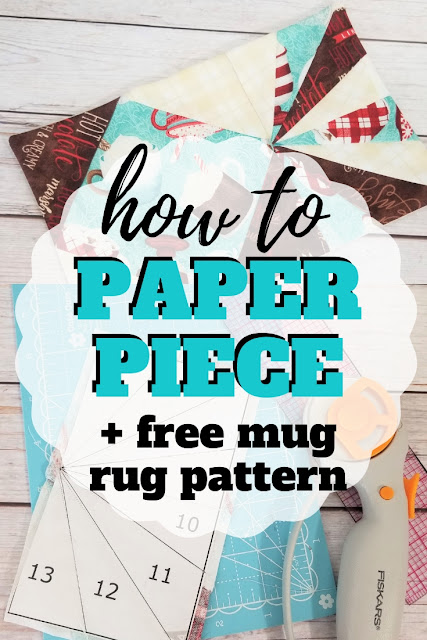
Let's teach you how to paper piece with these free mug rug patterns.
Free Mug Rug Patterns

Materials Needed
- Mug Rug Sewing Patterns - Download at the end of the post
- 3-4 fat quarters of cotton fabric
- Cotton batting
- Thread
- Rotary cutter and Self Healing Mat
- Clear Ruler
Tip: Paper piecing can be a bit confusing at first. Check out both our time lapse video here in the post or our 20 minute YouTube tutorial to help you get through the trickier steps.

Trim your chosen mug rug pattern. You'll want to cut the two sections apart.

Start with #1 on your paper. Place the wrong side of the fabric piece to the wrong side of the paper pattern. Pin.

Cut a second fabric piece large enough to cover #2 on the pattern.
Place piece 2 right sides together (RST) with piece one, making sure to overlap about 1/4" or so on the sewing line.

Turn your paper pattern right side up and sew across line #2.

Separate the paper piece from the fabric. Use a ruler and rotary cutter to trim the seam down to 1/4".

Step 6
The first photo shows the trimmed edge. Fold up #2 and grab another fabric piece for #3. Repeat steps 2, 3 and 4 for pieces 3, 4, and 5.

Step 7
Open up the sides and press flat. Take a rotary cutter and trim around the outside of section 1, leaving a 1/4" seam allowance all the way around. Set section 1 aside.

Step 8
Grab the paper piece for section 2. Place piece #6 wrong sides together with the paper. Overlap piece #7 and pin.
Turn your paper piece right side up and stitch piece # 6 and #7 together. Repeat this process with each piece 6-13.

Step 9
Open up the sides and press flat. Take a rotary cutter and trim around the outside of section 2, leaving a 1/4" seam allowance all the way around.

Step 10
Stitch section 1 and section 2 together along the short edge. Press. Remove paper backing on each section.

Cut out a back and center cotton batting for your mug rug.

Place the batting on a flat surface. Add the paper pieced section on top right side up. Last, place the right side of the backing to the right side of the paper pieced section. Pin.
Stitch the 3 layers together around the outside, leaving a 3" opening so you can turn the mug rug.

Turn the mug rug right side out and topstitch around the entire outside. Press.
Aren't you glad you learned how to paper piece? It is much easier than it looks and the finished product is absolutely gorgeous.
Want to try out paper piecing yourself? Click the button below to download our two free mug rug patterns.


I love to paper piece and love to give mug rugs. So thanks for combining. Question for what is page 3? I plan to make several for Christmas. Thanks again.
ReplyDeleteGreat question. It is just the scale page. You'd measure the 2x2" square to make sure you printed the pattern at the correct scale. You can skip printing it if you'd like.
DeleteThis comment has been removed by a blog administrator.
ReplyDelete