"Why isn't his nose red, Mom?" My then 4 year old asked.
"Why isn't whose nose red?" I responded.
To which my preschooler shouted, "The reindeer!"
The age old question. Why aren't actual reindeers noses red but black or brown or even white?
This post contains affiliate links to products I recommend. I do make a portion off any you may purchase. See full disclosure here.
How does one respond to such a question? Because Rudolph isn't a real reindeer? Santa got it wrong?
Instead, I did the mature thing and said simply because it wasn't cold enough outside.
Reindeer have signified Christmas and winter for generations. They are a beautiful rendition of nature during the harsh months of the year. And they bring a lot of joy in the form of holiday songs and kids movies.
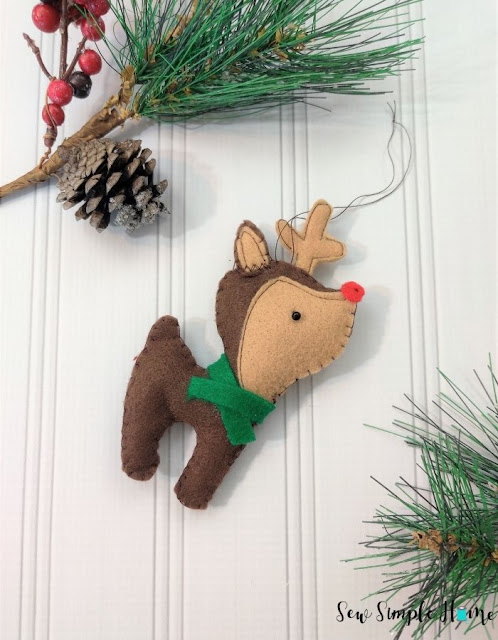
That's why this felt reindeer ornament has been a work in progress for me for several years. I finally pushed myself and decided this was the year to share my love of the beautiful creature.
And of course, I had to make a bit more whimsical and sweet.
Make sure to check out some of our sweet reindeers friends as well including the felt gingerbread people and our mystical unicorn.
Grab the Fun and Festive Felt Ornament eBook and get not only this ornament pattern but 7 others for just $7. No need to access the internet each time you want to make your own.
Felt Reindeer Ornament
Materials Needed
- Felt Reindeer Ornament Pattern - get at the end of the post by clicking the peach colored button
- Brown, tan, green and red felt
- Glass Doll Eyes - I used 4mm
- Brown Embroidery Floss
- Poly Fiberfil
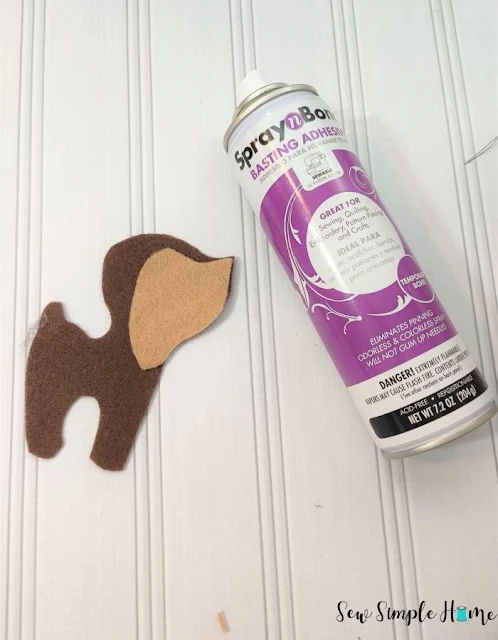
- Basting Spray
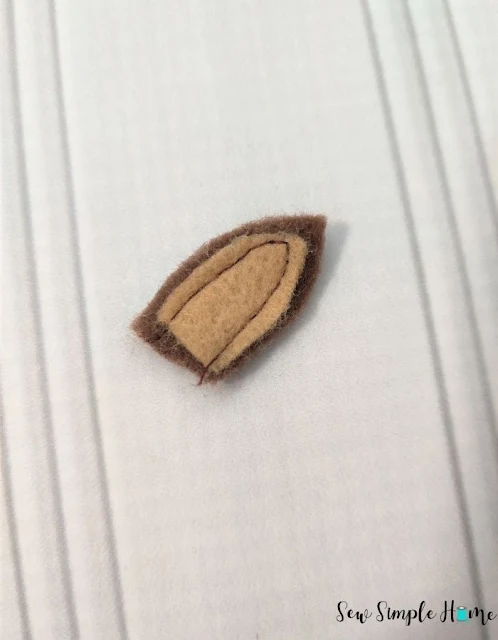
After cutting out the pattern pieces, use a basting spray to attach the inside ear to the outside ears. Attach the reindeer face the the reindeer body.
Step 2
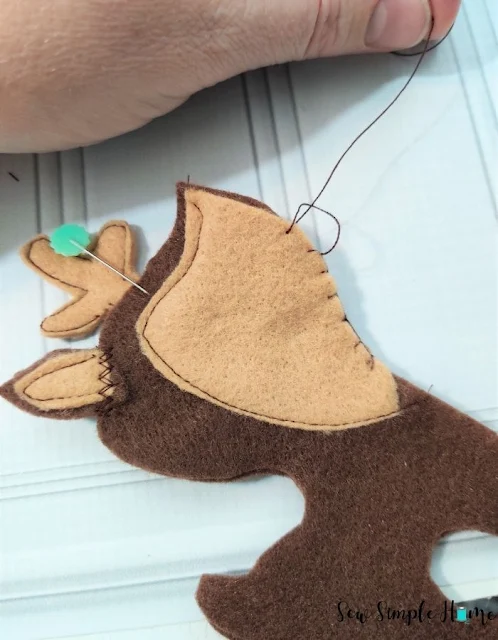
Stitch the inner ear to the outer ear. Also, stitch the reindeer face to the reindeer body.
Step 3
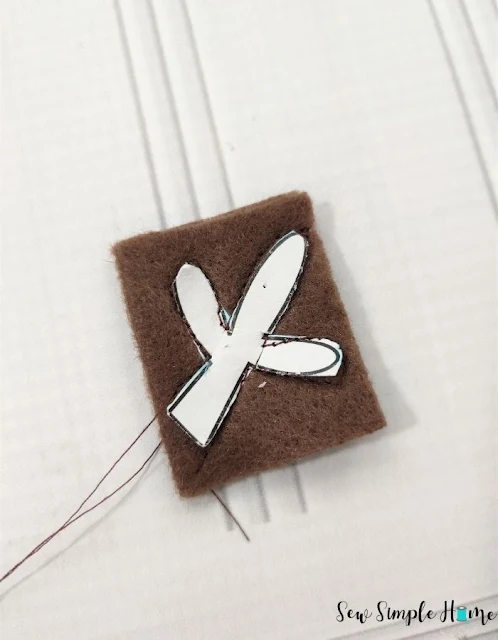
Take the two antler pieces and stitch them together around the edge. This might be easier to do before you cut out the pieces. Simply trace or pin the pattern piece to two pieces of felt. Stitch around the design and than cut out the antler.
Step 4
Stitch the reindeer ears to either side of the reindeer body. Place the antler in between the two bodies and pin in place.
Step 5
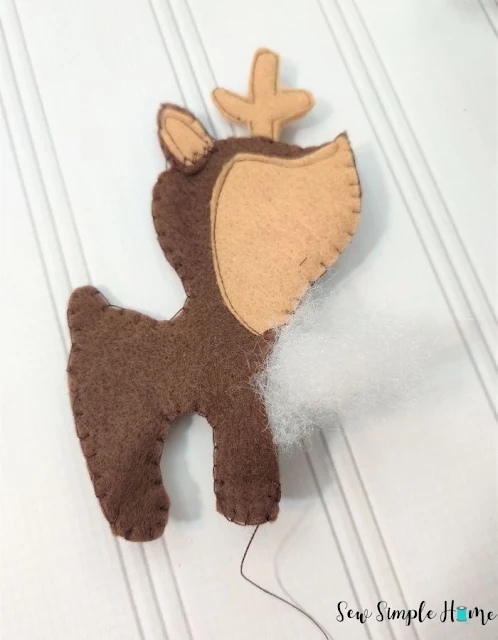
Using embroidery floss, stitch the two reindeer bodies together around the outside. Use a blanket stitch to do this. (See the video in the post to learn how to do a blanket stitch.)
Leave a 1-2" opening along the chest of the reindeer.
Step 6
Once you reach the opening you marked, use fiberfil to stuff your ornament.
Stitch up the remaining opening of the reindeer ornament.
Step 7
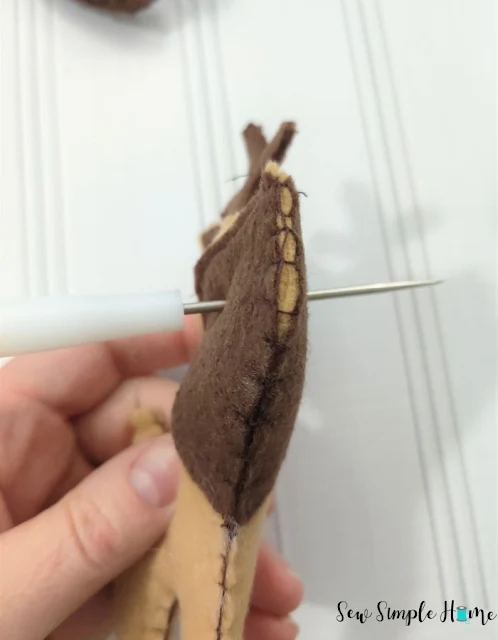
Use a sharp point and pierce through the face of the ornament where you'd like the eye to go. Attach glass eyes using basting spray.
Step 8
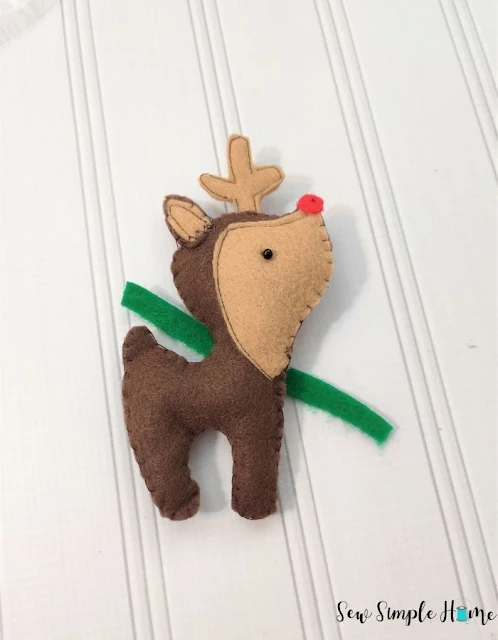
Attach nose pieces to either side of the tip of the face using basting spray. Tack nose down with a hand stitch or on your sewing machine.
Step 9
Wrap scarf around the neck of the reindeer. Tack down scarf by hand sewing.
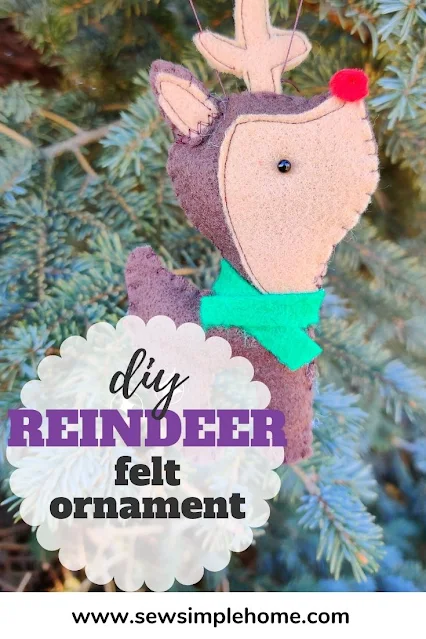
And there you have it!! The cutest little felt reindeer ornament with a little red nose and fun scarf.
I hope you'll enjoy creating your own red-nosed (or not) reindeer with this pattern.
Make sure to check out the video here in the post so you can follow along as you sew. There are lots of great sewing tips and pattern tricks that will come in handy.
Want the free reindeer felt ornament sewing pattern? Simply click the button below to get the email.
Want the reindeer ornament plus 7 other classic felt ornaments with full step by step photo tutorials and none of the hassel?
Grab the Fun and Festive Felt Ornament eBook and get not only this ornament pattern but 7 others for just $7. No need to access the internet each time you want to make your own.








No comments
I'd love to hear from you!