Free Girls Sundress Pattern
Materials Needed
- Girls Sundress Sewing Pattern - grab for free at the end of the post
- 1-1.5 yards Main Fabric: cotton, cotton blends, flannel, linen, quilting cottons, or voile.
- 1/4 yard Contrasting Fabric for Bodice Sides
- 1/4 yard Fabric for Shoulder Ties (or you can use bias tape or ribbon)
- 1/4 yard Lining Fabric
- Thread
Step 1
Take your 4 shoulder ties. With RST, fold them in half lengthwise. Stitch down the long edge of the shoulder ties at 1/4" and down one of the short edges.
Weave the short sewn side through the tie until you turn it right side out. You may want to use some type of turning tool. Repeat with remaining ties. Press well.
Optional Bias Tape: Instead of making ties, you can use bias tape. However, you will want to stitch all the way down the open edge of the bias tape.
Optional ribbons:
When using ribbons make sure to finish the edges of your ribbons so they don't
fray. Using a match to melt the ends is usually the fastest and easiest method.
Step 2
With Right Sides Together (RST), place side pieces on
the center front/back piece. Stitch sides to center front. Repeat with back pieces.
Step 3
Step 4
Place ties on the bodice front piece. Start by pinning one of the ties over the center of the seam where the side /piece meets the center front piece.
Pin the next tie 1/2" away from the first tie. Repeat with opposite side. Baste the bottom edge of all 4 ties to the bodice front at about 1/4". DO NOT STITCH THE TIES DOWN ANYWHERE ELSE. Your ties will be hanging, but we will fix this later.
Step 5
With RST, place the bodice front and bodice back
together. Stitch down the side seam. Repeat with lining. Press the side seams
flat and open.
Step 6
Place the bodice top over the lining with RST and pin in place matching side seams and corners. Make sure that your ties are hanging out of the bottom of the top.
Stitch around the top of the bodice and the
armholes. Trim your corners and clip around the curved edges on both the front and
back.
Step 7
Turn bodice right side out. Push out the corners and
press. Topstitch around the entire bodice front and back about 1/8" from
the edge.
Step 9
On the bodice back, use your pattern piece to help you mark where the buttonhole goes on each side. Your buttonholes should be at least 3/4" but no bigger then 1" wide. Stitch buttonholes.
If you are using a smaller ribbon,
you'll want a smaller buttonhole. (Refer to your machine manual on how to
properly sew a buttonhole.) Carefully cut open your buttonholes.
Step 10
With RST, place your skirt pieces together. Stitch down your side seams. Press seams flat and open. Finish edges with a zig-zag or pinking shears.
On bottom edge, press your hem up 1/4" and then fold
another 1/2" all the way around the skirt. Stitch the hem right along the
top edge of the folded hem.
Optional: Topstitch the side seams
Step 11
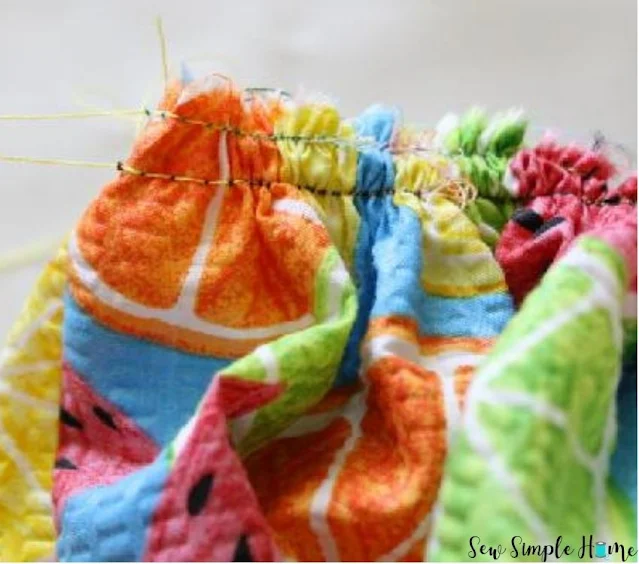
On the top edge of the skirt, place gathering stitches.
Step 12
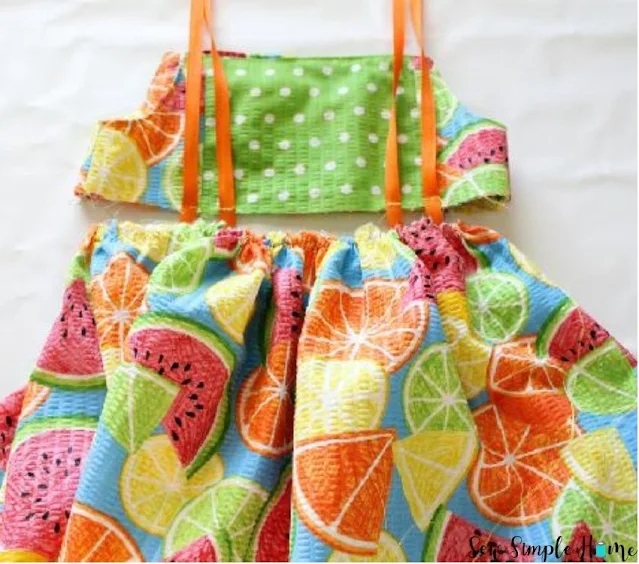
Place skirt up next to the bodice. Pull gathering stitches so that
the skirt is the same length as the bodice top.
Step 13
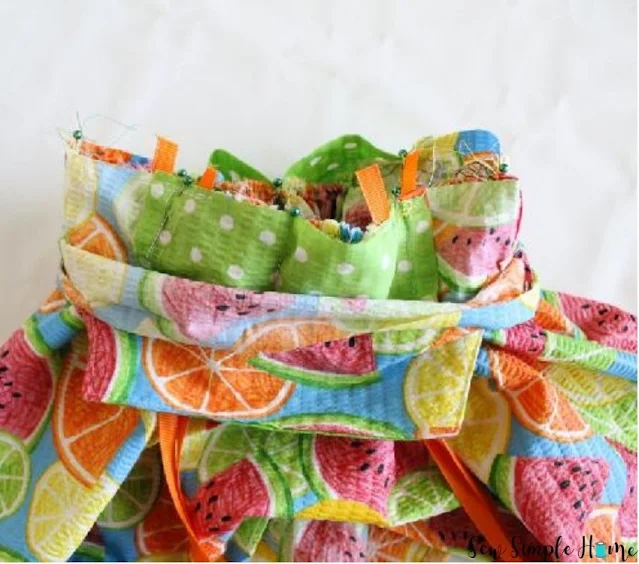
Place the skirt inside the bodice top, with RST, matching raw edges. The lining should be pulled down so not to be stitched. Match the side seams of the bodice to the side seams of the skirt.
Pin bodice
and skirt together. Carefully pull gathering stitches so that the bodice and
skirt match up perfectly. Stitch around the main bodice and skirt.
Step 14
Press the raw edge of the skirt towards the bodice. Carefully fold the lining of the bodice down so that the folded edge of the lining covers the raw edge of the skirt. Pin.
Step 15
Topstitch around the entire
bodice lining or you can handstitch the lining
to the skirt. Make sure your ties are out of the way so you don't sew them
down.
Step 13
Turn your bodice right side out, pin the ties to the
bodice. Stitch the ties to the bodice starting at the skirt and stitching
towards the top edge of the bodice. Making sure to backstitch at the beginning
and end. Repeat with all the ties.
Step 14
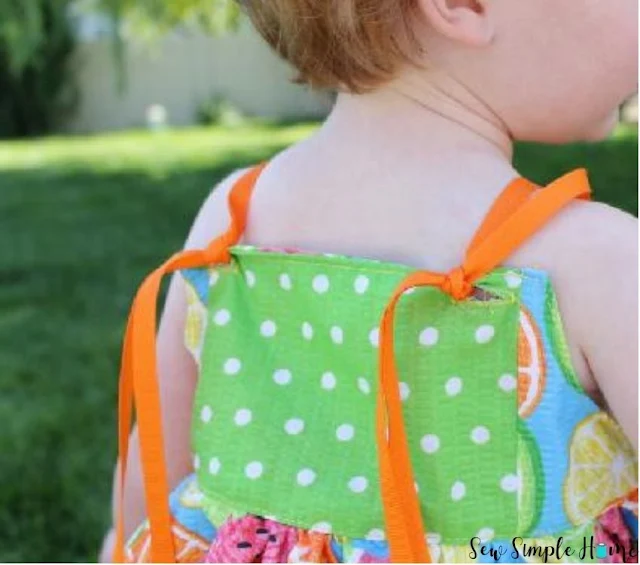
Pull your shoulder ties through your buttonholes. Tie them together in a bow.







This is such a cute dress - I just purchased the pattern and would love to make it in the very near future.
ReplyDelete