"I can't feel my fingers Mom," my ten year old shouted at me from the porch. All three of my kids were enjoying a yummy ice pop treat. You know the kind that turns your teeth blue and your fingers go numb.
This post contains affiliate links to products I recommend. I do make a portion off any you may purchase. See full disclosure here.
It is their most favorite summer time treat. But it is also the worst because of the complaining about their cold fingers.
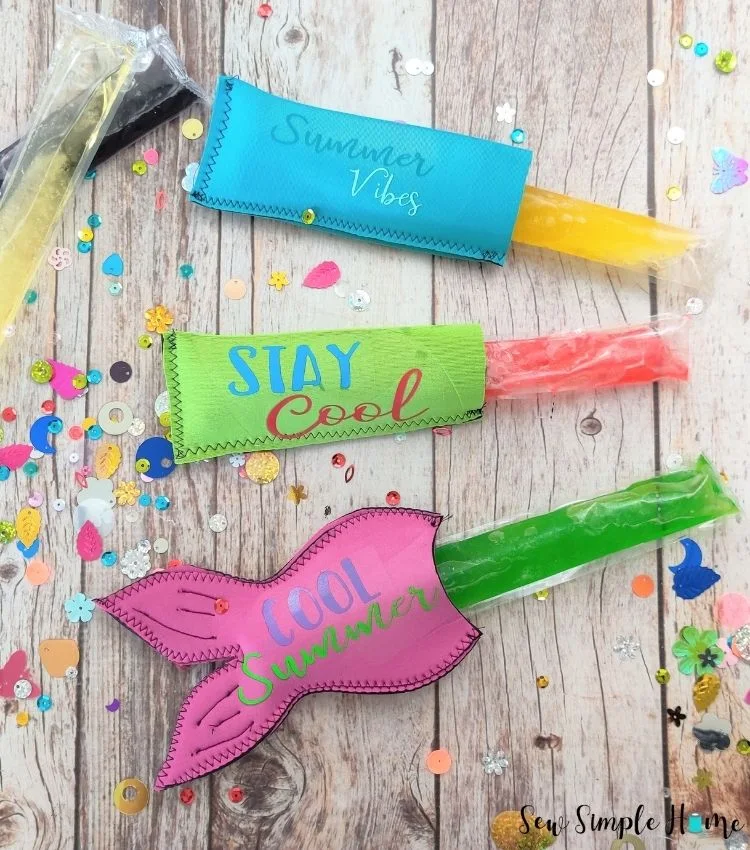
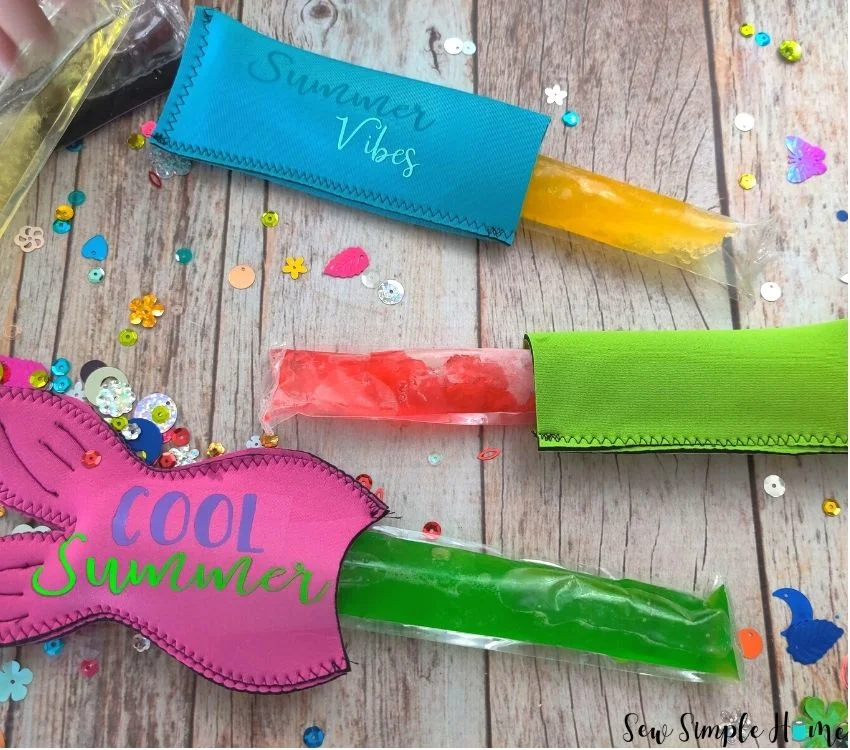
But no need to worry. This year I got smart. I've introduced them to the freeze pop holder pattern!!
Woot woot! Mom win. Now they can enjoy their treat without freezing their fingers off.
Plus, these ice pop holders are made with neoprene material, which means they rinse off quick under the faucet or with the hose. And dry really fast.
Plus, they are a really quick sew. You'll have freezer pop holders in like 2 minutes. You can't beat that for fast sewing. They are easy enough, that your kids could even cut them out and sew them by themselves. Another Mom Win.
Once you've got these cute ice pop holders made, you'll probably be looking for some other great summer activities. Make sure to check out our 65+ Fun Summer Activities.
Keep reading for the full tutorial and video or jump to the end of the post to grab the free sewing pattern and SVG cut files.
VIDEO: How to Sew a Freezer Pop Holder
Freeze Pop Holder Tutorial
Materials Needed
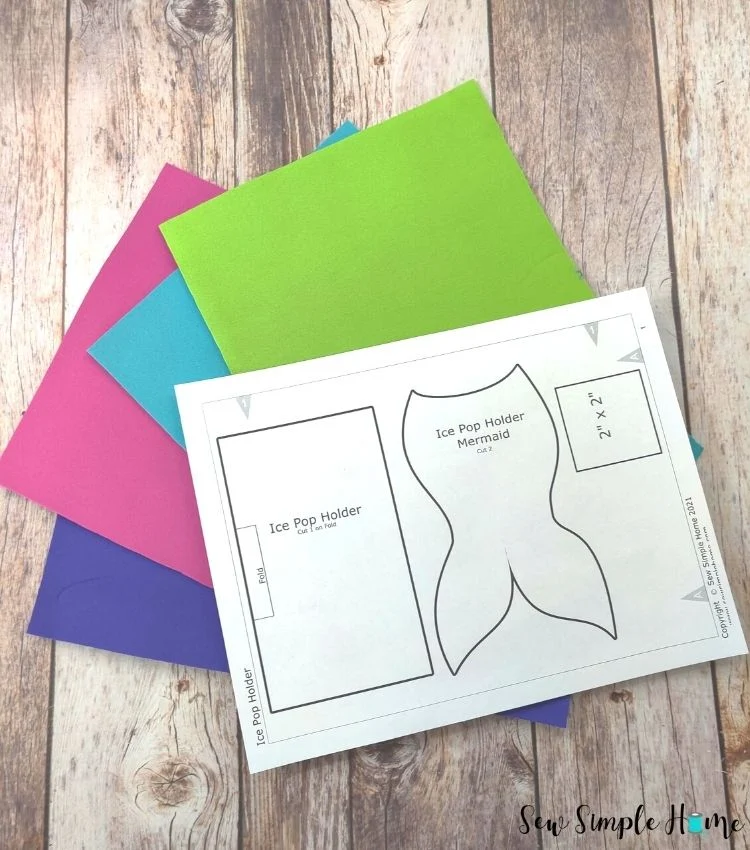
- Free Freeze Pop Holder Pattern and SVGs - grab at the end of the post
- Neoprene - 2mm thick
- Polyester Thread
- Heat Transfer Vinyl
Download the freeze pop holder pattern at the end of the post and collect your Neoprene - 2mm thick materials.
This project can also be done with fleece fabric, but you may want to make it with two layers of fleece for best results.
Mermaid Tail Ice Pop Holder
Trace and cut out two identical mermaid tails from the Neoprene.
Using a zig zag stitch, sew around the outside of the mermaid tail. Making sure to backstitch or tack the stitch at the beginning and end.
Optional: Using a straight stitch, add fin details to the bottom of each fin. You can use a marker to draw the design and stitch.
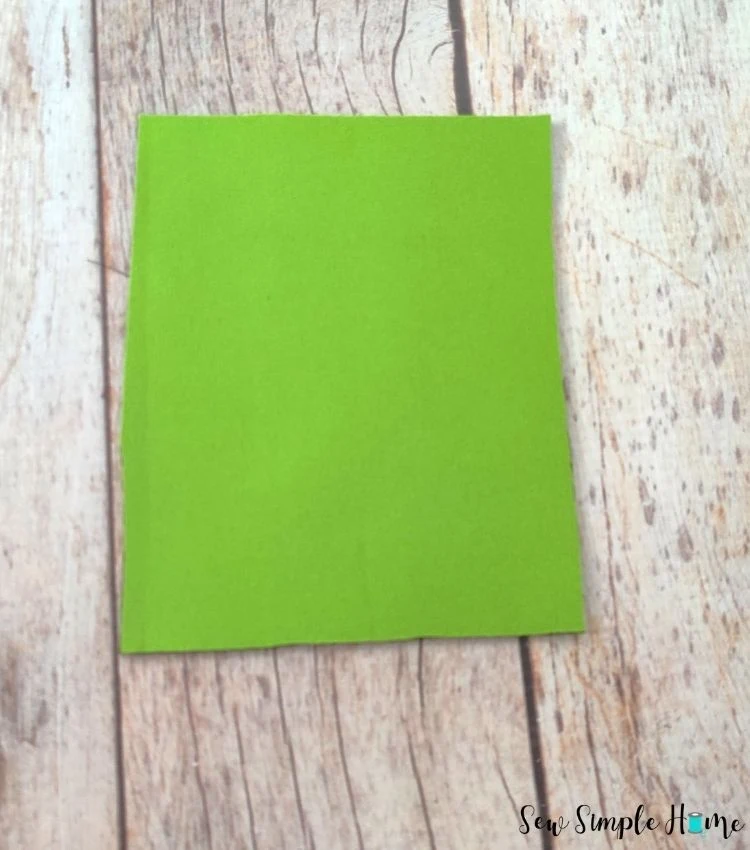
Use the pattern to cut the rectangle from the Neoprene.
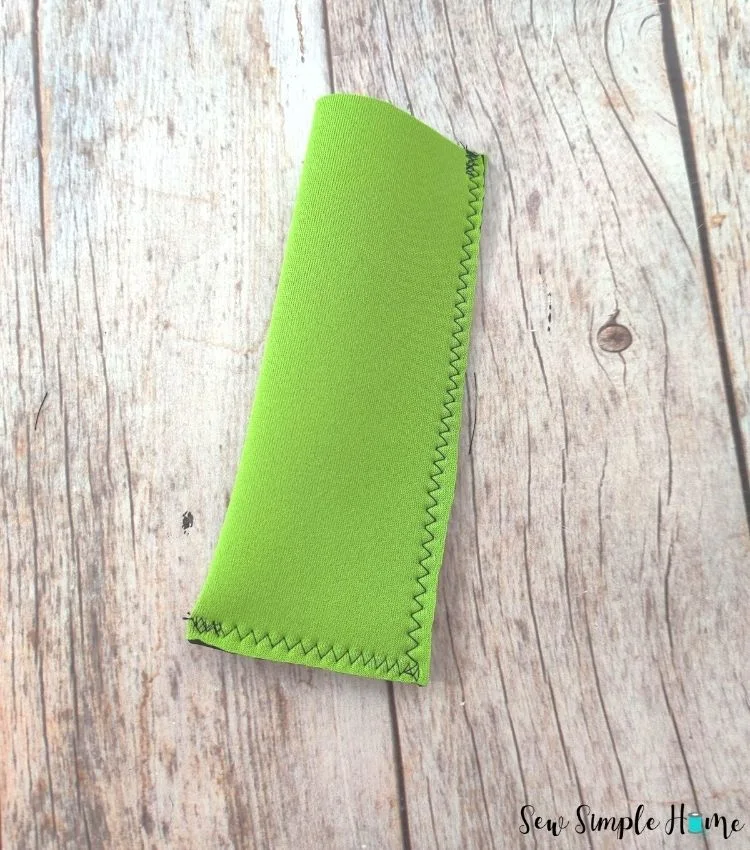
Fold the rectangle in half matching the long sides.
Stitch a zig zag stitch down the long side and one of the short sides of the rectangle. Make sure to backstitch or tack the stitches at the beginning and end.
Add your ice pop to make sure it fits nicely.
Lastly, add a personal touch by cutting out some summer SVG cut files or adding each child's name to the freeze pop holder pattern.
Download Free Freeze Pop Pattern
Want the free freeze pop holder pattern and Cool Summer Cut files? Simply click the button below to download your copy.
Need more summer sewing inspiration? Check out our list of 20+ Cool Summer Sewing Projects.








These are so sweet, I especially love the mermaid tail one. Much better than freezing fingers or a bit of kitchen roll which is the best I ever managed for our kids when they were small!
ReplyDeleteI love that these are made out of neoprene to protect fingers! Such a great idea and they're really cute!
ReplyDeleteWhat a great idea! So fun!
ReplyDeletewhere did you buy your neonrene? I'll be teaching about 8-10 children and this is a great idea. But I think I only need 2-3 sheets. Did you buy sheets the size of felt squares? Or do you have a large roll?
ReplyDeleteYou may need a sheet per student depending on how big of neoprene sheets you purchase. You can get squares on Etsy. The link under "materials needed" in the tutorial will take you to the shop I used.
DeleteHi! I clicked on the link for neoprene but it takes me to many Etsy shop. Which shop did you buy from? These are so cute! Thanks!!!
ReplyDeleteThe shop I purchased mine through has since closed down. However, this shop looks like it has good reviews and their products look good. https://tidd.ly/3CbYYJX
Delete