The vintage truck has long been a favorite holiday design in my family. My mother really loves those old red trucks and often sees and stops and sometimes even gets here photo taken.
We been in our home now for 5 years and I am finally getting my ideas and designs for our basement Christmas decor figured out. My inspiration? That old vintage truck.
Well, really just the Christmas of my parents childhood. And to get things started, I'm creating embroidery hoop Christmas ornaments with those vintage designs.
This post contains affiliate links to products I recommend. I do make a portion off any you may purchase. See full disclosure here.
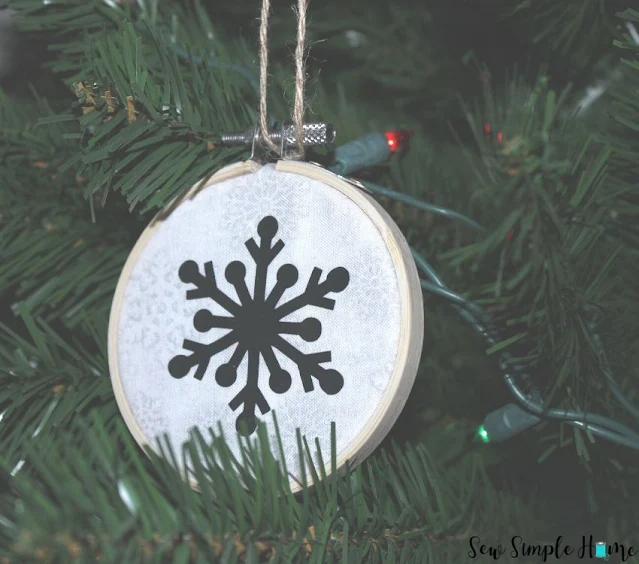
Embroidery hoop ornaments are super popular at the moment. Not only because of the look, but because you can make them in so many sizes. From tiny ornaments to big hoops for large themed trees.
Plus, you can customize them anyway you want. You can stitch a design, press a design, or just use a design already on fabric.
That makes for quick and beautiful projects.
For this tutorial, we'll be using several cut files from a holiday bunting project I did last year. Which helps me keep with the theme of my basement since this bunting will go up for the holidays again.
Remember, I'm using buffalo plaid fabric, but you can use any design you want. Want to go with Christmas greens? What about beautiful blues and silvers? You get to decide what your ornaments look like.
How to Make Embroidery Hoop Christmas Ornaments
- Small Embroidery Hoops
- Holiday Fabric
- White or Black Heat Transfer Vinyl
- Faux Floral Holly and Ivy
- Cricut EasyPress Mini or Iron
- Hot Glue Gun
- Needle and Thread
- Cricut Joy
If you are looking for a vintage truck cut file, you can grab one in our Sew Simple SVG shop.
Step 1
Cut a piece of cotton fabric out that is about 2" bigger than your embroidery hoop. Stitch a basting stitch around the outside of the fabric in a circle like shape.
Obviously from the picture you can see it doesn't have to be perfectly circle. Just an outline that is outside the size of the hoop.
Step 2
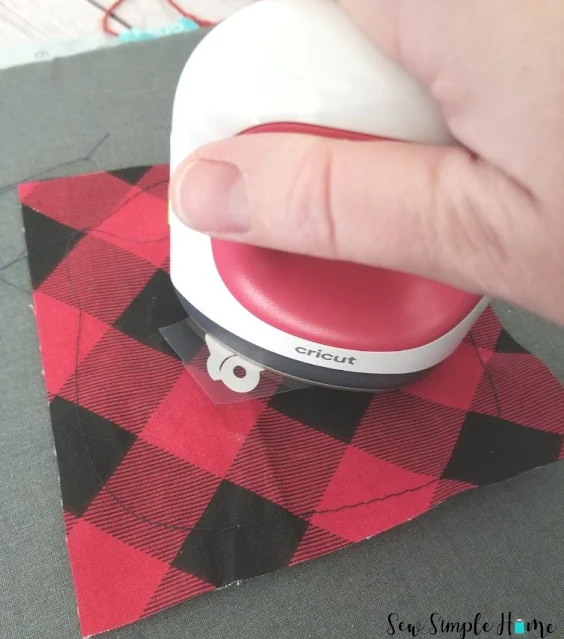
Use the Cricut Joy to cut out your holiday shapes in heat transfer vinyl. Press designs to the center of your fabric.
I used some of the shapes from this project in Cricut Designs Space.
Place your embroidery hoop over the fabric and twist into place. Making sure to center your design.
Step 4
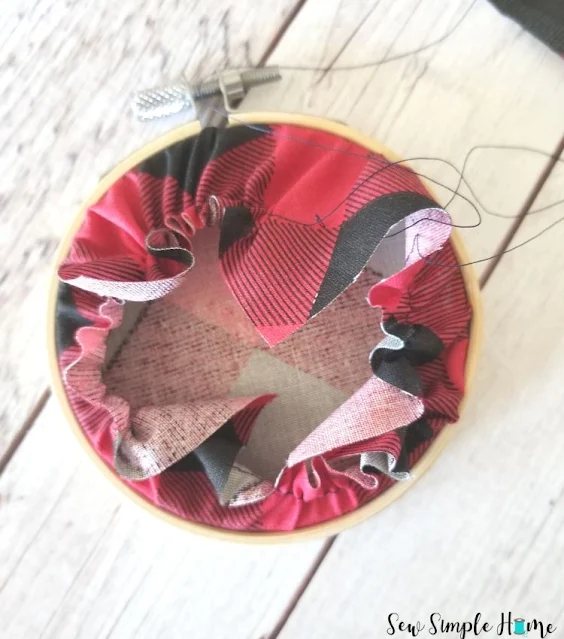
Turn the hoop over and carefully pull the basting stitch so that the fabric starts to gather around the hoop. Feel free to cut off any extra material that hangs off of the gathers.


Cut a piece of cardboard or Kraftboard the same size as your embroidery hoop. Hot glue the board to the back of your hoop to encase the fabric raw edges.
Step 6
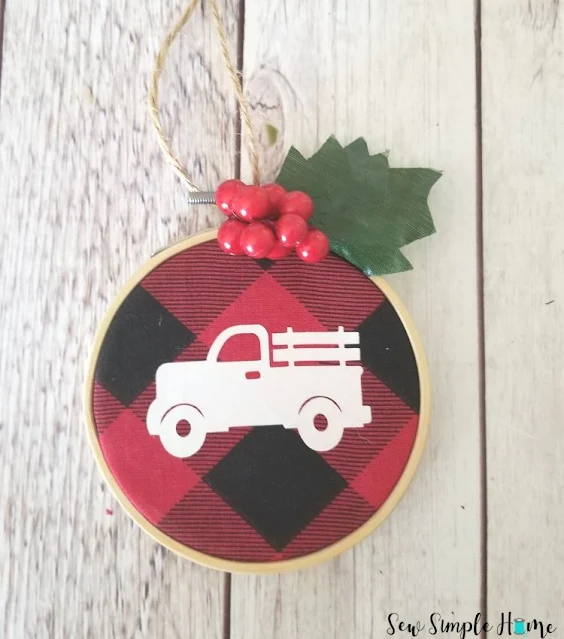
Cut a piece of twine about 6-8 inches long to thread through the hoop screw. Hot glue some holiday floral like holly and ivy to the top of the hoop to cover the screw.
There you have a cute embroidery hoop ornament that you didn't even have to sew! However, you totally could hand stitch a sweet design like this cute Merry Christmas one from Etsy.
Can't wait to see your embroidery hoop Christmas ornaments over in our Facebook group.


No comments
I'd love to hear from you!