Autumn brings the harvest in for our community and our home. We spend hours each week in our own garden picking tomatoes, green beans and of course pumpkins.
Around town we watch the harvesters plow through corn and beans. Or spend the evenings at the local orchard picking peaches and apples to send to families in need.
This post contains affiliate links to products I recommend. I do make a portion off any you may purchase. See full disclosure here.
We also enjoy gleaning potatoes or fruit from leftover harvests to can or munch on for our own family.
Which means our kitchen gets a full on workout in the fall. Canning, freezing and baking become a big part of our daily routine. Counter space is sparse and windows are open 24 hours a day to keep the house cool.
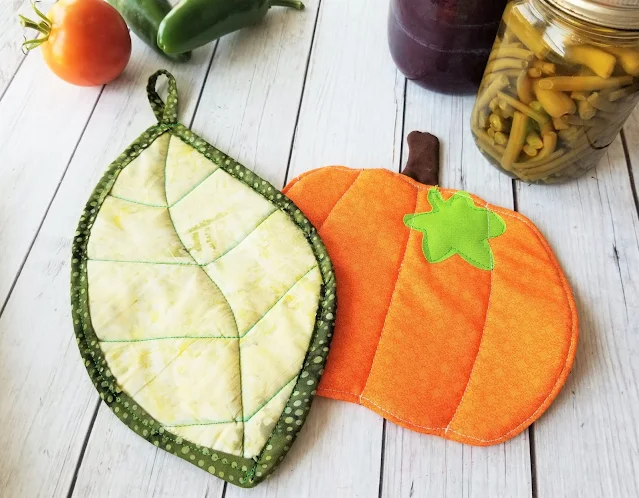
Of course, with hot jars comes hot pot holders. And what better way to celebrate the harvest than with a simple fall pot holder sewing pattern. Yes you could make more traditonal pot holders, but there is something much more interesting about pulling out seasonal projects.
Why not celebrate the harvest in your own home by making these fun pot holders.
Pumpkin Pot Holder Pattern
Materials Needed
- Pumpkin Pot Holder pattern - download at the end of the post
- 1/4 yard of orange cotton fabric
- Scrap piece of green cotton fabric
- Scrap piece of brown cotton fabric
- 1/4 yard of cotton batting
- 4" x 4" piece of Heat n' Bond - optional
- Thread
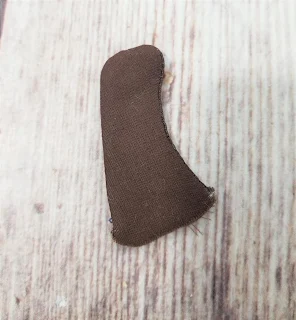
With Right Sides Together (RST), place the two stem pieces together. Add the batting to the bottom piece. Stitch around the stem, leaving the bottom open.
Clip around the stem. Turn the stem right side out and press.
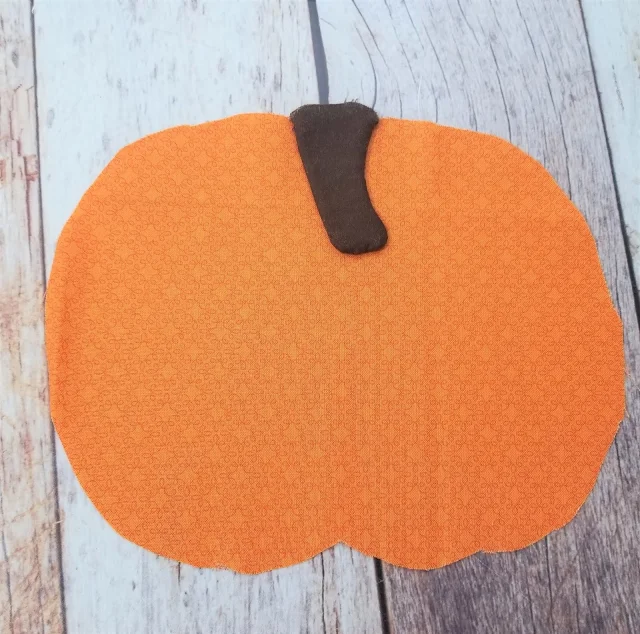
Place one pumpkin right side up on a flat surface. Place the stem upside down at the top of the pumpkin in the center. Pin in place.
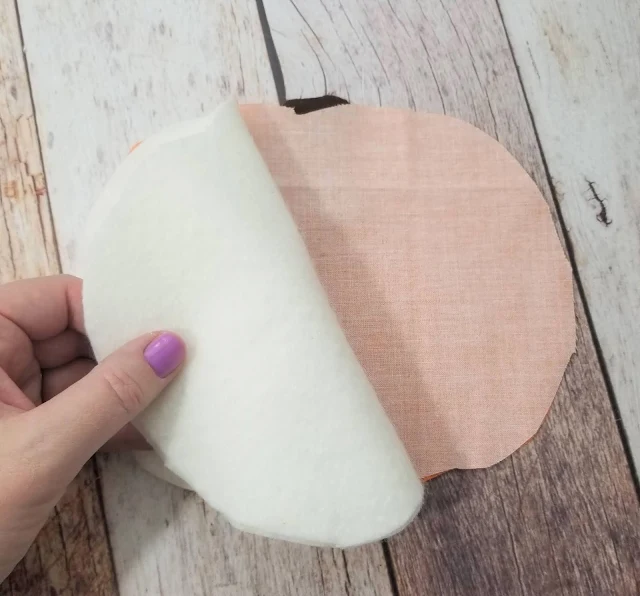
Place the other pumpkin piece over the first with RST. Place two pieces of batting over the top of the pumpkins. Pin all layers together.
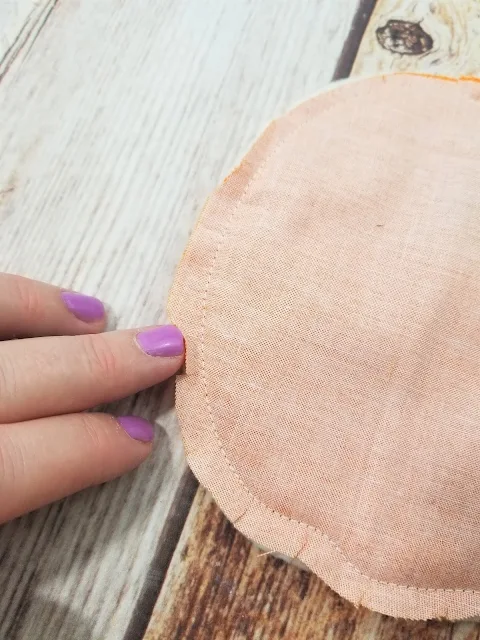
Stitch around the entire pumpkin at 1/4". Leave an opening on one side that is 3-4" long.
Clip around the curves of the pumpkin. Clipping allows the curved edges to lay flat.
Turn the pumpkin right side out and press.
Step 6
Press a piece of Heat n' Bond to the wrong side of the leaf piece. Cut out the leaf.
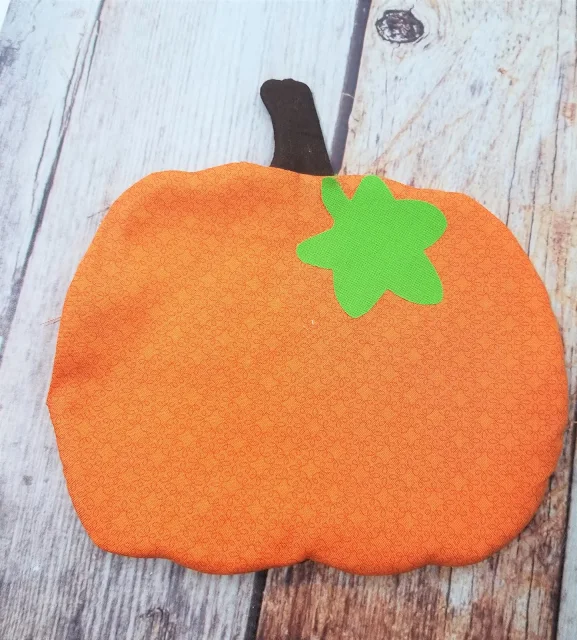
Pull the paper off the Heat n Bond and press the leaf to the top of the pumpkin.
Step 7
Stitch around the outside edge of the pumpkin and stitch 3 lines down the front of the pumpkin to create the different sections.
Press your pumpkin.
Leaf Quilted Pot Holder Pattern
Materials Needed
- Leaf Pot Holder pattern - download at the end of the post
- 1/4 yard of green cotton fabric
- 1” bias tape
- 1/4 yard of cotton batting
- Thread
Step 1
Place one fabric right side down, add the batting layers on top and place the other layer of fabric right side up.
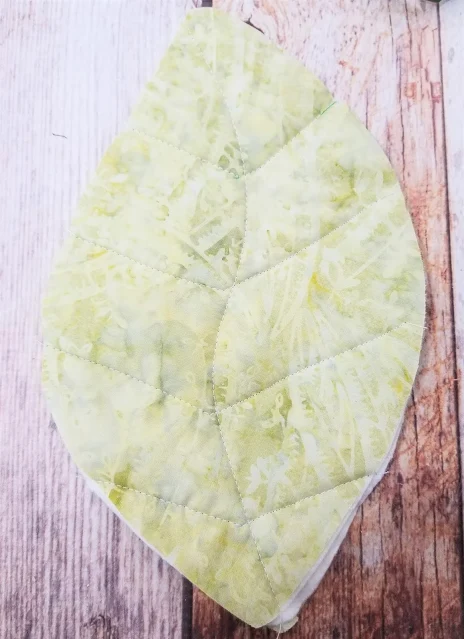
Use a ruler and washable fabric pen to mark lines down the pot holder that are on the pattern.
Pin the layers together to prevent slippage during sewing.
Step 2
Sew down each of the lines you just drew. Check out the video to see how I did it.Step 3
Open the bias tape and pin one of the raw edges to the raw edge of the leaf. Check out our tutorial on how to make your own bias tape.
Step 4
Stitch the bias tape to the leaf following the crease in the bias tape. Leave 2-3 inches of unsewn bias tape that the beginning and end of the where you start and stop sewing.
Step 5
Match the bias tape ends together. The bias tape ends should meet the leaf can still lay flat and close off the bias tape.
Stitch the ends of the bias tape together.
Step 6
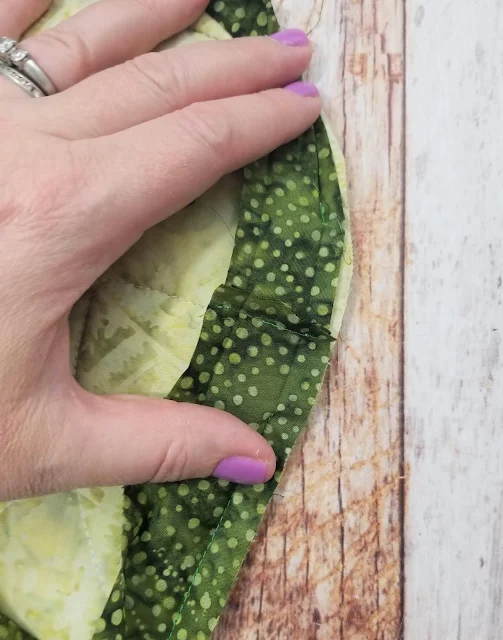
Lay the bias tape flat and stitch the remaining bias tape down onto the leaf.
Step 7
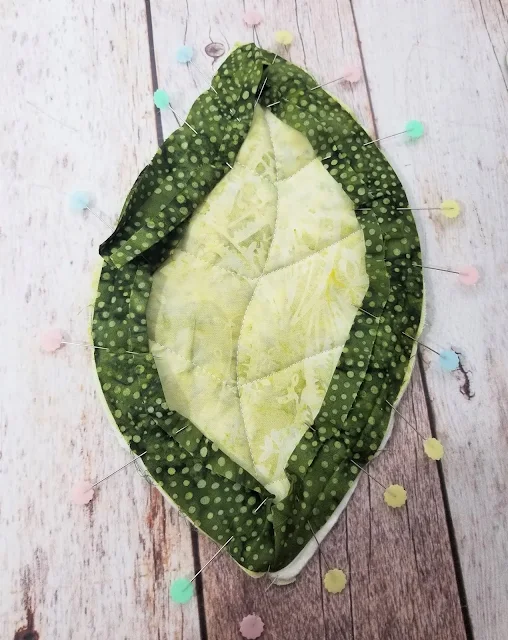
Fold the bias tape towards the wrong side of the pot holder. Pin in place.
Machine stitch or handstitch the bias tape to the leaf, through all the layers. Press.
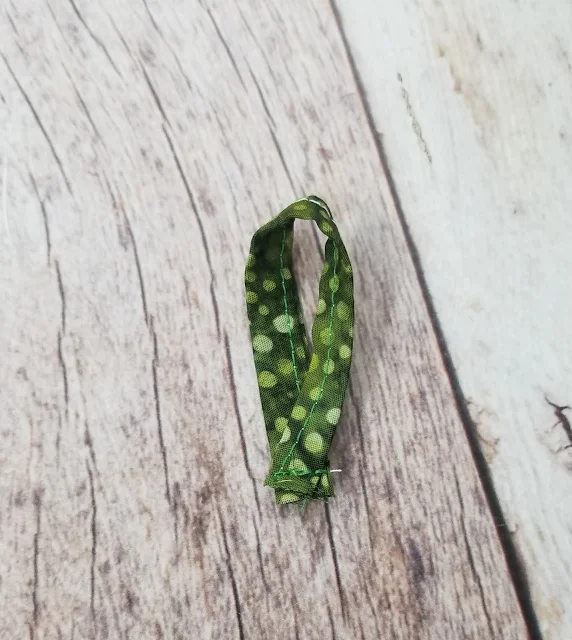
Take a 4" piece of bias tape and stitch down the long side.
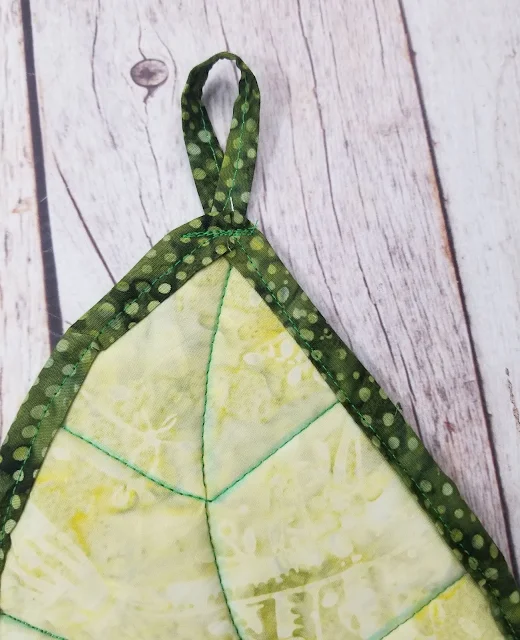
Pin loop to the top on the back of the pot holder. Stitch in place.
Wahoo! Two super festive and simple fall pot holder sewing patterns that will brighten up your kitchen and help share in the fall harvesting spirit.
Or make great gifts for the upcoming holiday season.
Want the free Fall Pot Holder Sewing Patterns? Simply click the button below to download your copy of the pattern pieces.
If you loved this project, you'll love these other 20+ Fall Sewing Projects. Great for sprucing up the house or making to give to family and friends.













These pot holders are lovely, I think the pumpkin is my favourite but the loop for hanging the leaf makes it so practical!
ReplyDeleteThank you! I can't resist a fun and practical project.
DeleteSuch a creative way to celebrate the harvest season!
ReplyDeleteThank you! I do love a good fall project
DeleteThis comment has been removed by a blog administrator.
ReplyDeleteThank you so much for the wonderful patterns.
ReplyDelete