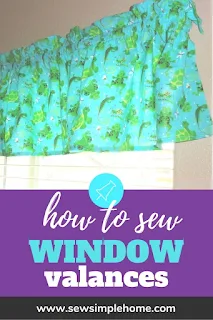
When we bought our home, one of the most exciting parts for me was being able to decorate. So when it came time to start working on the kids room, I knew I had to go with frogs.
However, buying all the bedding, curtains, rugs and wall decor would cost a fortune, that we didn't have.
Instead, I decided to make many of the decorations myself. And let me say it is much easier than you think to make your own valance for windows.
For this project, I busted out my Easy Curtains 101 eBook. That way I knew exactly how to calculate how much fabric I would need to make my window coverings.
The Easy Curtains 101 eBook is a 22 page DIY eBook full of tips and tricks for making basic home window treatments.
However, buying all the bedding, curtains, rugs and wall decor would cost a fortune, that we didn't have.
Instead, I decided to make many of the decorations myself. And let me say it is much easier than you think to make your own valance for windows.
This post contains affiliate links to products I recommend. I do make a portion off any you may purchase. See full disclosure here.
For this project, I busted out my Easy Curtains 101 eBook. That way I knew exactly how to calculate how much fabric I would need to make my window coverings.
The Easy Curtains 101 eBook is a 22 page DIY eBook full of tips and tricks for making basic home window treatments.
It is full of tips on how to measure windows and calculate fabric amounts to save money, printer friendly instructions on how to sew valances, curtains and drapes and ideas on how to save money sewing your own window treatments.
By the time you are done, you'll know how to measure, shop and sew your own handmade curtains or drapes.

I knew I wanted valances and would be making a casing for the curtain rod. These are really simple to make and the eBook really helps me keep my measurements accurate.
You'll have brand new valances for your windows in no time at all. Here's how I put mine together.

Materials Needed
- 18” x 45” pieces of fabric -You’ll need between 2 and 3 of these depending on the size of your window
- Curtain Rod
- Matching thread
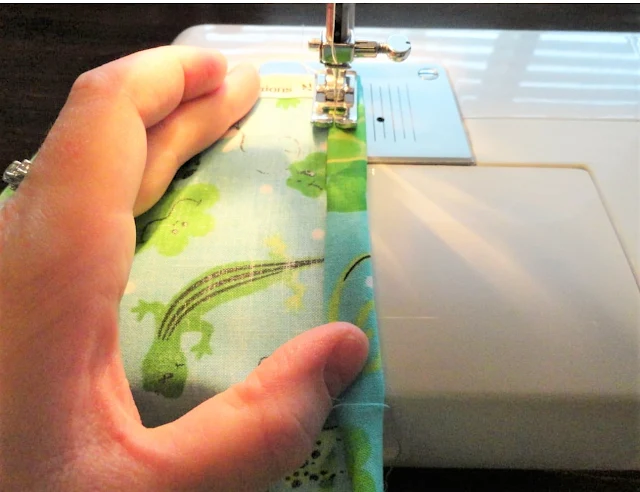
Press fabric towards the wrong side ¼” and press another 1/4" Stitch across.
Step 2
Fold the top of your curtain down about 5” towards the wrong side. Sew across the line you already made.
You are making a casing that will hold the curtain rod and create the ruffled look at the top of the valance.
Fold the top of your curtain down about 5” towards the wrong side. Sew across the line you already made.
You are making a casing that will hold the curtain rod and create the ruffled look at the top of the valance.
Sew another line about 1 ½” above this first line through the casing you just made. This will be where you curtain rod goes.
You may need to measure your rod first to make sure it will fit through this slot.
Step 5
Press the casing. Repeat step 1-5 for as many valance sections you need for your window size.
Press the casing. Repeat step 1-5 for as many valance sections you need for your window size.
Step 6
Insert the rod through the casing and through each additional valance. Hang curtain rod.
See how easy that was?! Now I can start working on the windows in our living room. They are huge and I want some really nice but sheer drapes.
I'll be using the drapes tutorial in the Easy Curtains 101 eBook to sew those.
Why Easy Curtains 101?
Sewing for your home can be very rewarding, but it can also save you time and get you exactly what you want and need.
Not every window is the same size or has the same needs. But when you can sew your own window coverings, you can meet your own needs without the hassle of going to several stores or trying to find exactly what you need online.
Instead, learn to measure, shop and sew for your own window covering needs.
What's in the eBook?
The Easy Curtains 101 has 22 pages full of tips and tricks for making basic home window treatments including how to calculate and measure fabric for your specific window, how to pick your curtain hanging style, and how to sew valances, curtains and drapes.


No comments
I'd love to hear from you!