For the past 12 years I've taught sewing to kids and adults alike.
One thing that is always the same is that new students struggle to get their lines straight right from the beginning.
It can be frustrating but the best way to get better, is PRACTICE.
This post contains affiliate links to products I recommend. I do make a portion off any you may purchase. See full disclosure here.
That is why this fabric crayon holder is the perfect beginner sewing project.
I am sure you have seen TONS of Crayon Roll Tutorials. However, I wanted to share one here on the blog as part of our free Sewing 101 Course.
I've had countless sewing students sew up a simple crayon roll or pencil roll case. Not only are they useful, but they can really help you get down sewing in a straight line.
I've seen the improvement with my own eyes.
You can follow the tutorial here and get the fabric crayon holder pattern at the end of the post.
Fabric Crayon Holder Tutorial
Materials Needed
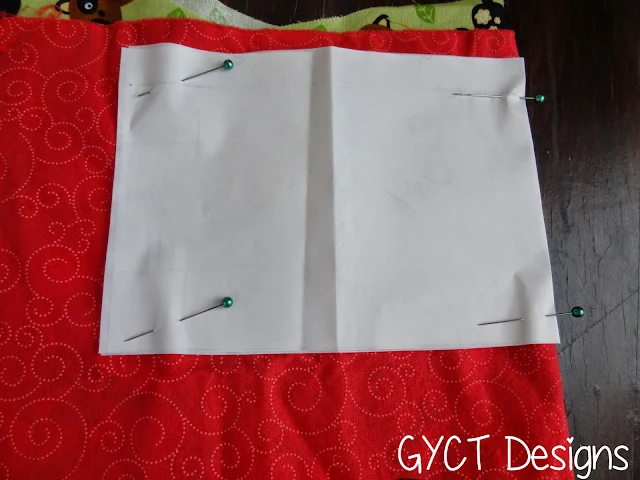
- Free Crayon Roll Pattern - download at the end of the post
- 3 contrasting fat quarters - I love the fabric at Fat Quarters Shop
- 10" of ribbon
- thread
Make sure to check out our how to video in the post, but you'll need to turn off any ad blockers to see it.
****PATTERN HACK*****
This pattern can be easily adapted to make a 23pxr size for a pencil roll case. Just increase your measurement to 10 x 12" and follow the outlined tutorial below.
Step 1
Cut out 3 of
the pattern pieces that are 6" x 12" or use the free pattern at the end of the post.
Step 2
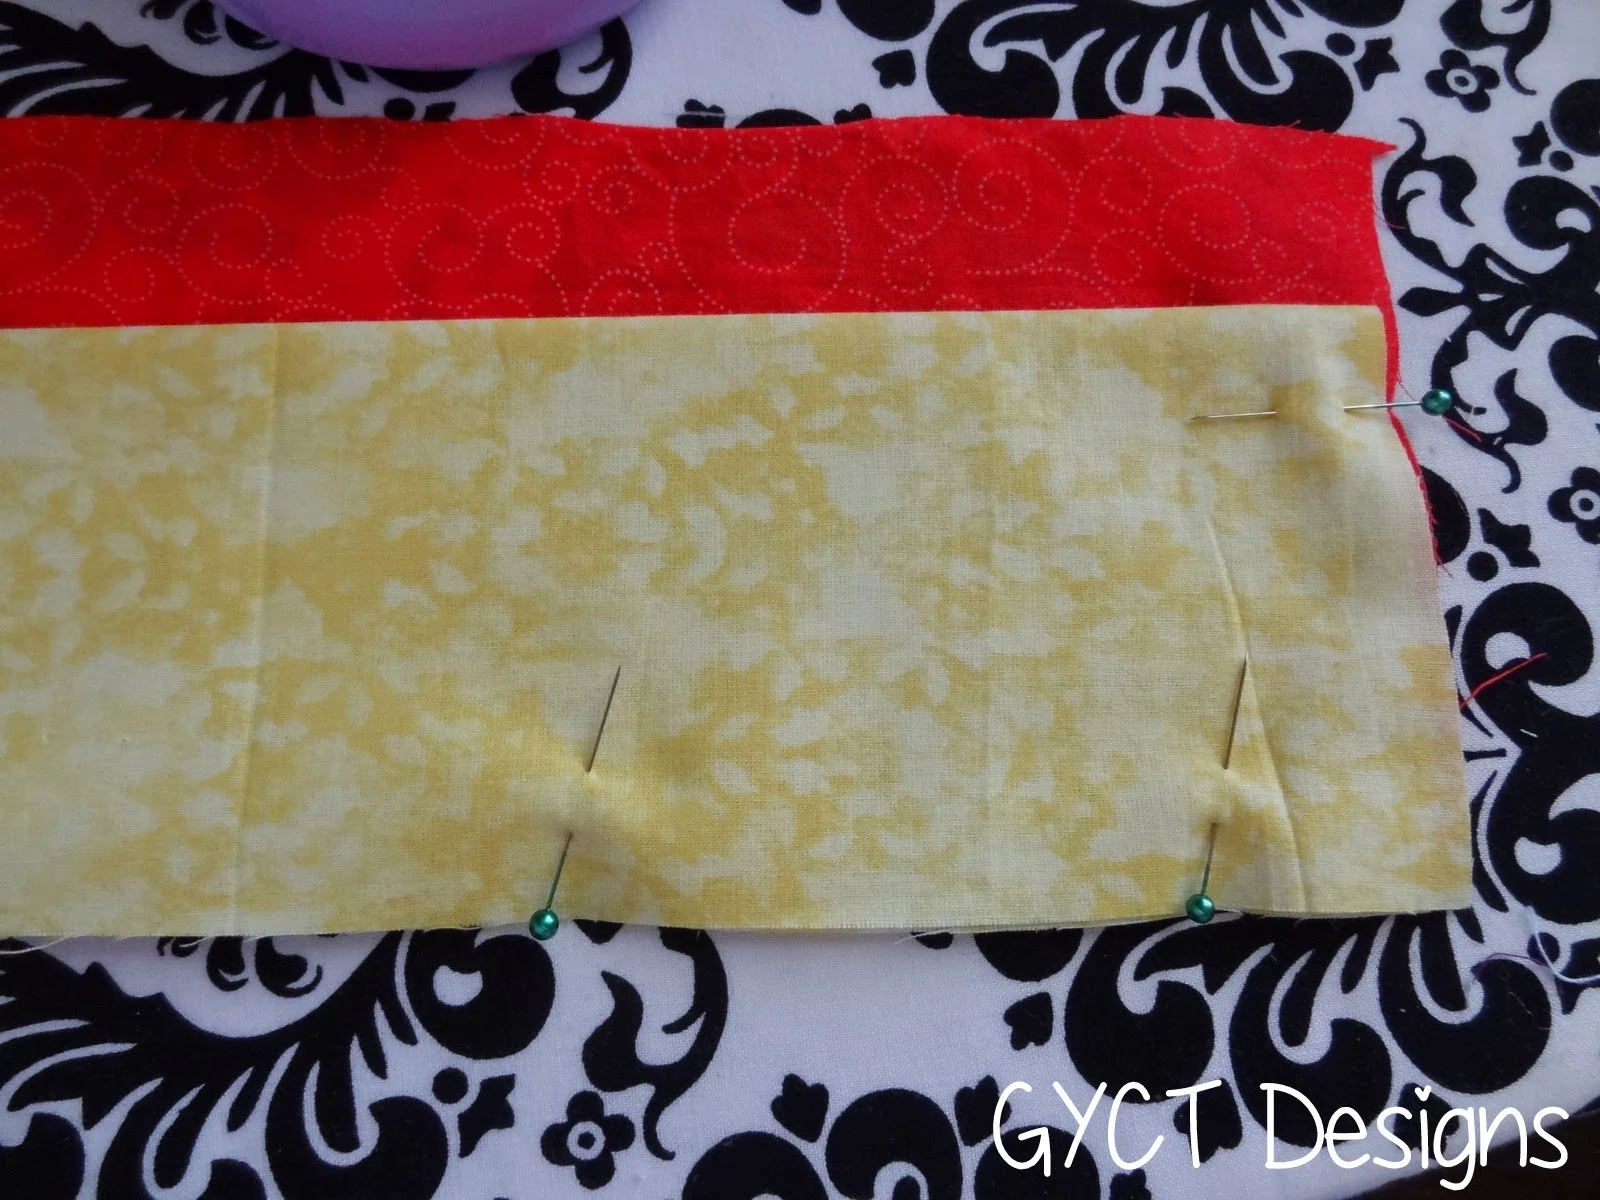
Place piece 1 right side up on the table. Take piece 2 and fold it in half lengthwise
with the right side facing out.
Place
piece 2 on top of piece 1, matching the raw edges. Pin in place. Stitch down the bottom length of the crayon roll.

Step 3
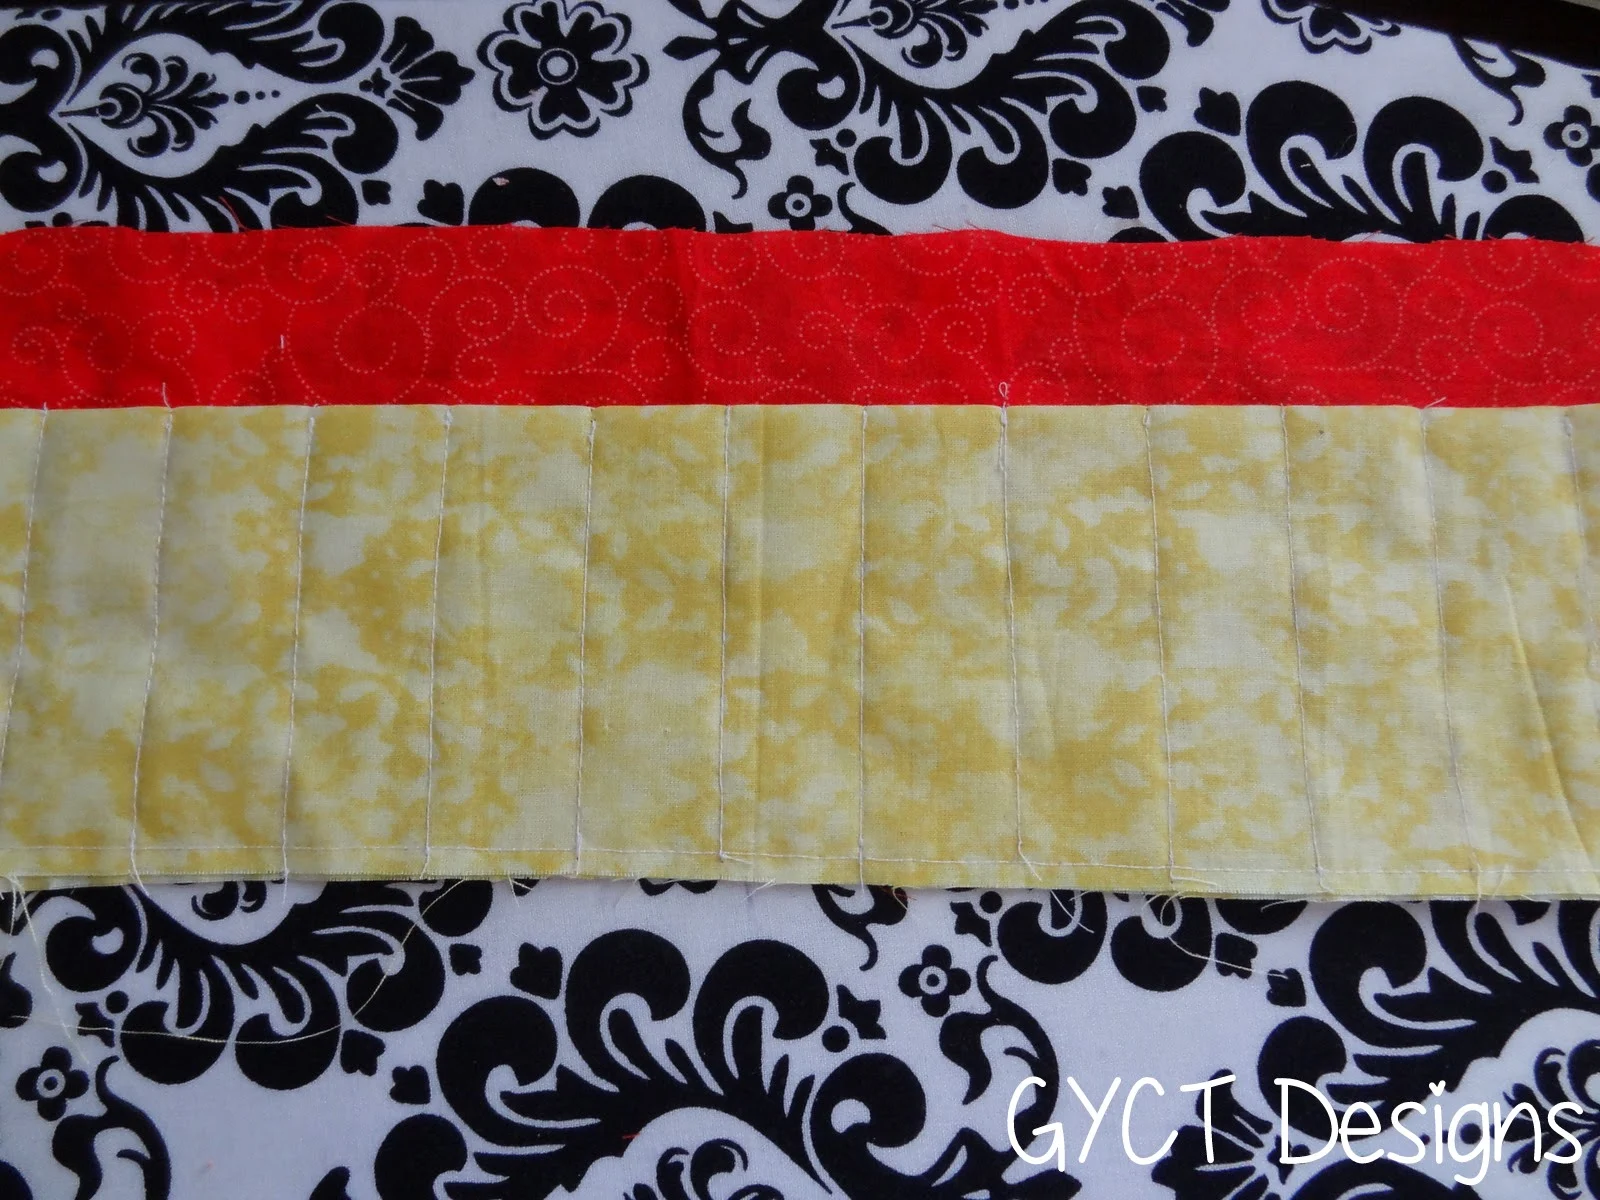
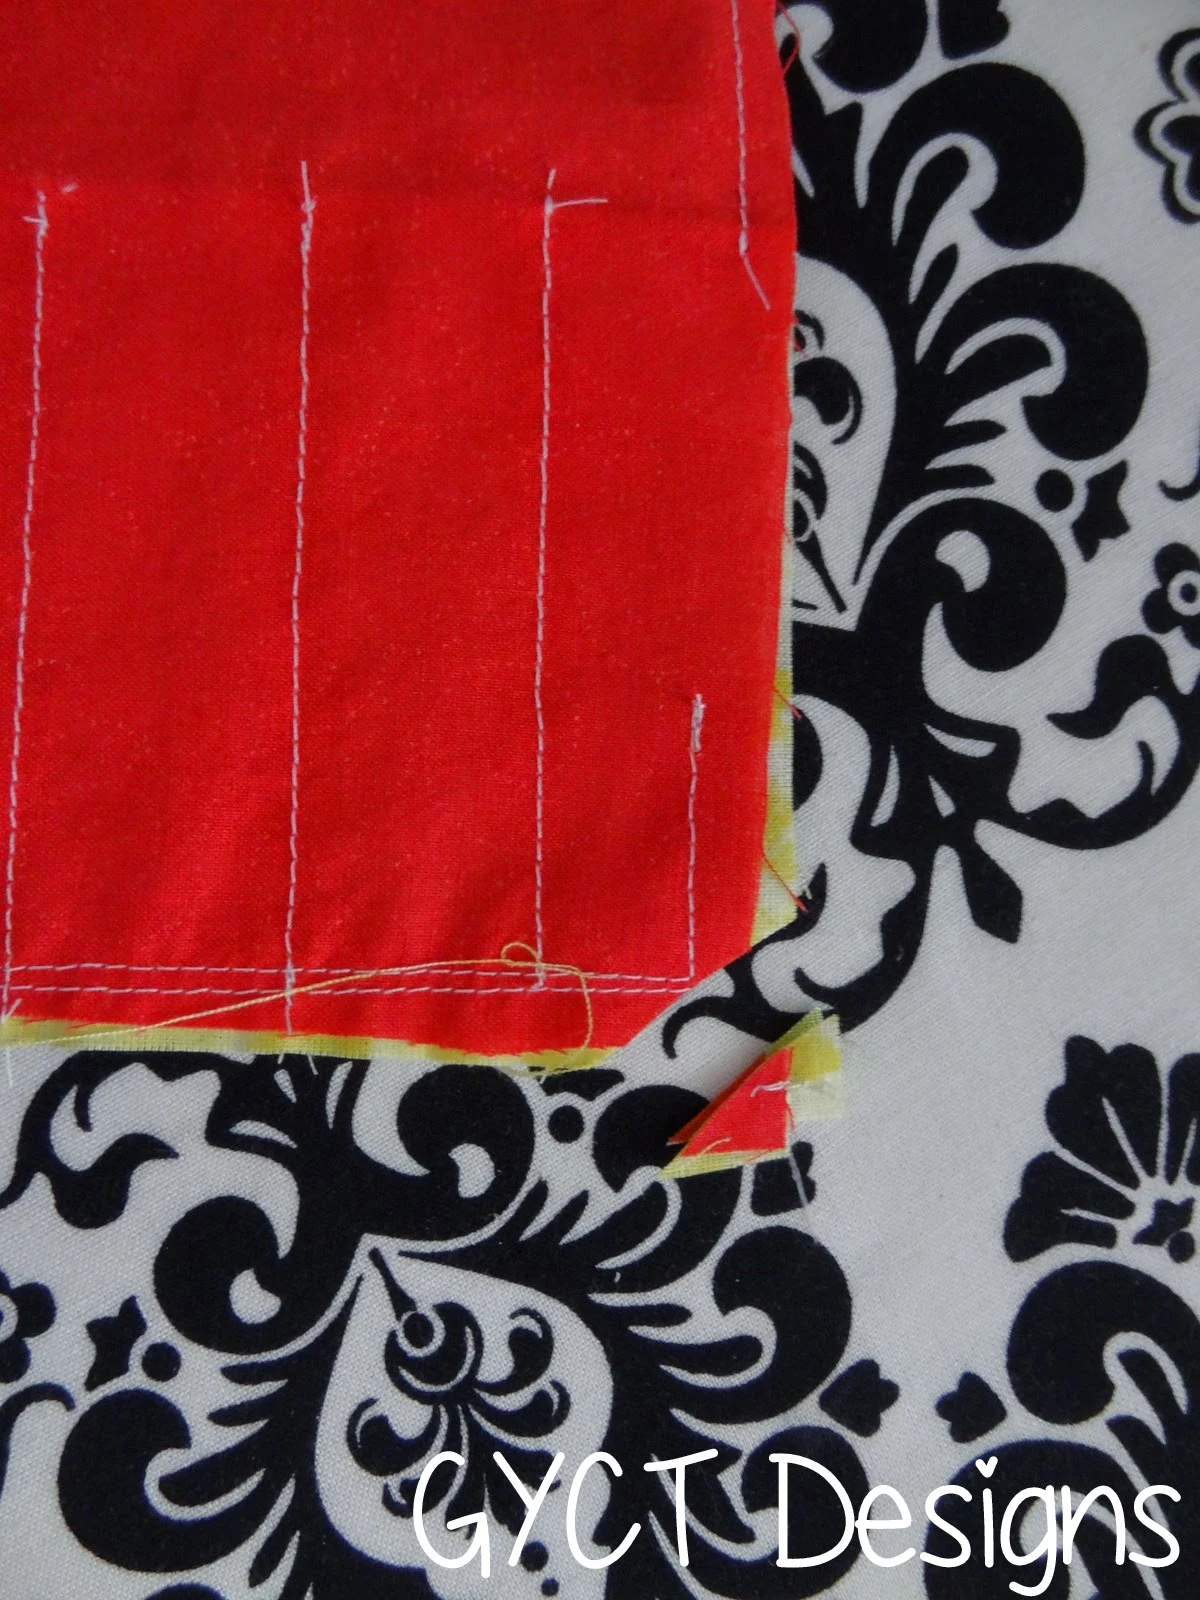
Using a fabric pen and a ruler, draw lines on fabric 2 about every 1". You should have 12 lines.
Step 4
Stitch over the lines that are drawn. Begin on the raw edge and sew to the top edge
of the shorter fabric. Cut threads and
repeat with each line.

Step 5
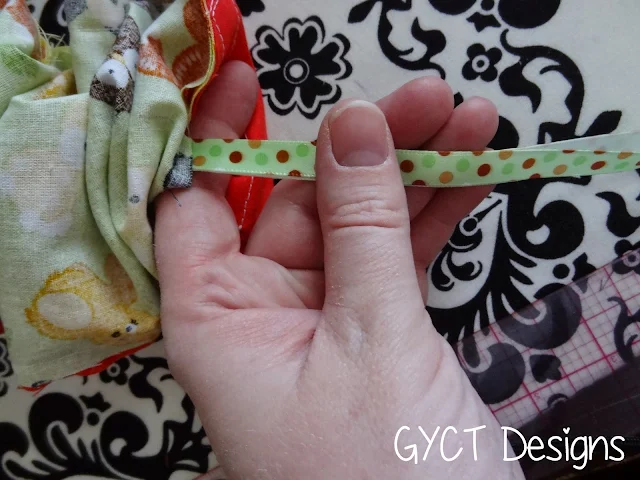
Fold ribbon in half, place folded edge of ribbon on the short raw edge of the fabric. Pin in place.
Step 6
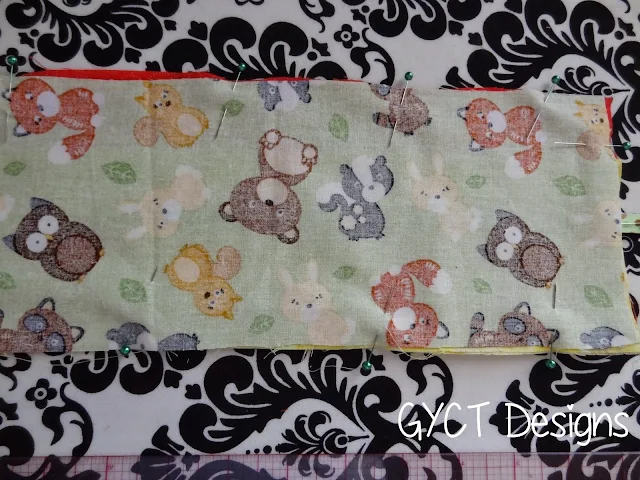
With right sides together, place piece 3 on top of pieces 1
and 2. Pin in place. Mark a 2” opening in the middle of the
short side that does not have the ribbon on it.
Step 7
Making sure not to sew your opening, sew around
the outer edge of your fabric. Make sure
to backstitch. Cut your corners.
Step 8
Turn right side out through the opening and poke your corners so they are square.
Step 9
Press flat.
Topstitch around the entire project.
Fill with crayons or pencils and you’re done!!
You learned to turn corners and sew straight lines. That is all this project is. Straight lines and corners.
Such a simple fabric crayon holder and useful too!
Want the free fabric crayon holder pattern? Simply click the button below and download the pdf pattern.
Want the free fabric crayon holder pattern? Simply click the button below and download the pdf pattern.







I so want to make one of these with my little guy!
ReplyDeleteCan't wait to see Jessi
DeleteIt's a lovely learning to sew project:)
ReplyDeleteThanks Vicky! Hope you can use it.
Deletegoing to make one for me!! For my crochet hooks!!
ReplyDeleteThis is a great idea!
DeleteI’ve used this pattern so many times, thank you!! This makes an amazing gift for kids or crafters.
ReplyDeleteSo glad you've enjoyed it
Delete