For years I've planned to draft a simple peasant dress sewing pattern. For YEARS. And it just never happened.
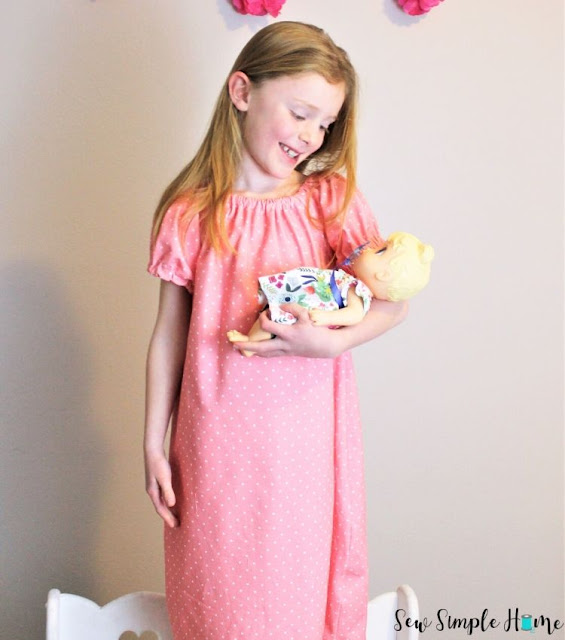
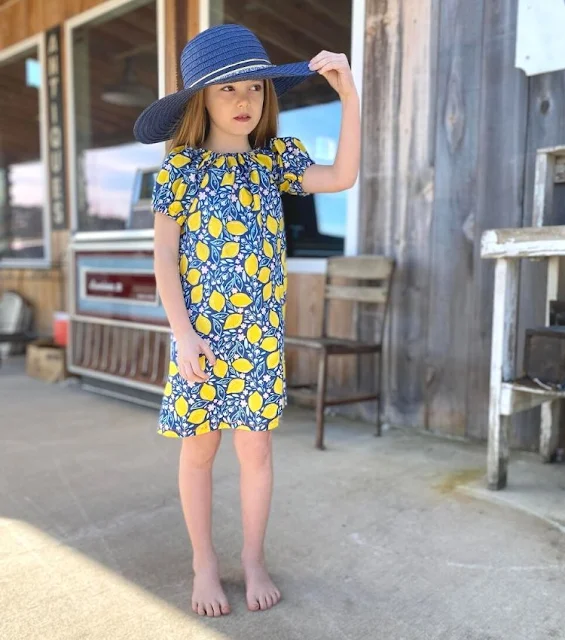
I love the look of a simple girls peasant dress. They can be used for dresses, nightgowns and dress up ideas. SO many options!
This post contains affiliate links to products I recommend. I do make a portion off any you may purchase. See full disclosure here.
But this year I really wanted to get it done. I have a BUNCH of fun ideas to do with this pattern that I can't wait to share.
Before I share these other fun ideas, you need the basic peasant dress pattern so you can create your own amazing projects.
This tutorial actually covers two different styles of peasant dresses. But since the tutorials can get pretty long, I've split the two tutorials up into two separate posts.
You'll be able to grab both patterns and tutorials to create the a-line peasant dress and the gathered skirt peasant dress.
Both patterns have been tested with a great group of testers to ensure they have a nice fit for the size.
PLUS, you'll get the 12" baby doll pattern as well.
So many great patterns so little time! Let's get sewing!
You can get the A-line and Gathered Peasant Dress Patterns in our Etsy Shop for $3.97.
Easy Girls A-line Peasant Dress Pattern
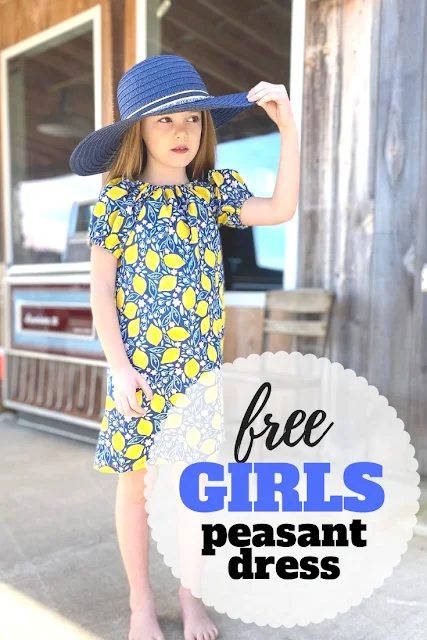
- Free Girls A-line Peasant Dress Pattern - download at the end of post
- 1 - 3 yards cotton woven fabric or knit fabric
- 1 pkg 1/4" elastic
- Matching Thread
Tip: This version of the Peasant Dress works really well for knit fabrics aka stretchy fabrics. If you are new to sewing with knits, check out our free ecourse Knit Sew Scary.


Step
1
With Right Sides
Together (RST), match the sleeve and the bodice front. Stitch sleeve to
bodice.
With RST, match one sleeve with the bodice back. Stitch sleeve to back.
Repeat with opposite sleeve.
Step 2
Turn bodice so that right sides are
together. Match side seams and sleeves. Stitch down the
side seam. Repeat with opposite side.
Step 3
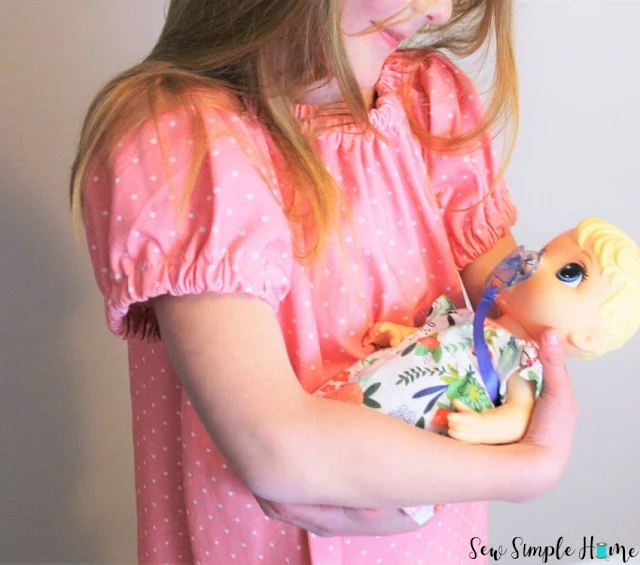
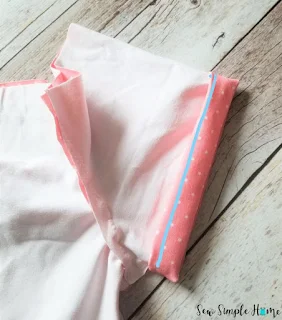
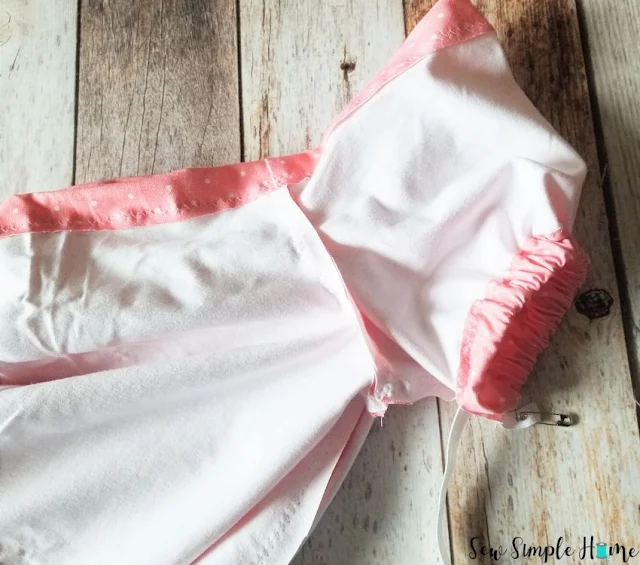
To create the sleeve elastic casing, fold the
edge up 1/4" and then another 1".
Mark a 1” opening on the sleeve. Stitch
around the casing at the bottom edge ¼”. Leave the 1” marking open.
Step 4
Thread elastic through opening. Overlap
the elastic by 1” and stitch together. Pull elastic into sleeve casing. Stitch
opening closed.
Step 5
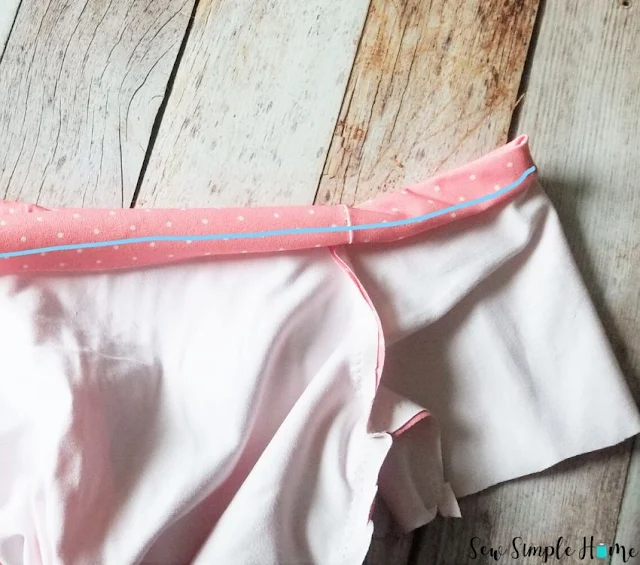
To create the neck casing, fold the top edge
down ¼” and then another 1”.
Find the back of your neckline and mark a 2”
opening in the center. Stitch around the casing at the bottom edge
¼”. Leave the 2” marking open.
Step 6
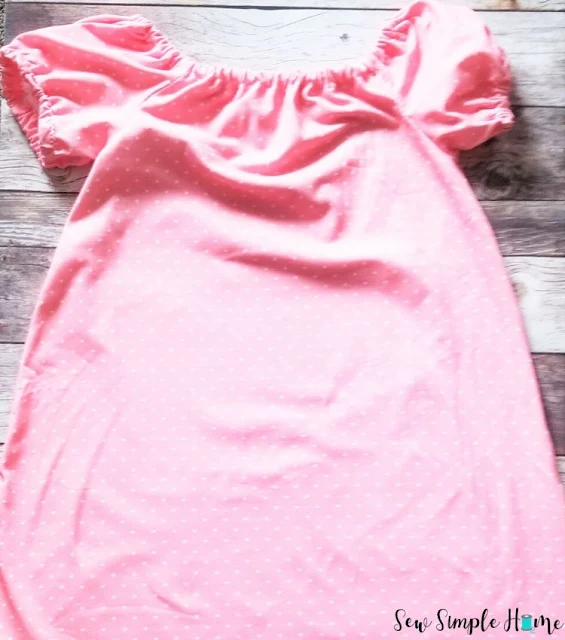
Thread elastic through opening. Overlap
the elastic by 1” and stitch together. Pull elastic into neck casing. Stitch
opening closed.
Press the dress hem up ¼” and then fold another 1” all the way around the skirt. Stitch the hem right along the top edge of the folded hem.
Want the free A-Line Girls Peasant Dress Pattern? Simply click the button below and download it to your device.








I don't see any indication of length of elastic for doll or girls' dresses. Did you just use whatever makes it how tight you wanted it?
ReplyDeleteYes, it would depend on the doll size
Delete