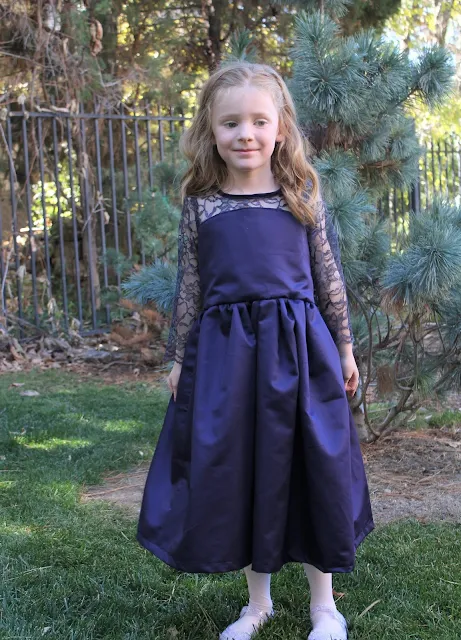
I've had this dress idea in my head for a few years now. I really wanted to make a lace bodice for my daughter, but just kept putting it off.
However, when my husband's cousin announced he was getting married, I knew that would be the perfect occasion to create this little girls dress sewing pattern.
This post contains affiliate links to products I recommend. I do make a portion off any you may purchase. See full disclosure here.
The great part about this design is that you can use it with your favorite girls dress sewing pattern. Making a few simple alterations you can create the same look without having to spend more money on patterns.
For this tutorial I am using a version of my Spring Holly and Ivy Party Dress. You'll notice this dress has several neckline options, but I'll be using the round neck.
I'd highly recommend you use a pattern with the nice round or boat neckline for this to work.
I also altered the pattern so that I could sew in a zipper instead of buttons or snaps. This will ensure a nice clean finish on the bodice back lace.
If you pattern is already made for a zipper, great! If not, you may need to trim off a bit of excess fabric on either side of the bodice back.
Lastly, I recommend you start with a muslin first. That means a mock-up or draft of the design. Sew up the bodice on inexpensive fabric first, try it on your model and make sure fit is good.
Once you know the fit and design will work, than you can cut into your more expensive special occasion fabric. If you've never sewn special occasion fabrics, check out post on how to sew special occasion fabrics.
Lace Girls Dress Sewing Pattern
Materials Needed- Holly and Ivy Party Dress Pattern - or your own favorite girls dress sewing pattern
- 1/2 yard of lace fabric
- 1-3 yards fabric
- 8 inch zipper
- 15-20" Bias tape - you can make your own bias tape with this tutorial
Step 1
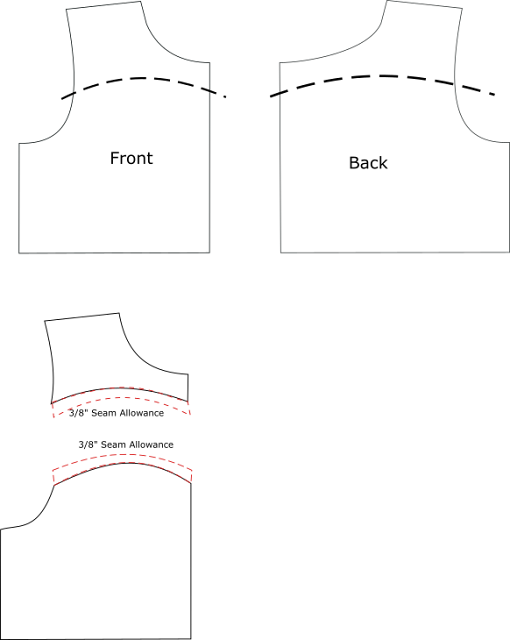
Take the bodice top pattern and draw across the top. You'll want to draw from the center of the arm hole to the opposite side. Do this on the back as well. Repeat on the back.
Add a 3/8" seams allowance to where you cut the two pieces in half. Cut out the top of the pattern in lace and the bottom section in main fabric.
Cut an extra bottom for the front and back lining.
With Right Sides Together (RST), sew the lace to the main fabric on the front of the bodice and the back of the bodice at 1/4". Repeat with the two back pieces.
Step 3
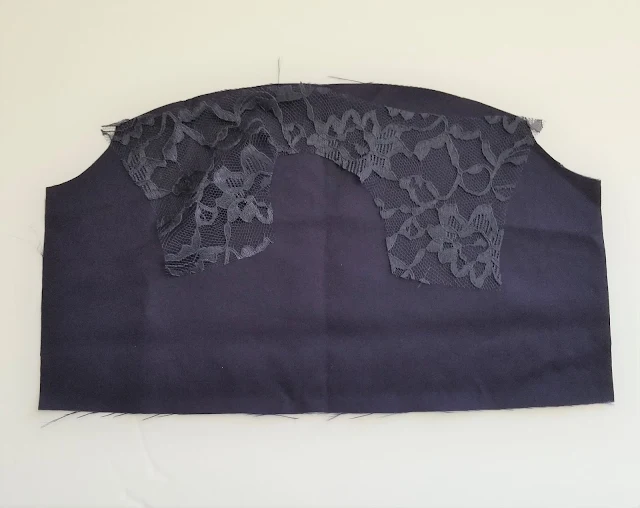
Sandwich the lace between the main front and the lining front piece. Stitch across the top but not at the arms. Repeat with bodice back pieces.

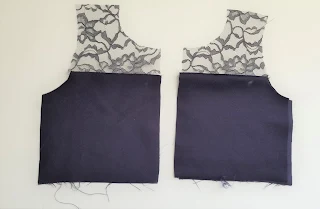
Turn down the lining piece and press. The bodice should look like one seamless piece. Topstitch along the top of the two solid pieces. Repeat with bodice back pieces.
Step 5
With RST, match the bodice front and bodice back at the shoulder seam. Stitch across the shoulder.
With RST, pin the center of the sleeve on the shoulder seam of the bodice. Pin the sleeve to bodice matching the sleeve and bodice as you go. Stitch across the sleeve from one side to the other. Repeat with opposite sleeve.
Tip: If your lace fabric has a scalloped selvage, consider cutting the sleeve so the scalloped edge is the hem.
Turn bodice so that right sides are together. Match side seams and sleeves. Stitch down the side seam. Repeat with opposite side.
Step 8
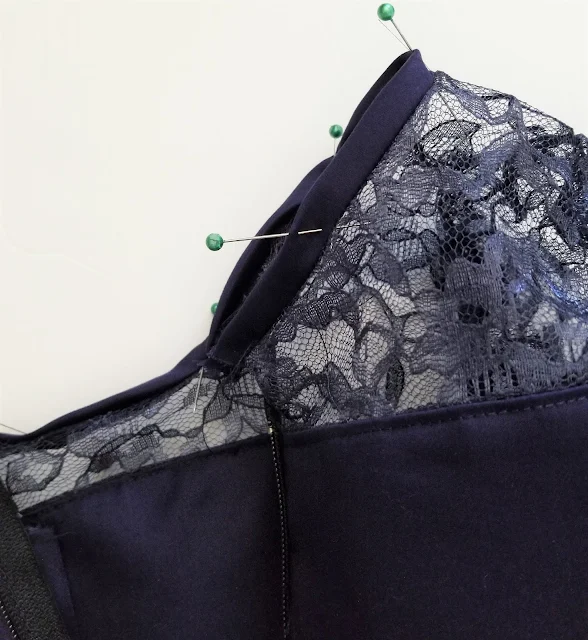
Pin an open piece of bias tape around the outside of the lace. Stitch one layer to the lace.
Step 9
Turn the bias tape towards the wrong side of the bodice neckline and pin. Stitch down the bias tape.
Now you'll just finish your dress as the instructions say. You can change them to add a zipper instead of buttons or snaps as well. But that is up to you.






No comments
I'd love to hear from you!