
"There's no more room!"
That's what my husband said last fall as we were putting away all our fall decor and pulled out Christmas decorations.
That was, in fact, a true statement. We'd run out of space for storing any more fall decor items. That was why he and my father were working to build shelves in our 3 car garage. To give us enough room to store all those holiday decorations.

This post contains affiliate links to products I recommend. I do make a portion off any you may purchase. See full disclosure here.
Of course, once the shelves were finished, they were quickly filled up.
The real problem now was how was I going to continue to add to my fall holiday decor and not use up more storage space.
I needed to make decor would fold flat or be super lightweight. At the same time be true to my style and fun to create.
Sewing skills to the rescue!
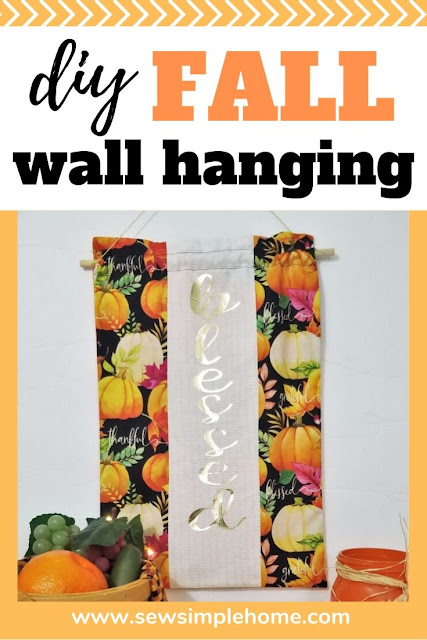
I did some research and figured out the easiest way how to make a fabric wall hanging with a dowel.

I mean, wall decor is always in style AND if I made the wall hanging reversible, I could have decor for two holidays or seasons instead of just one.
I am super excited to share this tutorial with you. I not only used my sewing skills but I got to customize those wall hangings with my Cricut machine.
You'll love this project too! You can easily change it to fit whatever wall hanging needs you have. Add a unicorn or fun narwhal for a simple bedroom hanging or add a birthday cake for a fun birthday banner.
How to Make a Fabric Wall Hanging with Dowel
- Reversible Wall Hanging Sewing Patterns - download at the end of the post
- 4 Fat Quarters, in contrasting fabrics
- 1/2" Wooden dowel - 12-14" in length
- Black Iron-on Vinyl
- Gold Foil Iron-on Vinyl
- Cricut EasyPress 2
- Cricut Maker
- Thread


Cut out your design using your Cricut machine. You'll want two designs. I did one for Halloween and one for Thanksgiving.
Use the EasyPress to add your iron-on design to your fabric.

With Right Sides Together (RST, place the diagonal corners of side 1 onto the center wall hanging. Stitch across. Repeat with opposite corner. Press.


Step 3
Place one of the outside pieces of side 2 RST with the center piece. Stitch long sides together. Repeat with opposite outside piece.


Press design down the center of side 2.

With RST, place side 1 and side 2 together. Match sides. If the sides are not matching, feel free to use a rotary cutter and a cutting mat to trim the sides so both pieces match.
Draw a 1" opening about 1/2" down the long side from the top. Repeat on opposite side.
Stitch around the entire wall hanging. Make sure to stop stitching at each of the openings.

Turn your wall hanging right side out. Press.


Step 7
Use a ruler to draw two lines with a washable fabric pen. Measure 1/2" from the top of the wall hanging and draw the first line. Measure down from that line 1" and draw the second line.
Stitch across the two lines you just drew. This is now the casing for your wooden dowel.


Step 8
Thread the wooden dowel through the casing. Cut a piece of twine about 20" long and tie it either end of the dowel.
Now go hang up your new wall hanging. Simply switch it at the end of the season for the next season.
Plus, this project is super simple to store. Either roll it up and store as is. Or that the twine off the dowel and fold up your hanging until next year.

Ready to make your own?
Simply click the button below and download your copy of the reversible fall wall hanging.


I use a curtain rod that slides in and out and hang my door projects up with one of those white strips that you just peel and put on door since I live in a Retirement apt I don't destroy their door. Love the fall hanging and why did I not think to make my hangs reversible, darn what a great idea.
ReplyDelete