My lines are never straight.
Serious people. I can't cut a straight line to save my life. Yes, I sew and craft, but I rely heavily on rulers and cutting products to help my lines stay straight.
That is why I love the Cricut Print then Cut feature. Beautiful print designs that cut out perfectly.

This post contains affiliate links to products I recommend. I do make a portion off any you may purchase. See full disclosure here.
I used this feature to cut out my son's Pokemon Valentine's. Which made the process much faster, plus all my cut lines were straight.
I also love that I can print a gorgeous design and get a professional finish right at home.
What is Cricut Print Then Cut?
The Print then Cut feature is used to print an image or design on your home printer and then use your Cricut cutting machine like the Cricut Explore or Maker to cut out the design.
Why would you want to use this feature?
If you are like me, you don't cut straight! Or you just want a professional finish without all the work.
Simply create your design in Cricut Design Space, print and cut.
How to Use Cricut Print Then Cut
Materials Needed
- White Cardstock
- Gluestick
- 4th of July Card Cut File
- Cricut Machine - I use the Cricut Maker
Check out the video on how we used Cricut Print then Cut to make this card from start to finish.
Step 1
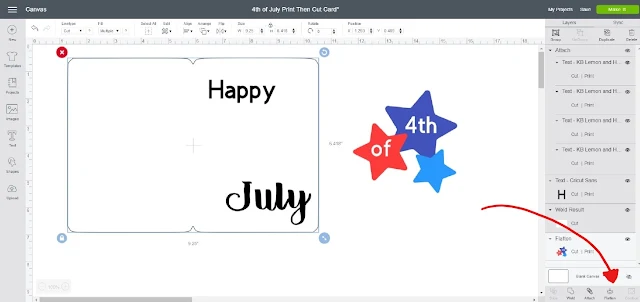
Open card cut file in Cricut Design Space. Start by making sure whatever image or file you are using is "flattened". This allows the design to be printed and then cut.
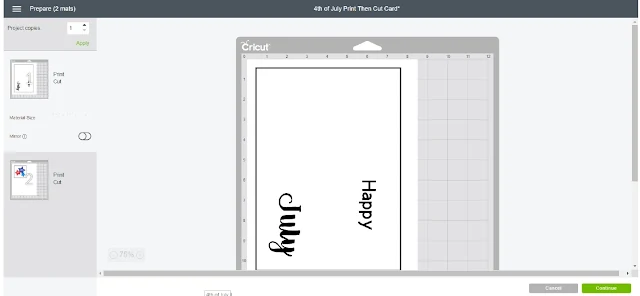
Make sure when you click "Make It" that the file shows that it will first Print and second Cut on the far left side.
Step 3
Once the design prints, it will be outlined in a black box. This box is what the Cricut machine will use to figure out where the design is located on the paper. Place design on your Cricut mat.
Step 4
Load your design into the machine and allow it to cut.
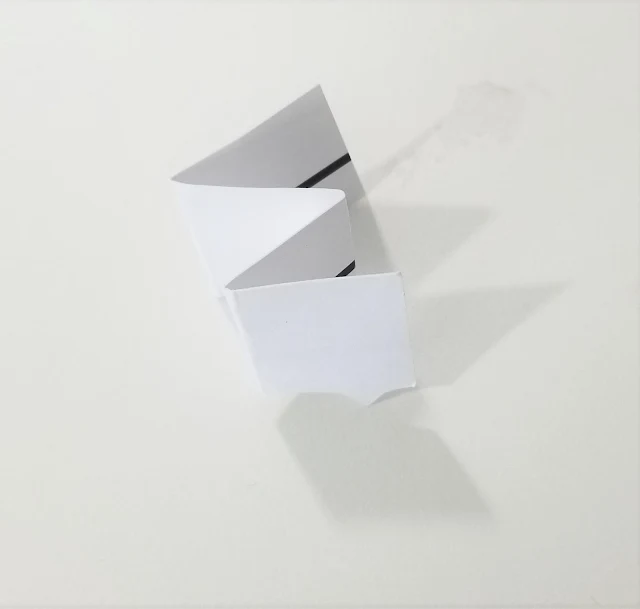
Cut a 1 x 3" piece of paper. Fold it in fan shape with about 4 folds.
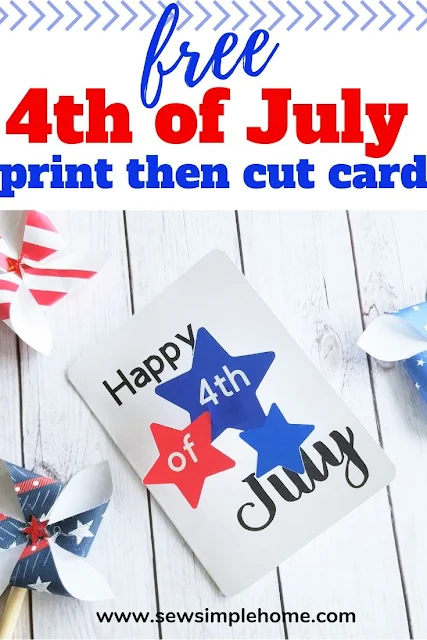
Glue the fan piece to center of the card and glue the stars to the fan. Now you have a fun Print then Cut pop-up card.
See how super easy it is to make a Print then Cut project.


No comments
I'd love to hear from you!