I love to garden. Watching something you plant from a seed grow into a beautiful plant is a pretty amazing experience. I spend most of my summer mornings working in the garden and have wanted to make a gardening apron pattern for years.
I mean, where you do store your gardening tools or your picked crops? My Mother in Law swears by her garden aprons. Finally, I took the time to make a pattern and want to share it with you.
This post contains affiliate links to products I recommend. I do make a portion off any you may purchase. See full disclosure here.
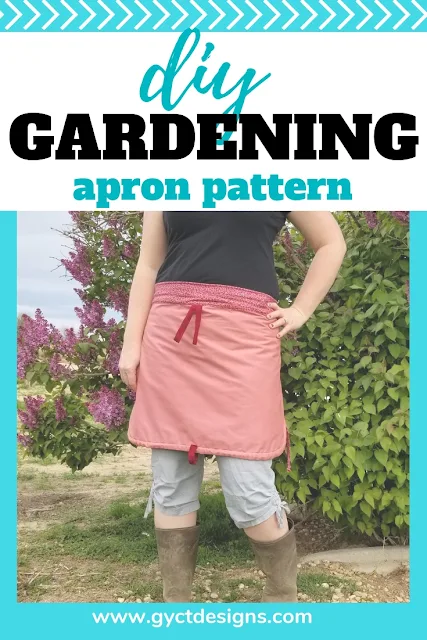
This garden harvesting apron pattern is perfect all summer long. You can wear it like a normal half apron pattern to help keep your clothes clean and dry while you are planting all those seed packets.
It's can also help dry off those hand tools when you rinse them off after a long hard day of work.
But when you are ready....
.....just tie it up and you can now place your harvest right into the big pocket. I can't wait to harvest my green beans this year. This will be so much easier than trying to find a place to put my big bowl!! Just opening up my gathering apron and BAM!!
Perfect place to pick, plop and gather all those yummy crops.
I'll admit. When you look at it, it does seem a little silly. But no one will be laughing when you bring in dinner on your apron. I'm also planning to use it to easier gather our chicken eggs.
With our chickens laying anywhere from 8 to 15 eggs a day, having a safe place to stash them is important.
Now let's get to the apron sewing pattern tutorial!!
---------
Want the entire Harvest Apron Pattern and full step by step photo tutorial and none of the hassel? Grab it for $3.97 in our Etsy Shop. No need to access the internet each time you want to make your own.
How to Make a Harvest Apron
Materials Needed
- Gardening Apron Pattern - download at the end of the post
- 1 yard cotton for main fabric
- 1 yard lining fabric
- 1/2 yard contrasting fabric
- Thread
- Bodkin
Some thoughts on fabric choice. Feel free to use whatever fabric you want, but remember you are working in the garden so you may want some heavier fabrics like canvas or a cotton twill.
You could also look at a laminated cotton that would wipe off easily.
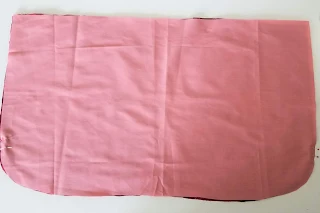
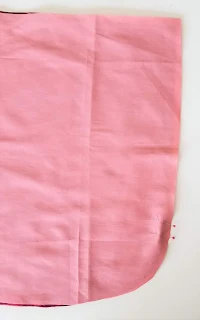
With Right Sides Together (RST), pin the main apron body piece and lining apron together. Mark a 1" opening on each side where the curve ends.


Stitch down the side seams to the opening at 1/2". Stitch from opening to opening along the bottom at 1/2".
Step 3
Clip around the rounded edges.
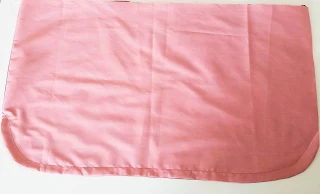
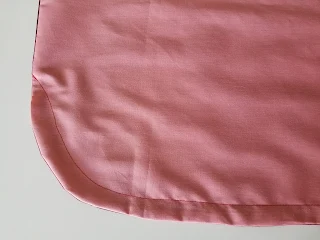
Turn right side out and press. Stitch from the top of one of the openings across the bottom of the apron to the top of the other opening to make a casing. Your casing should be 1" wide. Press apron across the sides and bottom edges and set aside.


Grab ties and drawstring pieces. Fold with RST along the long side. Stitch 1/4". Leave both ends open.


Turn all the ties and drawstring right side out. Use a safety pin or a bodkin to help you. Press.


Tie one end of the drawstring in a knot. Thread the drawstring through the bottom casing of the apron. Center the drawstring and tack the drawstring down in the middle.
Step 8
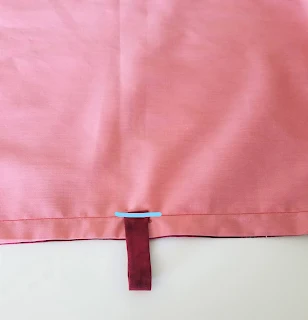
Fold each of the raw edges of the loop down 1/4" and press. Place the loop at the center bottom of the apron. Place one side of the loop on the front and the other on the back of the apron. Stitch across the top of the loop making sure to catch both sides of the loop.
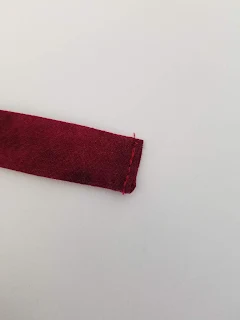
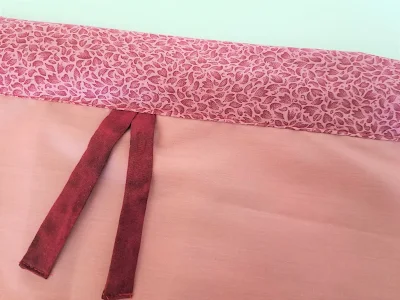
Turn one end of each of the side ties inside the tie and stitch across to close. Do the same to both ends of the center front ties.
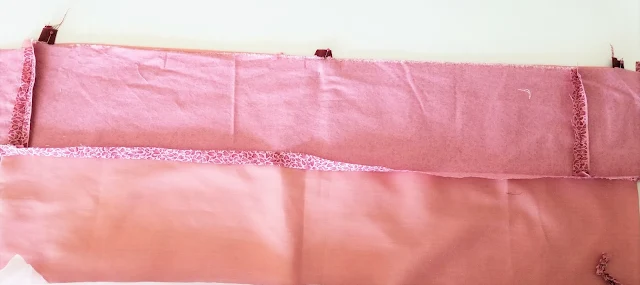
Place the ties across the top edges of the apron. Place the two side ties about 3/4" from the sides and pin. Fold the center front tie in half and pin it to the center of the apron. Stitch across the ties to keep in place.


Step 10
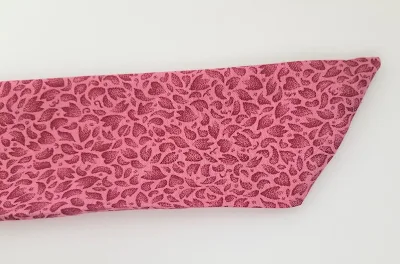
Take 3 waistband pieces and match the short sides. Stitch short sides together. Press open. Fold one of the long sides of the waistband down 1/2" and press.
Step 10
Match the unfolded side of the waistband to the top of the apron. Stitch across the apron.
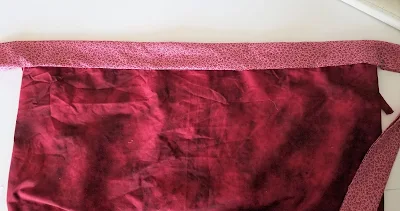
Fold the waistband to the back of the apron and overlap onto the apron 1/2". Pin.
Finish the edge of the waistband ties and a diagonal.
Step 12
Stitch the waistband to the apron from one side of the waistband to the other side.
Customize that cute apron with this free hand embroidery file that we are sharing on the Sulky blog. Just Be Happy!!
Want your free copy of this harvest apron pattern? Simply click the button below to download your copy.

If you aren't sure how to tie your apron, make sure to watch our video. If you can't see the video, turn of your ad blockers and it should pop up at the beginning of the post.
---------
Want the entire Harvest Apron Pattern and full step by step photo tutorial and none of the hassel? Grab it for $3.97 in our Etsy Shop. No need to access the internet each time you want to make your own.







This is great, my friend just bought her forever home & is gardening/homesteading like crazy! Im going to make her one!! Thanks!
ReplyDeleteAm I missing something ? Nowhere is the pattern shows a drawstring
ReplyDeleteStep 5, 6 and 7 have you sew up the drawstring. Hope that helps
DeleteWaistband attachment: On step 10- When she says to sew on the top side of the apron, does that mean through the front and the back pieces of the apron, or only the back side or the front side? Step isn't not clear.
ReplyDeleteYou've already sewn the front and back pieces together. One edge of the waistband should be sewn to the front with rights sides together. Once sewn, you'll fold the waistband in half so it encases the raw edges and makes a band.
Deletemaybe it's me but the length of the waistband is very tight, no extra to tie it...
ReplyDeleteThat's very cute. Such a good idea!
ReplyDeleteI would suggest making the apron fabric wider to gather it at the waistband - to give a deeper and larger 'harvest pocket'. It just looks so tight against the wearer's body in the video.
ReplyDeleteAgree!
Delete