I've been in the market for a heat press for the past few months. Doing a bit of research and trying to decide what would be best for my crafting and sewing needs.
If you've ever researched heat presses you know how pricey they can get and how much space they take up. I knew didn't have a lot of space I could commit for a heat press.
I was fortunate
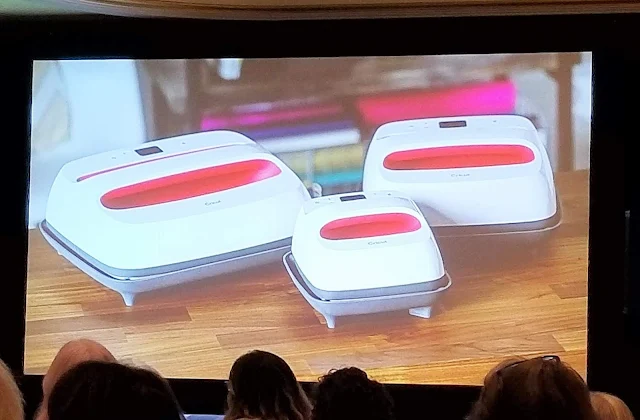
enough to receive the new Cricut heat press called the Cricut EasyPress in February and I am so happy with it. I wanted to share with you a few tips about understand the Cricut heat press settings.
This post contains affiliate links to products I recommend. I do make a portion off any you may purchase. See full disclosure here.
Why would you choose the Cricut EasyPress or EasyPress 2 over a traditional heat press?
#1: Size
The Cricut EasyPress is compact and can be stored away in a closet, on a shelf, or even right next to all your crafting supplies.
You can even take it along with you to shows, family gatherings or crafting parties.
It is super portable. With 3 different sizes: small, medium and large. You can get the the small for projects like baby bodysuits up to the large for projects like big duffel bags.
#2 Even Temperature
The Cricut heat press is has a very even temperature. Which is what makes it so usable and allows the Cricut heat transfer vinyl to stick to every surface.
That is why the Cricut EasyPress works and why it works just as well as traditional heat presses.
#3 Pressure
Remember how you had to like break your arm to pull down the lid of your regular heat press.
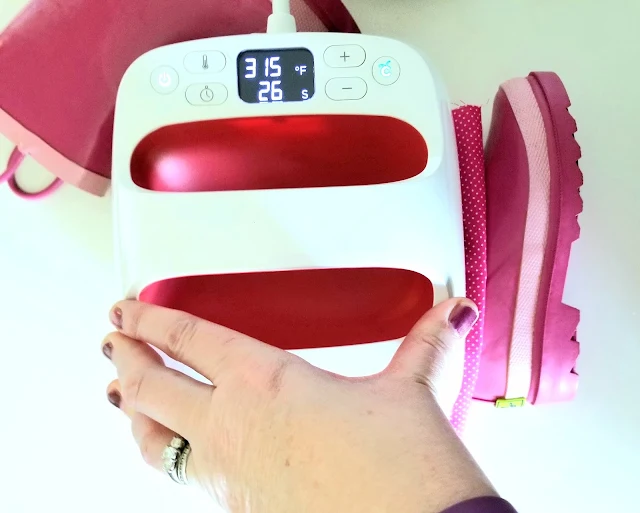
I personally have two of the three sizes. They are so nice. I especially like the that sweet 6" x 7" press.
Cricut also came out the the EasyPress Mini. It is a handheld heat press.
Not only is it darling, but it also is a great addition to a craft or sewing table. I've used it a lot since getting mine and I think it is actually my favorite EasyPress.
You can see more about the EasyPress Mini here.
#2 Even Temperature
The Cricut heat press is has a very even temperature. Which is what makes it so usable and allows the Cricut heat transfer vinyl to stick to every surface.
That is why the Cricut EasyPress works and why it works just as well as traditional heat presses.
#3 Pressure
Remember how you had to like break your arm to pull down the lid of your regular heat press.
Not the case with the Cricut EasyPress. Because the temperature is even, you just need to add enough pressure for the vinyl to adhere to the materials.
The hardest part is just getting started.
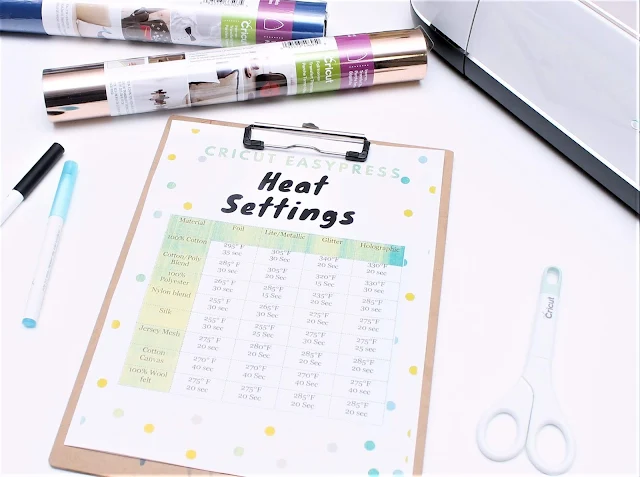
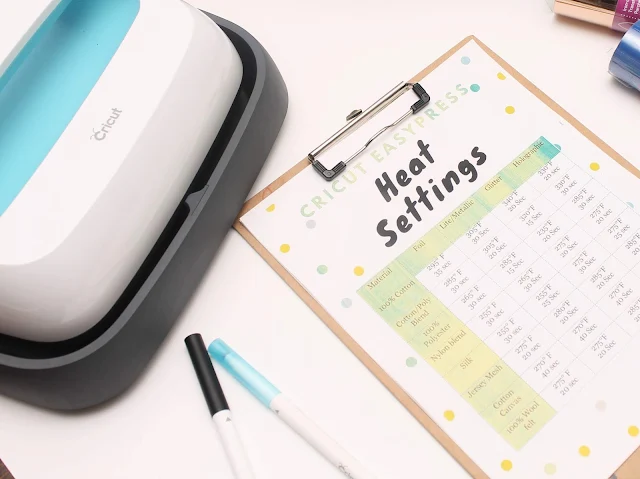
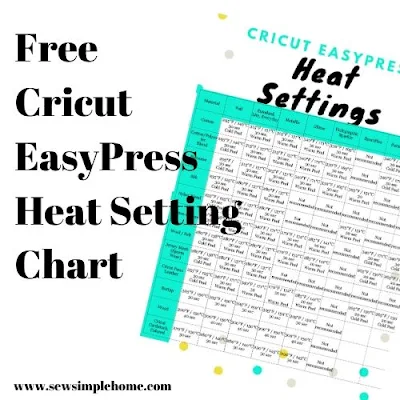
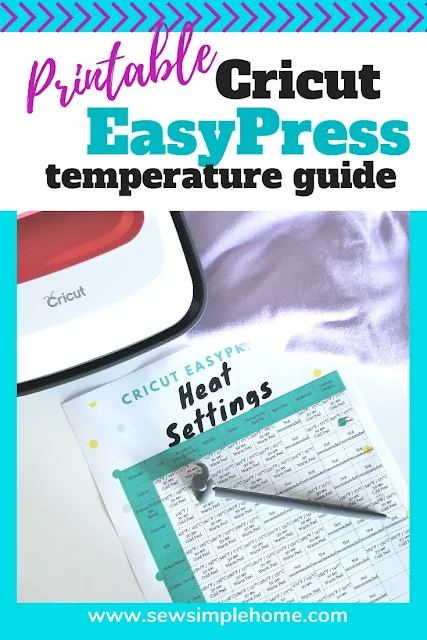
Cricut Heat Press Settings Chart
What can you make with the Cricut EasyPress?
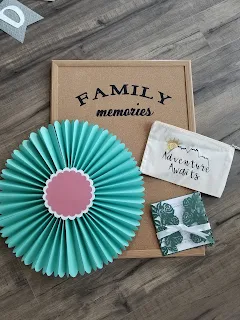
The Cricut EasyPress can be used to make SO many amazing crafting and sewing projects.Because of the Cricut heat presses compact size, it can easily be used to apply Cricut heat transfer vinyls also known as Cricut Iron-On, to many types of materials like fabric, canvas, wool, leather and even wood!!
Below are a few of the projects I've created using the Cricut EasyPress.

You can add Iron-On vinyls to fabric like this adorable mermaid. Her hair and eyes have glitter vinyl applied to them. But the EasyPress can also be used as an iron for quilt blocks or small projects.
#2 Paper, Corkboard and Chipboard
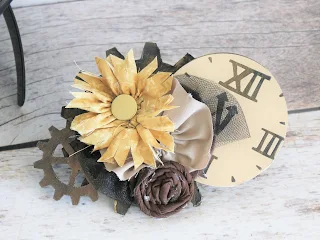
Many people don't realize that Iron-on vinyl can be added to paper materials and corkboard. Just like adding iron-on to this fun hairpiece.
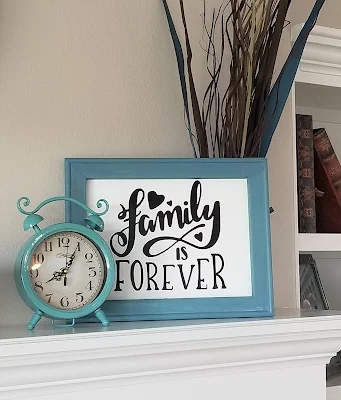
One of my favorite uses for Cricut Iron-On vinyl is making reverse canvas projects.
These beautiful canvas projects can be small or large and come out so nicely when Cricut heat transfer vinyls are used.
I have seriously made so many of them for my own home, holidays and as gifts for others and they always come out beautifully using my EasyPress.
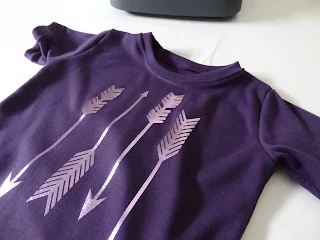
#4 T-shirts
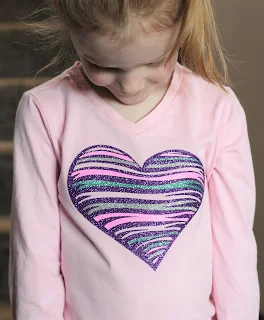
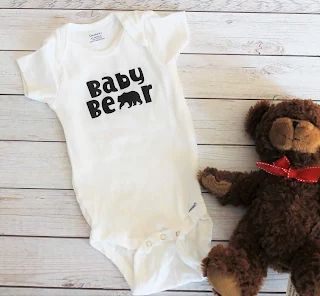
Of course, there is always the traditional use for the Cricut heat press, like making great t-shirts for every occasion. Making your own t-shirts can save you money, time and make a custom look for the entire family.
Plus, you can do a little side hustle and earn some money too.
Plus, you can do a little side hustle and earn some money too.
Check out this post on how to apply Cricut Iron-on vinyl to t-shirts.
#5 Leather
Never thought you could make custom leather projects with the EasyPress? Now you can. It is simple. Just like these keychains.
What is the difference between warm peel and cold peel?
I wanted to address something that is a little confusing especially for a newbie to heat pressing. Our Cricut heat press settings guide includes when a Cricut Iron-on should be removed with either a warm peel or cold peel.
What this is referring to is whether to remove the vinyl while it is still hot or when it is completely cool.
Why does this matter? Some materials are easier to remove the vinyl protective sheet while it is hot.
Otherwise it could distort the vinyl and ruin the design. Other times it is best to allow the vinyl to completely cool so that the vinyl is not ruined during the removal process.
Cricut has researched and tried these methods and is continually trying them. So trust their judgement on this one.
Understanding Cricut Heat Press Settings
Since I’ve used my EasyPress so often, I’ve really needed a heat press temperature chart that I could hang up in my space to refer to frequently.I will say, the nice thing about Cricut is they are always testing and retesting their temperature settings, which means their temperature guide is always being updated.
However, I don't always have my computer or phone handy to pull up the newest chart. So I decided I needed something I could print out and hang up on my wall. Even something that can be laminated, hung up and not moved by myself or my kids.
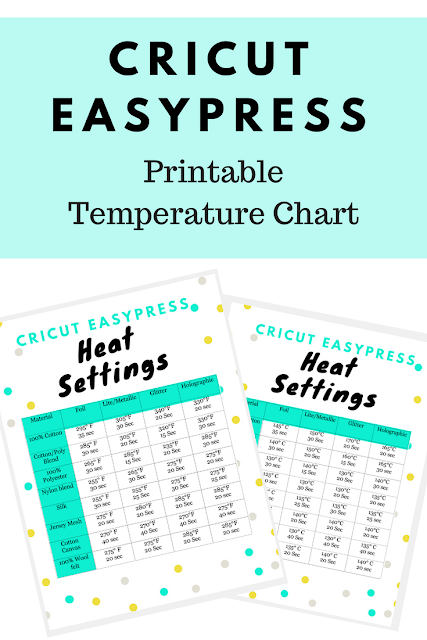
That is why I decided to make my own cute Cricut EasyPress Temperature Guide.
This is just a quick reference guide for
anyone using a Cricut EasyPress.
I’ve created one chart that includes both Fahrenheit and Celsius. It includes all the temperatures for the all the Cricut heat transfer vinyls that are available from Cricut in their shop.
The Cricut heat press settings also includes the most common materials that are used with heat transfer vinyl like fabrics, wood and paper.
The chart also includes how long to press and I've updated to include whether the vinyl should be removed with a warm peel or a cold peel.
Can you travel with the Cricut EasyPress?
YES!! Cricut now has EasyPress totes that you can pack up any size EasyPress and take it with you. They are heat resistant, trendy and super lightweight. Learn more about the EasyPress Totes HERE.
The Cricut EasyPress Temperature Guide can be downloaded just my clicking here.
Just print out the Cricut EasyPress temperature guide, laminate it and hang it up for quick reference. I hope this chart will help keep you a bit more organized as well.
Just print out the Cricut EasyPress temperature guide, laminate it and hang it up for quick reference. I hope this chart will help keep you a bit more organized as well.
If you haven't check out the Cricut EasyPress, you can check out on both Amazon and from Cricut's website.


