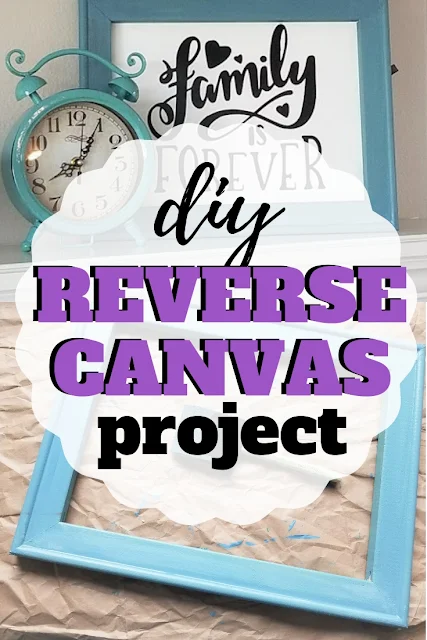
If you have been crafting in the last few months you've probably noticed that reverse canvas projects are all the rage.
Why? Well, they are relatively inexpensive and give you a beautiful framed project for your home or as a gift.
This post contains affiliate links to products I recommend. I do make a portion off any you may purchase. See full disclosure here.
Plus, you have some many options on canvas sizes and can really customize exactly what you want for your home or to give as a gift to someone else.
You can create a rather large finished, framed product at half the cost or less than what you might find at the store. That is why today I want to answer some questions about reverse canvas projects and teacher you how to make a reverse canvas.
What is a reverse canvas?
This is probably the biggest question people have. What is a reverse canvas?
Simply, it is taking a regular paint canvas. Removing the canvas from the frame. Adding a design, paint, etc and replacing the canvas on the back of the frame.
Why would we do this? To start, canvas is inexpensive. You can purchase a pack of canvas projects for cheaper than wood.
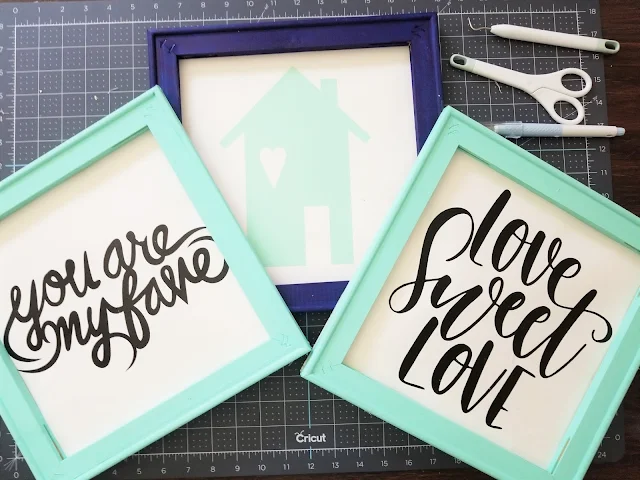
Once you remove the canvas, the frame can be painted any color. You decide on the canvas design and you have some inexpensive decor.
How to get vinyl to stick to canvas?
Some people like to try and use a permanent vinyl like Siser 651 on reverse canvas projects. I don't suggest this.
I have found the best vinyl to use on canvas is a heat transfer vinyl (HTV) also known as iron-on vinyl.
HTV vinyl is designed to be attached to fabrics and fibers. Since canvas is a fabric, it makes sense to use HTV.
It can be more expensive, but I have found I can easily use up scraps for my reverse canvas project ideas.
Once the design is placed on the canvas an iron, EasyPress or heat press can be used to heat set the design. It shouldn't peel or come off once it adheres to the canvas.
How to hang a reverse canvas?
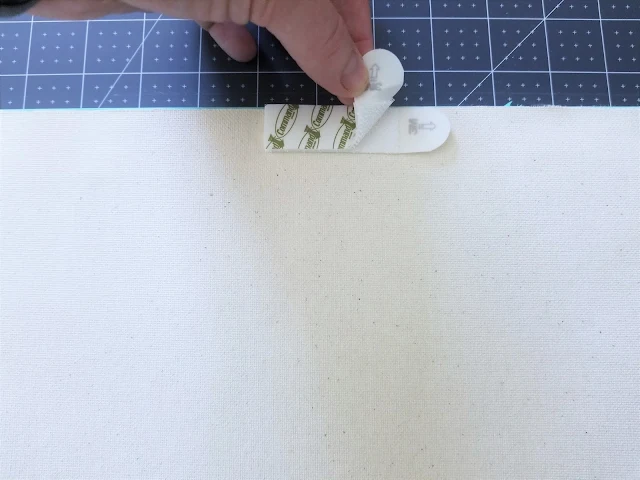
Hanging a reverse canvas is really easy. I personally really like to use 3M Command Strips or something similar.
Canvas projects are really lightweight. I like to use the Picture Hanging Strips. They can hold the weight of the canvas and are removable.
I have different reverse canvas projects for holidays and can easily put them up and take them down without damaging my walls.
You can see that these have a plastic hook and loop that all snap together. If the strips don't stick well to your canvas, you can staple the one side to your project and it will stay in place nicely.
Once the strip is in place, simply hang them on the wall.
What canvas do I use for a reverse canvas?
When deciding what type and size of canvas you want to purchase as your base for a reverse canvas project, it's best to measure your area.
How much space are you wanting to take up? Will you place the canvas horizontally or vertically? Will it hang on the wall or sit on a mantel or shelf? Make sure to think about this before you purchase a canvas.
Next, shop canvases. Most craft and hobby stores carry blank art canvases.
Amazon carries a ton of sizes of blank art canvases including sizes from 8 x10 to 35 x 47 . That means you can even get really large canvases for inexpensive.
If you plan to display this canvas in a common room, you might consider choosing a little higher quality of canvas just to ensure that the wooden frame on the canvas is good quality.
But for the most part, I've use many different canvases for projects and haven't run into issues.
Another thing to note, as your canvas size gets larger the frames on the canvas start adding extra supports. I purchased a large canvas for over our bed in the Master bedroom. It had a support right down the middle of the frame.
If you'd like to see me make a Giant Reverse Canvas Project, check out my Instagram stories and I'll walk you through what I did. Or check out How to Create Oversized Vinyl Projects in Designs Space to learn how to make larger projects on your Cricut.
Luckily, this wasn't a huge deal, but it was a little inconvenient and I had to remove it.
I'd suggest going to the store if you plan to purchase an extra large canvas so you can see the wooden frame and supports.
How to Make a Reverse Canvas Project
To start, make sure you take your wall area measurements with you to the store, otherwise you may run into issues.
Materials Needed
- Blank Art Canvas (in whatever size you wish. Mine is an 8x10)
- Paint Brush
- Acrylic Paint
- HTV Vinyl or Permanent Vinyl (I used HTV for this project)
- Iron or Cricut EasyPress
- Rotary Cutter
- Self Healing Cutting Mat
- Stapler
- Cricut Tru Control Knife - you need this. It has a grip and it doesn't roll away!!!!!
- 3M Command Strips
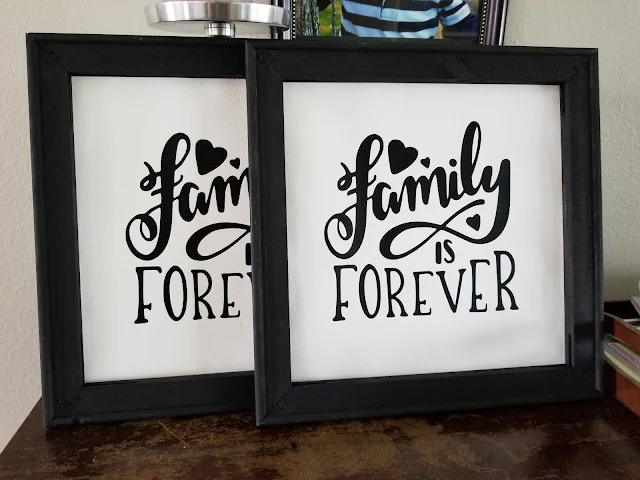
- Family is Forever design
I will say you can use either Iron On Vinyl or Permanent Vinyl.
I personally like the Iron On. Sometimes permanent won't stick properly and makes it a bit tricky. If you do use Iron-On, set your iron or EasyPress to 340° F and press for 30 seconds.


Step 1
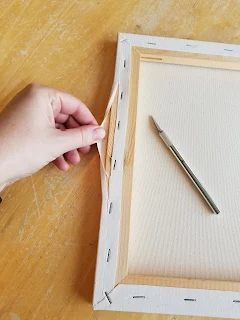
Using the Cricut Tru Control Knife, remove the canvas from the wooden frame. Just cut around the outside of the staples and peel the canvas away.
You don't need to remove the staples because you will cover them up with the canvas again later. But if you are super annoyed by them, feel free to take some pliers to them.
Step 2
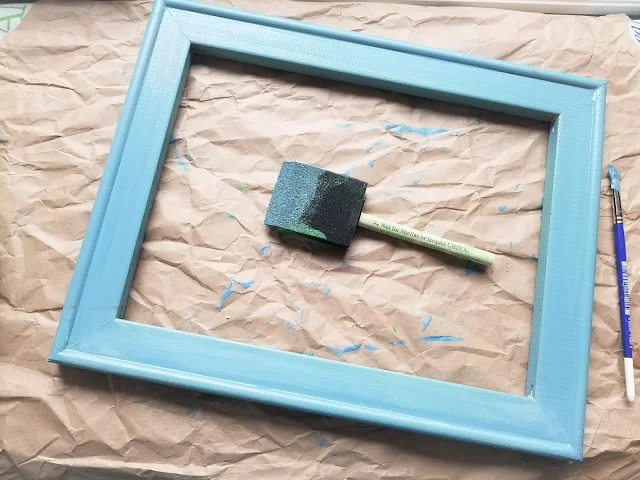
Paint your frame. Use an acrylic paint so that paint won't wear out so easily. It also dries fairly quickly so you can add an additional coat of paint.
You could also stain your frames which is a very popular choice at the moment as well.
Step 3
While your frame is drying, cut out your design using your Cricut or Silhouette.
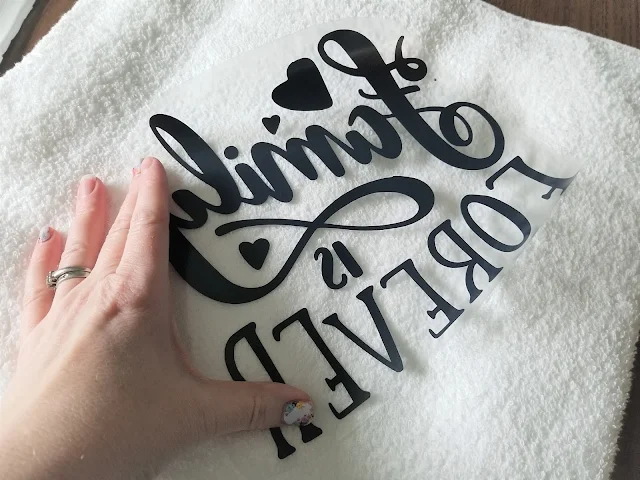
If you use Heat Transfer Vinyl, you'll want to make sure you cut your design as a mirror image so the design is facing the correct direction. I've done this wrong a LOT of times, so make sure you don't make that mistake too!


Step 4
Take an iron or Cricut EasyPress and press your canvas first. {I didn't do this originally, but wished that I had later. Just do it.} Learn all about the Cricut EasyPress in our post.
Next, place your design where you would like it on the canvas. Use your iron and press the vinyl to the canvas.
You might want to use a press cloth under the iron just to ensure you don't discolor the canvas. But if you have it at a low enough heat, you should be ok.
If you are using permanent vinyl, make sure you know exactly where you want your vinyl before placing it down with the transfer tape.
Step 5
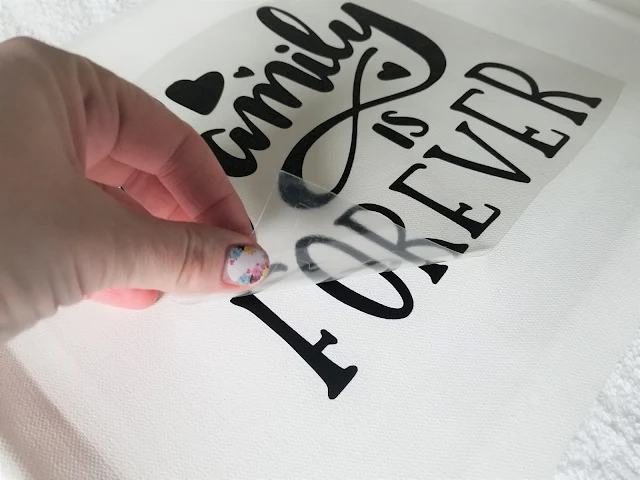
Allow the vinyl to cool and remove the clear sheet or the transfer tape. Go slow and make sure all the pieces are stuck to the canvas.

Step 6
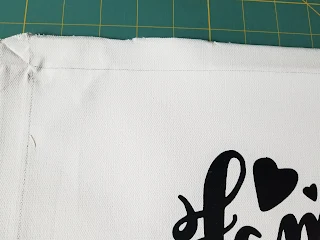
Lay your canvas down flat and place your frame over the top.
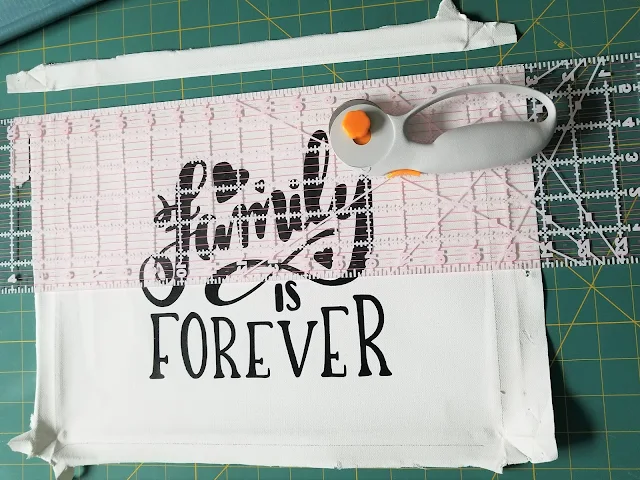
Use a pencil to trace around your frame. This will help you know how much extra canvas to cut off.
Step 7
Using a rotary cutter (or the Cricut True Control Knife, which is super amazing) and ruler, cut along your pencil line.
Your canvas should now fit perfectly behind your frame. If it doesn't trim it a bit more until it fits.
Step 8
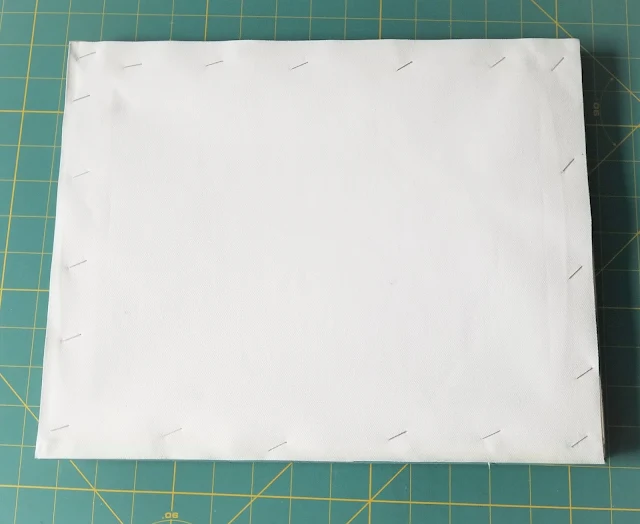
Carefully staple your canvas to the back of your painted frame. You'll want to do your 4 corners first, your middles next and than a few more around each edge.
You may need to to pull your canvas a bit for a tight fit.
Now you can simply hang up your reverse canvas project or set it on the shelf. Reverse canvas projects are so simple and easy and great gifts for everyone.
I hope this tutorial helped you learn how to make a reverse canvas.


