Do you have a little Mario Brothers lover at your house? I've got several. It is more like an addiction. They love all things Mario and Princess Peach.
This post contains affiliate links to products I recommend. I do make a portion off any you may purchase. See full disclosure here.
Perhaps your little ones will enjoy Mario too. My son is only 4 and has only ever played Mario video games a few times in his little life, but he has Mario, Luigi and Yoshi stuffed toys, Mario and Luigi hats, and even a few t-shirts.
The problem I face, is that there isn't a ton of items geared towards toddlers and preschoolers that love Mario. That's why I decided to share this free Mario Brother's applique.
As I was planning for this month, I knew I wanted to make a t-shirt using the Rival Raglan pattern in our Shop. I use this pattern all the time for my kids and knew it would be perfect.
Okay, now let's get stitchin'!
DIY Mario Shirt
Materials Needed:
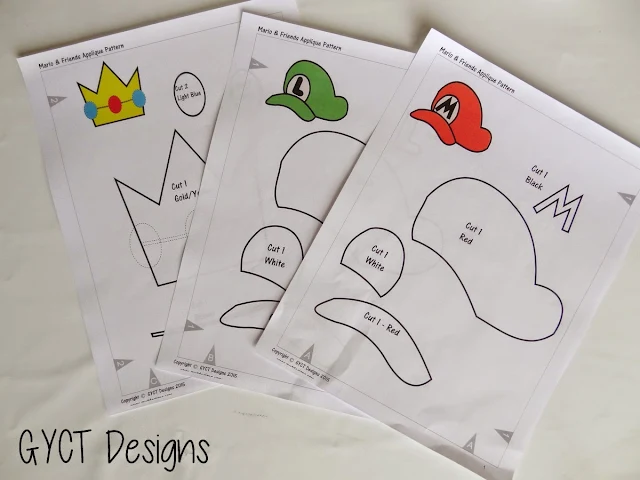
- Mario and Luigi Applique Pattern OR SVG File - get at the end of the post, look for the peach buttons
- Blank tshirt or grab the Rival Raglan Pattern
- Red, Black, Green and White, scrap fabric
- Heat'n Bond
- Permanent Marker
- Thread
This pattern includes both a printable PDF applique pattern AND an SVG pattern to cut out using the Cricut Maker or Silhouette Cameo. Check out this post about customizing tees to see other ways you can use appliques.
Step by Step Instructions
Step 1
Print off your applique patterns. Grab your Heat'n Bond and trace your Mario and Luigi hats onto it.
If you are not familiar with Heat'n Bond, it has a smooth side and a shiny, bumpy side. Make sure to trace on the smooth side. Check out our post on how to applique for more tips.
Step 2
Trace the pattern pieces onto the paper side of the Heat 'n Bond.
Step 3
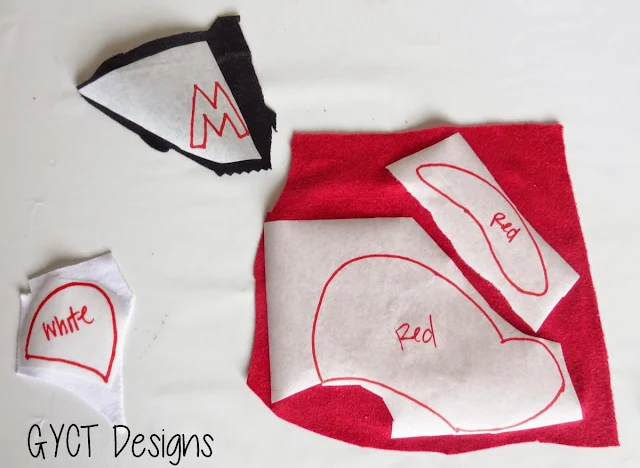
Iron each of your transferred designs onto the correct color of scrap fabric.
The pattern pieces should show you what colors you'll need. You can see below I have red, black and white.
Step 3
Once the pieces are ironed on cut them out with some nice sharp scissors.
Peel off the backing the paper part of the Heat 'n Bond. You should now have a shiny film on your fabric. This is the part you will iron to your t-shirt.
Step 4
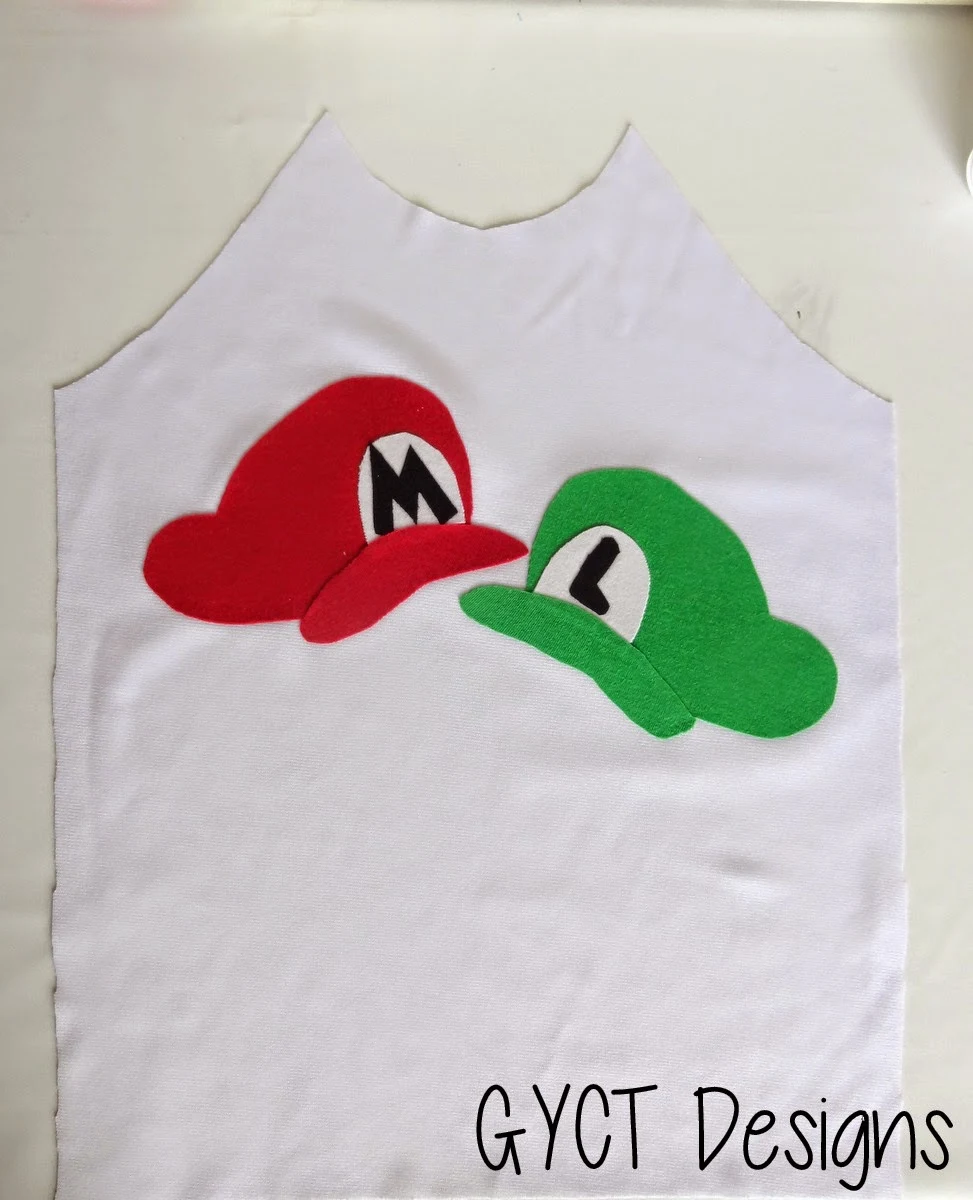
If you are sewing up your own t-shirt, like the Rival Raglan, all you'll need to grab is the t-shirt front. That is what you see below.
Carefully place your applique pieces together and move them around the tee until you get the desired look that you want. This t-shirt is a size 4. If you are making a larger or small shirt, you might first want to see if your applique should be shrunk or enlarged.
Once you have them how you want them, iron them in place. Make sure the the rim of your hat (the long skinny piece) is the last to be ironed. It should overlap the top of the hat just a little to cover up the bottom edges.
Step 5
Using your sewing machine, stitch around the outer edge of the applique to keep it in place and prevent it from falling off in the wash.
You can do a straight stitch like I did, or you can do a short zig-zag stitch all the way around as well.
Step 6
Follow your sewing instructions on how to add the sleeves, back and neckband.
And Voila! You have yourself a fun, fast Mario and Luigi shirt.
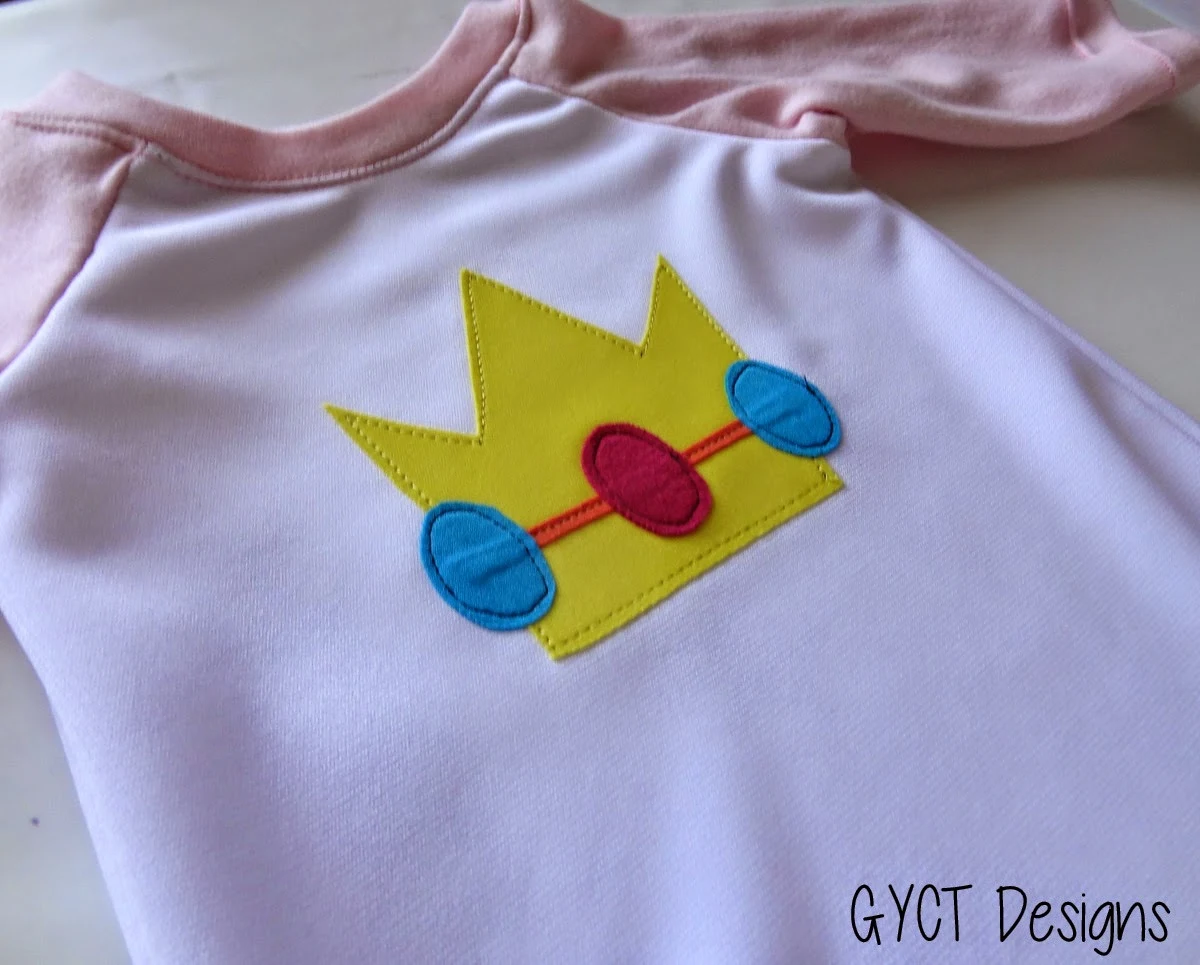
If you have a little girl, perhaps you would rather have a cute Princess Peach t-shirt?
Want the free DIY Mario shirt templates? Simply click the peach colored button below to download the pattern.


.jpg)


