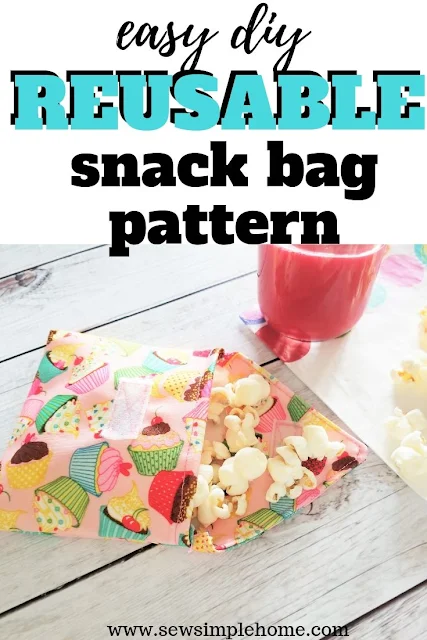
Snacks are what make life worth living.
At least according to my toddler. I cannot leave the house without snacks for him or I will regret having left the house.
But bringing snacks was becoming tricky because I was using SO many plastic bags. Not only was I wasting money, but I felt like I wasn't doing my part to teach him how to be responsible.
I went through my fabric stash and decided I could make simple diy reusable snack bags that would last longer and teach him a bit of respect for Mother Nature.
We've done something similar in our kitchen using Beeswax Wrap for covering our bowls and wrapping our cheese.
It has been a great success and my kids love picking out new fabrics every few months for new beeswax wraps.
However, I knew for these diy reusable snack bags I needed a closure so we wouldn't have goldfish crackers spread from here to outer space.
I decide on using a simple Hook and Loop Tape closure. They are so simple but perfect when you need a fast closure.
Today you'll get some practice adding hook and loop tape and hopefully save yourself some money over the next year on plastic bags.
Better yet, have your child sew them up! One less job for you.
Easy DIY Reusable Snack Bag Pattern
Materials Needed:
- Snack Bag Pattern - download at the end of the post
- 15" x 5" piece of Laminated Cotton or PUL fabric
- 1" of Hook and Loop Tape
- Thread
- Pinking Shears
Step 1
Use your pinking shears to cut our your fabric piece. You can use a plain cotton fabric but laminated cotton or PUL will wash up better and repel grease.
Step 2
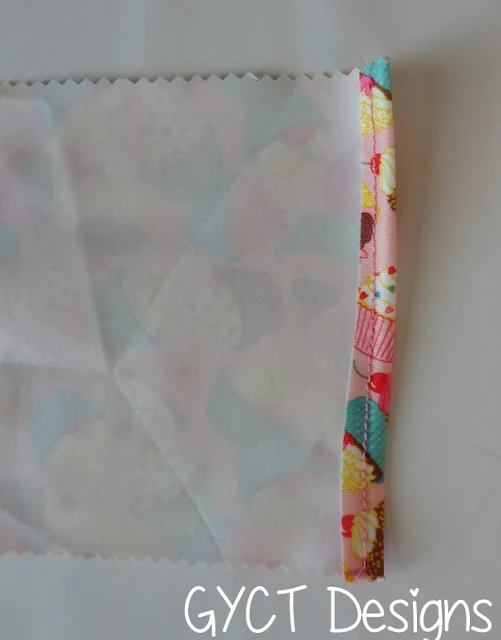
Fold one short edge down 3" with right sides together.
Now fold the entire piece in half with right sides together and pin at the top where you folded down 3".


Draw a diagonal line with your fabric pen from the folded corner to raw edge of the piece. Cut along this line.
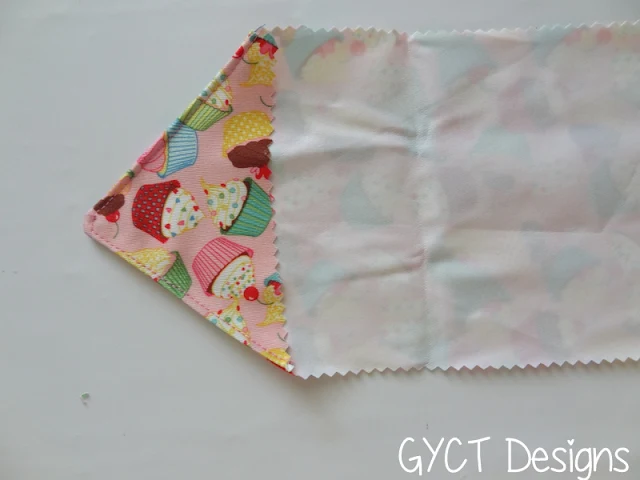
Open your fabric up again. You now have a little facing piece that is a triangle. Sew the facing to the main piece along the diagonal lines.
Step 6
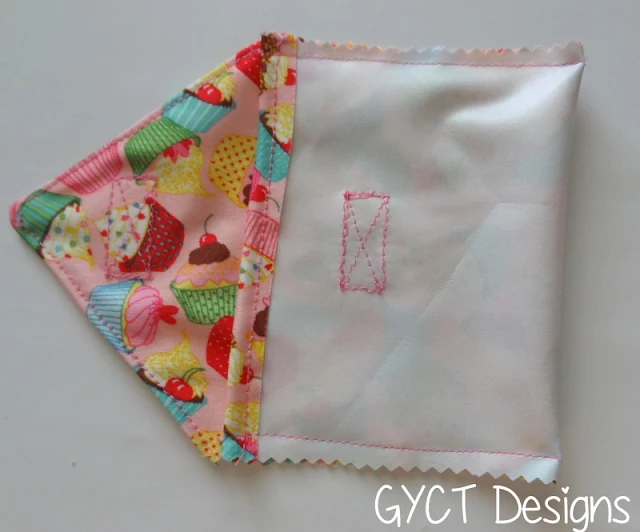
Turn your facing right side out and press. Topstitch along the diagonal lines.Place one side of your hook and loop take in the middle of your facing piece. Stitch down.
Fold the bottom short edge of the snack bag up 1/4". Stitch down the edge.
Step 9
Turn the piece right side up, in the middle and about 1.5" from the edge stitch down your other side of the hook and loop tape.
Step 10
With right sides together, fold the bottom of your piece up to the bottom of the facing. Stitch down the side seams of the bag.

Want the free pattern? Simple click the image above and download your free copy of the diy reusable snack bags.
Such a fast sew but a great little project to learn to sew hook and loop tape. I made some of these a few years back and we take them everywhere we go. Especially during the summer when we pack a lunch for the zoo or park.


Saving for later to remind me to make some!! I have been wanting to make some for over a year now and I keep forgetting.
ReplyDeleteHi, I love this! Do you offer a printable version of the instructions along with the pictures?
ReplyDeleteNot for this particular pattern. We just have this post with written directions.
Delete