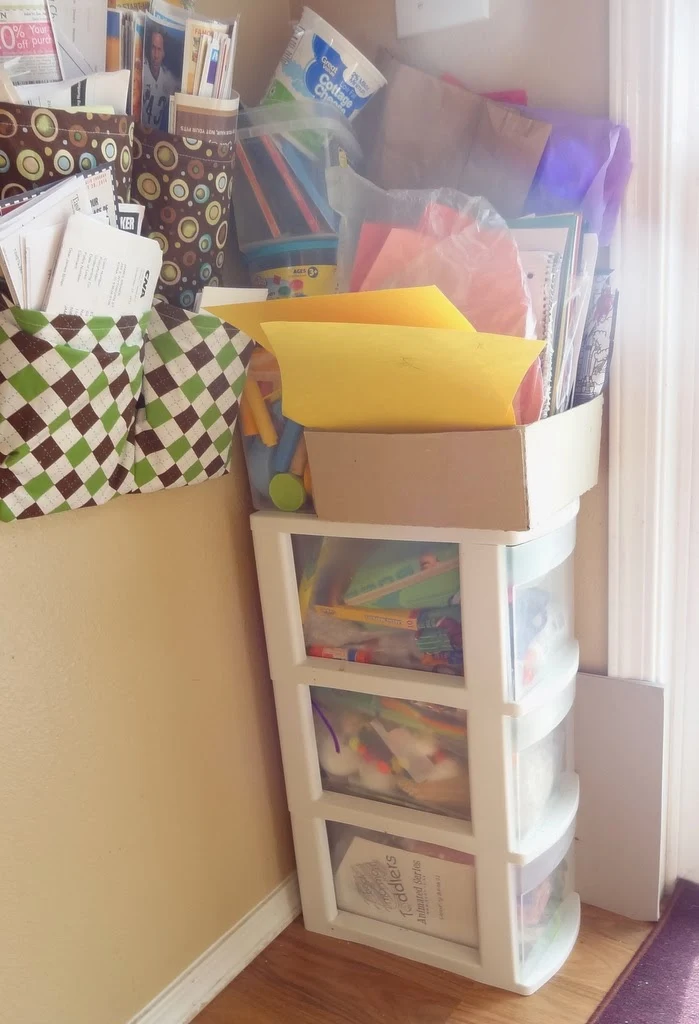
We love a good craft at our house. So much so, we have our own kids craft corner. Complete with ridiculous amounts of craft supplies like glue, glitter, paper, playdough, eyeballs, etc. We love it. But sometimes I hate it. It is a constant pile of stuff.
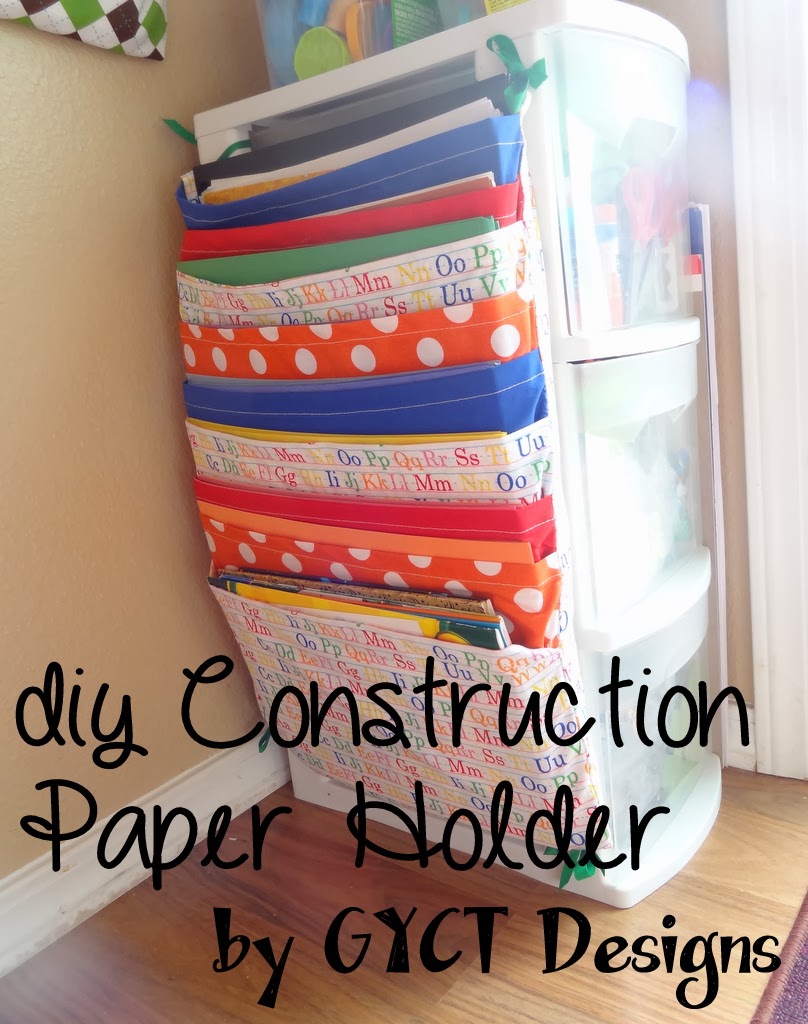
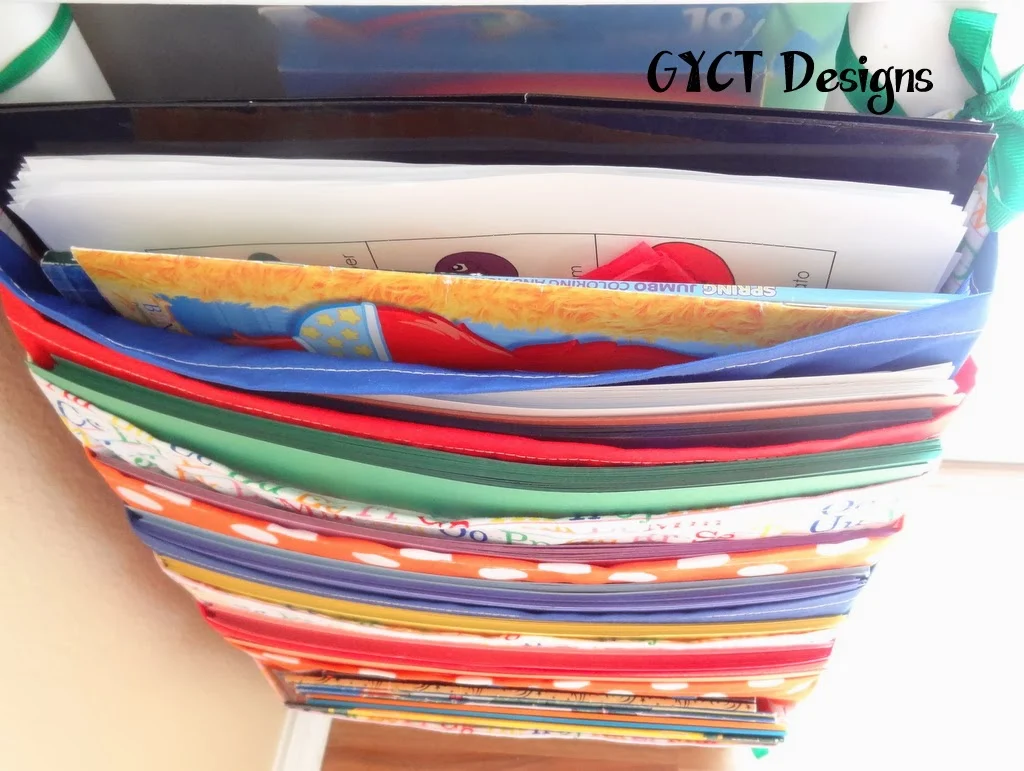
So to fix this, I went from this to this!!!!
Much better on the eyes and much better on the small space to store.
Thought I'd share how I did it will you today!
Construction Paper Holder
Materials Needed:
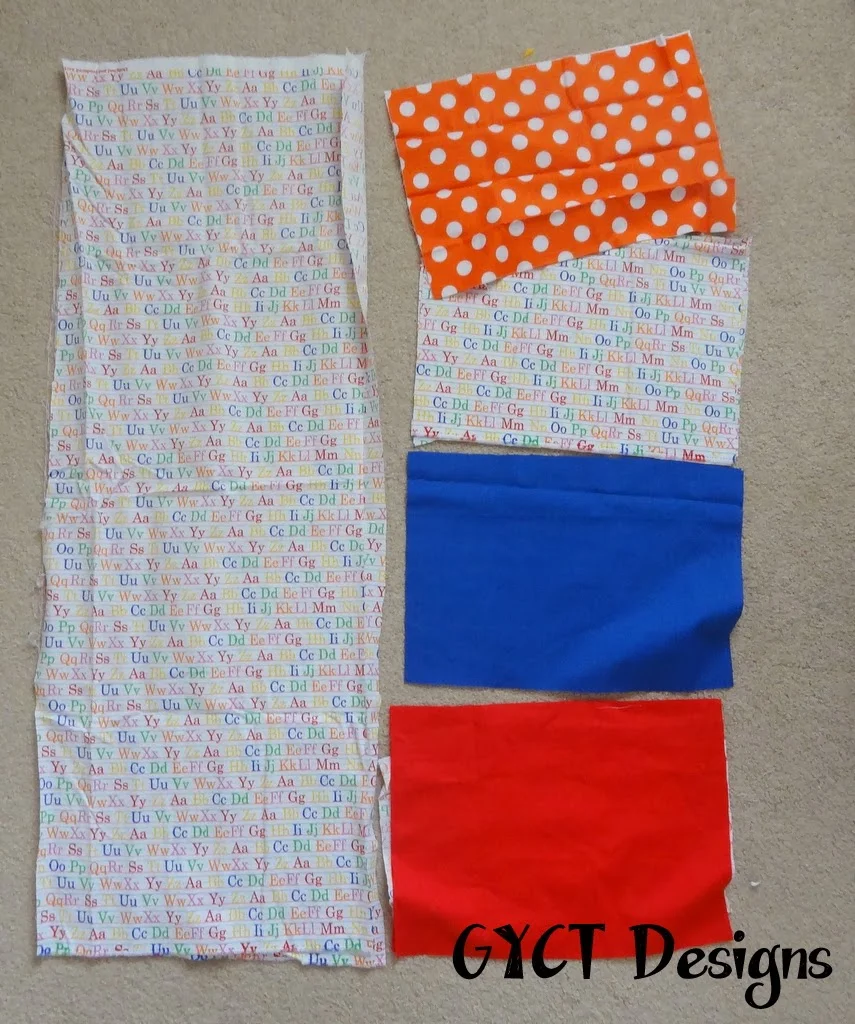
1/2 yd main material
4-5 fat quarters (depending how many pockets you want)
Heavy Interfacing
Thread
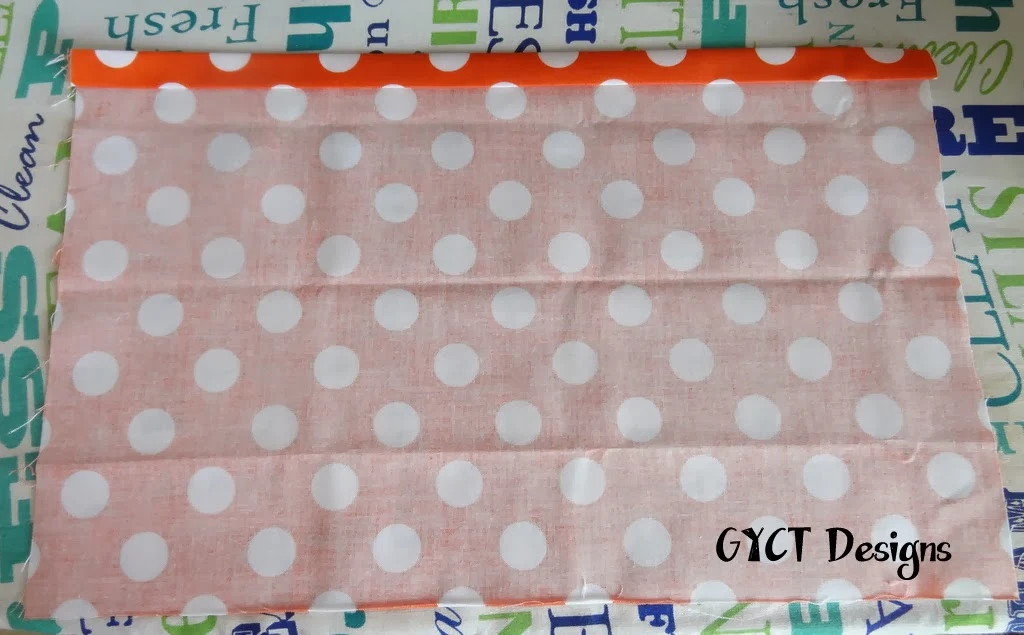
First, cut your pieces. You will want one piece in your main fabric that measures 15" x 44". Then you'll want 8-10 pocket pieces that measure 15" x 10". Cut 1 long piece of interfacing that is 10" x 30".
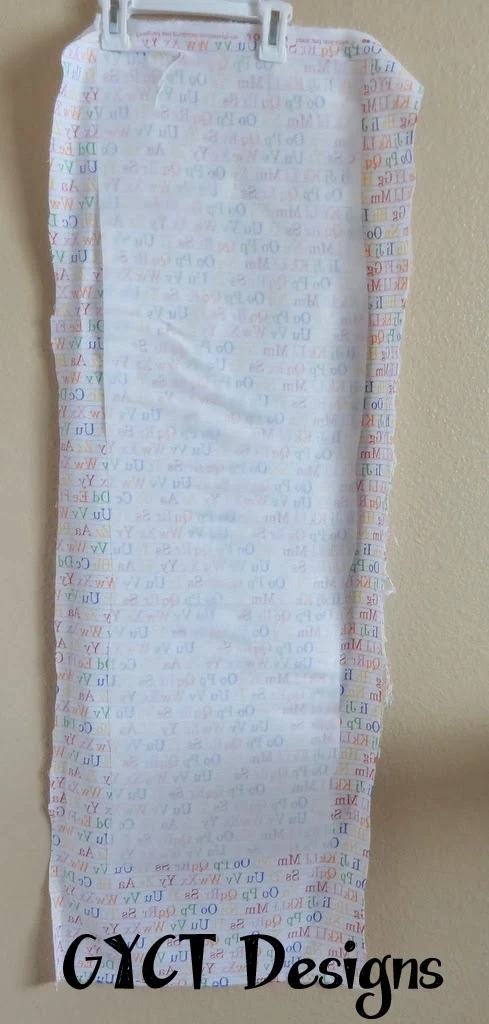
Iron the interfacing to the wrong side of your main piece.
Next, fold the long edge of your pocket pieces 1/4" and then 1/2". Press and stitch in place. Repeat with all your pocket pieces.
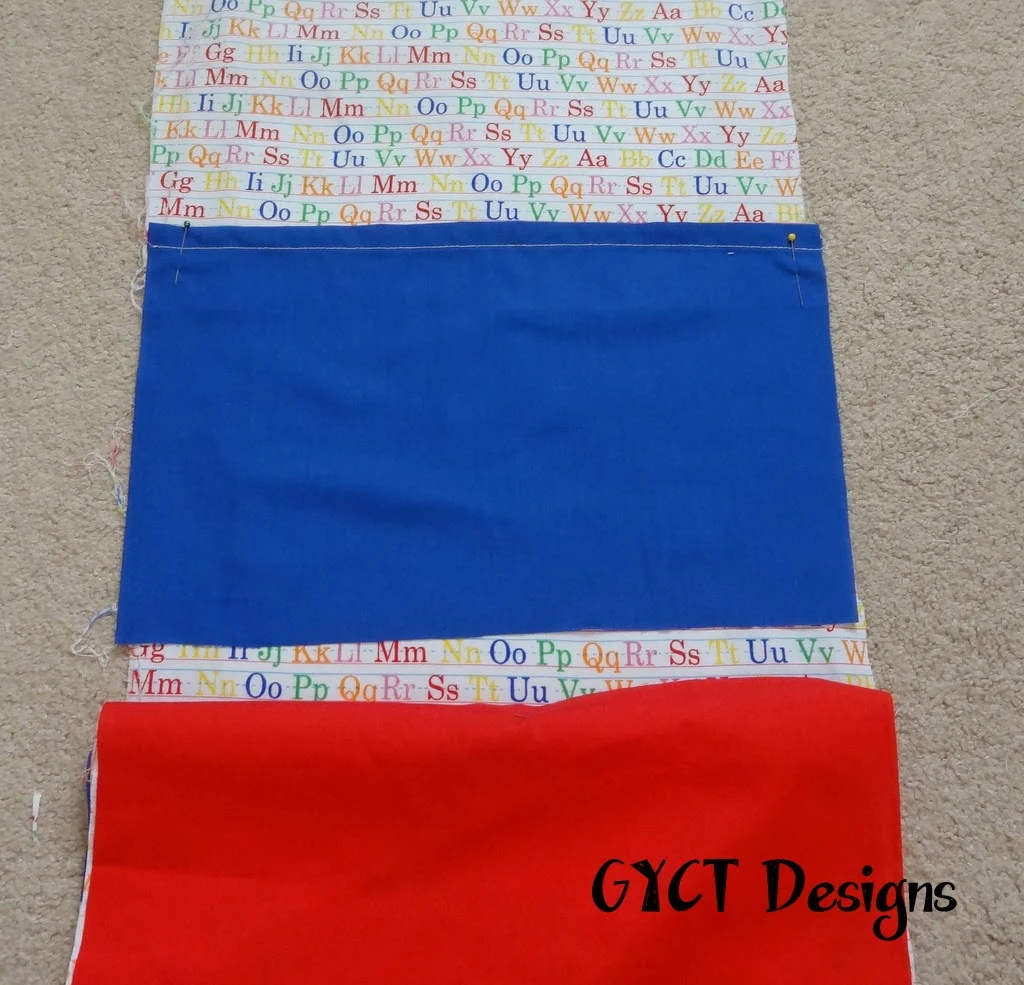
Place all your pocket pieces on your main piece. Start in the middle of the main piece and pin.
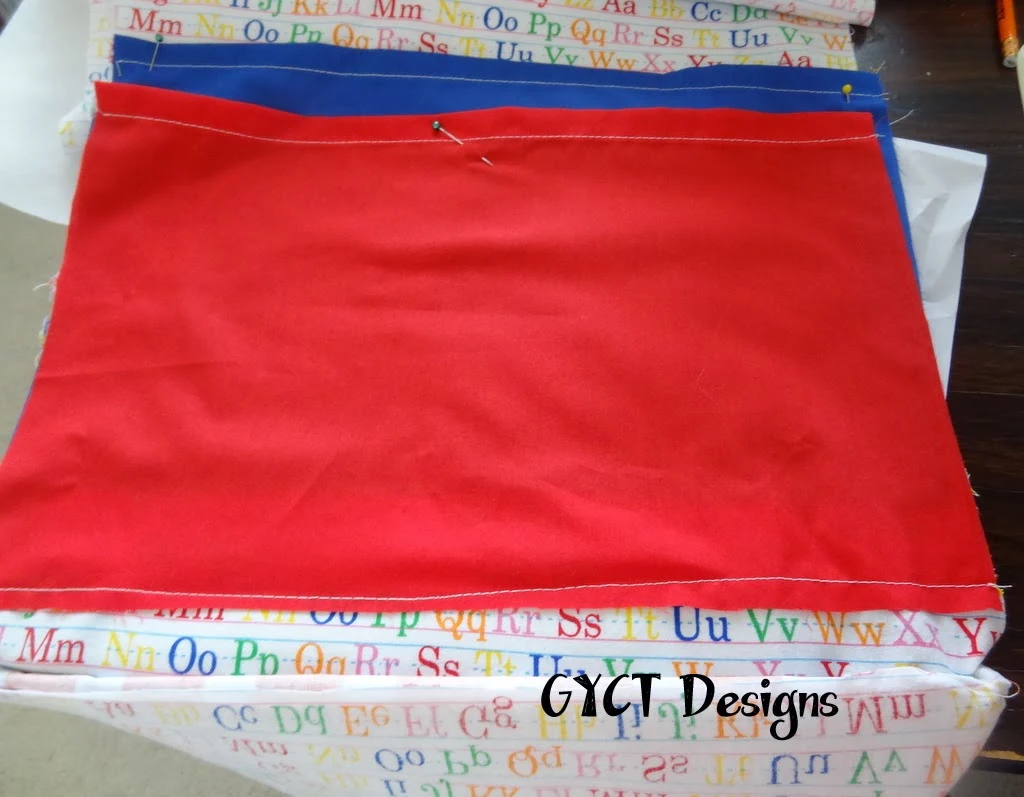
Stitch across the bottom edge of each pocket piece.
Once all your pocket pieces are stitched down, baste the pockets to the main piece by stitching up the side seams.
Next, carefully fold the top edge of the main piece over the pockets and pin it in place. Stitch around the entire main piece leaving a 5-6" opening on the bottom edge.
Flip your pockets right side out and stitch across the bottom edge.
In each of the top corners and bottom corners add a button hole. This will be how you tie your holder to the drawers, chair or table.
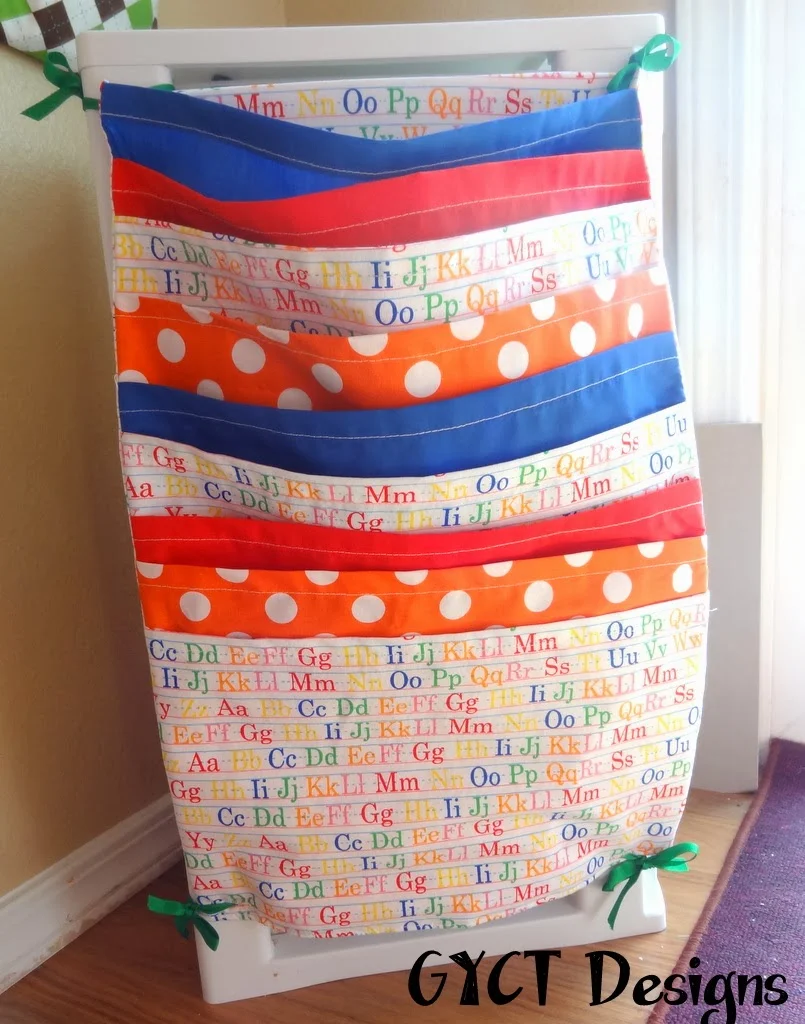
Finally, use ribbon to tie your paper holder to your drawers.
Fill it up! And watch with amazement how your simple creation makes a more organized space! Plus, the littles can now see all the different colors of paper and they love it!!
------------------------
Thanks for joining us in our Sew Organized Home Series! Check out some of our other great posts HERE.







I love the orange polka dot....great idea.
ReplyDeleteThanks Katie! Now let's hope the paper stays there. The baby girl likes to pull it out! :)
ReplyDeleteI Can't Follow This pattern, Do you Have More pictures? I Don' T See How The Pockets get Attached To Main piece One On Top Of Each Other - What The step By Step Process Is - I'm A Beginner
ReplyDeleteGEMsMommy, I don't have any other pictures. But I can walk you through it a bit more. You place your first pocket down and stitch across the bottom (that is my blue pocket). Then place your second pocket on top of the blue but about 1/2" to 1" below that and stitch down just the bottom (that is the red pocket). And continue down with each of your pockets. I hope that makes sense. Once you have all the pockets on, you'll stitch up the side seams. If you have other questions, please feel free to email me at getyourcraptogether (at) gmail (dot) com
DeleteThank you, will do. I would like to make one for recipes also.
ReplyDeleteAwesome!! I can see teachers using these to organize their classrooms, too. I've got a Craft Gossip post scheduled for this morning that links to your tutorial:
ReplyDeletehttp://sewing.craftgossip.com/tutorial-hanging-paper-organizer-for-craft-space-or-classroom/2014/05/14/
--Anne
What a fun choice of fabrics! They look so organized now :) Tying it to the side of the table is a great idea!
ReplyDeleteHey Chelsea! Just wanted you to know I've just posted my version of this holder after following your tutorial. I did give you site full credit for the idea and tutorial. No sense in reinventing the wheel when I can send folks to your fine tutorial for directions. I just noted on my post the things I did differently. Thank-you very much. You can find my "Folder Holder" @ http://joysjotsshots.blogspot.com/2014/08/folder-holder.html
ReplyDeleteThis is a really cute idea - great way to organize things. Stopping by after reading Joy's post and seeing her link back to you.
ReplyDeleteperfect..perfect idea, thank you
ReplyDelete