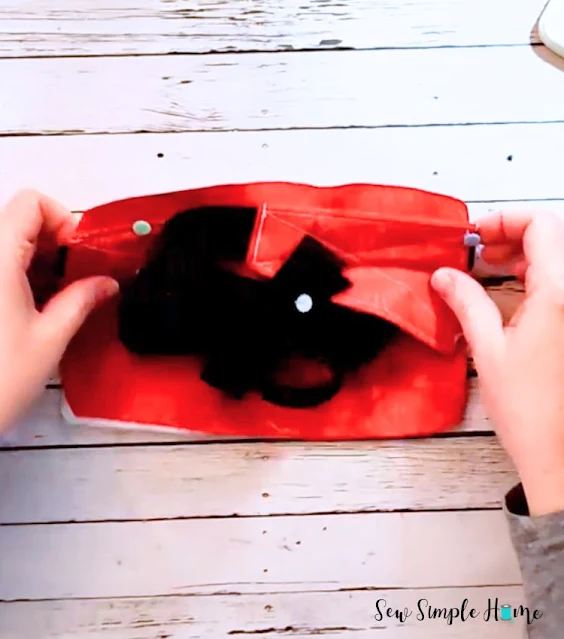
Fanny packs are back, baby! If you grew up in the ‘90s, you probably remember rocking one in the most neon color imaginable—stuffed with lip gloss, gum, and maybe a Tamagotchi (RIP to all the ones we forgot to feed).
This post contains affiliate links to products I recommend. I do make a portion off any you may purchase. See full disclosure here.
And if you didn’t live through that glorious era, welcome! You’re about to discover why this little hands-free wonder is the ultimate DIY sewing project.
To celebrate the return of this nostalgic classic, I’m sharing a FREE fanny pack sewing pattern so you can stitch up your own totally unique version.
So grab your fabric stash, fire up that sewing machine, and let’s bring the fanny pack back in style—DIY style!
VIDEO: How to Sew a Fanny Pack
Fanny Pack Sewing Pattern Tutorial
Materials Needed
- 2 Contrasting Fat Quarters of Fabric OR (2) 1/2 yards of cotton fabric
- 1/2 yard fusible interfacing
- (1) 14" Separating Zipper
- (1) 12" Zipper
- 50 inches of 1" nylon webbing
- 1 Quick Side Release Buckle with Slide Clip
- Matching Thread
Step 1
Cut all the pieces for the pattern and press interfacing to the back. Cut 2 pieces of webbing at 26-28" each.
Place the mirrored webbing casing with Right Sides Together (RST). Stitch down the two long sides. Press.
Turn the casing right side out and press the smaller opening 1/2" towards the inside of the casing.
Slide the webbing into the casing on the small side. The webbing should end just outside the opposite side. Topstitch around the entire casing. Making sure that the webbing gets sewn down at both openings.
Repeat steps 2-4 for the opposite casing.
Step 5
Take the 12" zipper and the two zipper tabs. Place each zipper tab about 1/2" from the end of the zipper. Sew down the middle. Press the tabs to either side of the zipper.
Place the straight edge of the pocket top to the raw edge of the zipper. Stitch the two layers together. Press the fabric away from the zipper. Topstitch along the folded edge of the fabric.
Place the straight edge of the pocket bottom to the opposite raw edge of the zipper. Stitch the two layers together. Press the fabric away from the zipper. Topstitch along the folded edge of the fabric.
Place the pocket over one of the Pack Body pieces and pin in place. Baste the two layers together at 1/8".
Stitch the one of Pack Zipper Tops to one side of the 14" zipper. Match the raw edge of the fabric to the raw edge of the zipper. Press the fabric away from the zipper. Topstitch along the folded edge of the fabric.
Repeat with the opposite side of the zipper.
With RST, match the Pack Base piece to the short sides of the zipper top. Stitch the short sides together. The finished product should be like a circle. Cut off any excess zipper.
Unzip the top zipper 3". Pin the rounded zipper top to the basted pocket piece. Make sure the zippers are both on the top side of the pack. Match the middles on the top and bottom and the middles on the two sides. Stitch the layers together.
Measure down about 1/2" from the top of the back and pin the two webbing casing on either side of the back pack piece. Baste the casings to the back.
Pin the webbing in the middle of the back to keep out of the way.
Repeat step 11 with the back of the pack body and stitch to the zipper layer. Press.
Turn front right side out. Inspect for any holes and to make sure the zipper works. Press.
Take the two lining zipper tops and press one long side towards the interfacing 1/2".
With RST, match the lining base piece to the short sides of the two tops. Stitch the short sides together. The finished product should be like a circle. Cut off any excess zipper.
Pin the zipper lining pieces to the lining front. Match the middles on the top and bottom and the middles on the two sides. Stitch the layers together.
Repeat step 17 with the lining body back and stitch to the lining zipper layer. Press.
Line up the lining to the inside of the zipper and pin. Handstitch the lining to the zipper all the way around the bag.
Open the buckle and side clip. Thread webbing up and then down through the clip. Next, thread webbing through the front of the buckle and then back towards the clip. Finally, thread the webbing back through the clip. Finish the end of the webbing.
And just like that—boom!—you’ve got yourself a handmade fanny pack, ready to take on the world (or at least your next coffee run).
Whether you went bold with a funky print or kept it sleek and minimalist, you now have a totally unique, hands-free bag made by you, for you. Pretty awesome, right?

.jpg)
.jpg)
.jpg)
.jpg)
.jpg)
.jpg)
.jpg)
.jpg)
.jpg)
.jpg)
.jpg)
.jpg)
.jpg)
.jpg)
.jpg)
.jpg)
.jpg)

.jpg)
.jpg)
.jpg)
.jpg)
.jpg)
.jpg)
.jpg)
.jpg)
.jpg)
.jpg)
.jpg)

.jpg)


I tried downloading the pattern but it gave me a different pattern.
ReplyDeleteDownload is for a placemat
ReplyDelete