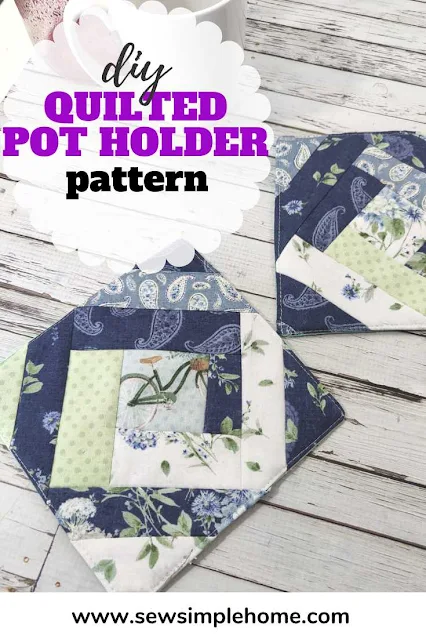
Do you love to cook, bake, or just want to add a touch of cozy charm to your kitchen? It is always so much fun to add your own unique twist to your kitchen linens.
This post contains affiliate links to products I recommend. I do make a portion off any you may purchase. See full disclosure here.
Making these quilted hot pad patterns not only protect your countertops from heat, but they also add a personal touch to your cooking experience.
Get ready to be inspired and learn how to create your own unique and useful hot pads that will be the envy of any kitchen!
Materials Needed
- (7) 1.5" x 7" strips cotton fabric
- (1) 2.5" x 2" piece cotton fabric - center
- (1) 7" x 7" cotton fabric - back
- (1) 6" x 6" Insul-bright or batting piece
- Thread
- Cricut Easy Mini Press
Place 2.5" x 2" center piece of cotton fabric in the middle of the Insul-bright or batting piece. For more interest, place it on the diagonal.
Place the raw edge of one of the 1.5" x 7" strips of cotton fabric on the raw edge of the center piece. Match one corner.
Stitch from the corner of the center piece to the opposite corner and stop sewing.
Trim the cotton strip right to the edge of the center piece.
Press the cotton strip away from the center piece.
Take the raw edge of the next cotton strip and match it to the bottom edge of the center and the first strip. Stitch from one side to the other. Cut the strip and press.
Step 6
Repeat steps 2-5 by continuing to sew, cut and press each cotton strip around the center until the entire batting piece is completely covered.
Step 7
Turn the hot pad front over and press.
Optional: Take time to quilt the front of the hot pad. You can stitch in the ditch on the front of the hot pad or make a simple quilted design.
Measure and cut the hot pad front to 7" x 7". The front should overhang the batting by 1/2" on each side.
With right sides together, place the back and front pieces together. Mark a 3" opening on one of the straight sides.
Sew around the entire hot pad at 1/4", leaving the marking open. Trim the corners.
Turn the hot pad right side out and press. Press opening raw edge into the inside of the hot pad. Stitch the opening closed or topstitch around the entire hot pad to close off and finish the opening.

.jpg)
.jpg)
.jpg)

.jpg)
.jpg)
.jpg)
.jpg)
.jpg)
.jpg)
.jpg)
.jpg)
.jpg)
.jpg)
.jpg)
.jpg)
.jpg)


Very cute. Is there a way to print the instructions? I have difficulty remembering unless I have written instructions. Love your pictures, they are very helpful.
ReplyDelete