Pool time or beach time makes summer so much more inviting. Especially mid-summer when our temperatures hit in the 100s. Water makes life more bearable.
That is why learning how to make a beach bag and having a custom bag to bring all those toys, snacks, towels and shoes to the beach is essential.
This post contains affiliate links to products I recommend. I do make a portion off any you may purchase. See full disclosure here.
It is so useful for so many things. It makes a great beach or pool tote bag for the summer. But it has so many uses.
This summer beach tote pattern has loads of pockets and is easy to carry around anywhere. However, this bag can be used for so much more as well!
This summer beach tote pattern has loads of pockets and is easy to carry around anywhere. However, this bag can be used for so much more as well!
You can use it to organize your craft supplies! This is one of my tote bags in my sewing room. It holds pens and pencils, dyes, rulers, pliers, etc. It is great because I can move it from one place to another really easily.
Second, you can use this tote bag for all your cleaning supplies. You could grab some coated cotton or oilcloth and make a bag that is easy to clean and great for toting around your house.
I use mine as the diaper bag for our baby! The outside pockets are the perfect size for diapers, wipes, toys and even bottles. The big inner pocket can hold a blanket, toys, clothes, anything you can think of to fill it with.
Lastly, use it to organize all those baby things. Use it to organize your baby's "fancy creams and lotions".
Whether you need a new beach bag or just a great organizing bag, this is the sewing tutorial for you.
How to Make a Beach Bag
Materials Needed
- Beachy Tote Pattern
- 1 ½ yards main fabric: denim, bottom weights, seeksucker, cottons and cotton blends
- ½ yard lining fabric
- 1 yard interfacing of Medium to heavy weight interfacing
- Thread

Step 1
Place the two pocket pieces right sides together and
sew down the longest side. Press with iron.
Turn and fold with wrong sides
together. Press. Topstitch down the long
folded edge to keep pieces together.
Take the pocket piece and the main tote bag pattern piece.
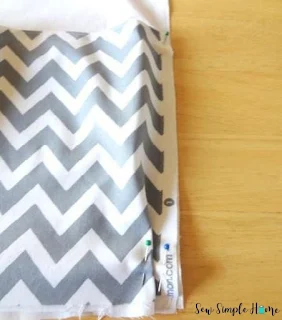
Place the edge of the pocket to the edge of the main tote bag pattern piece and pin.
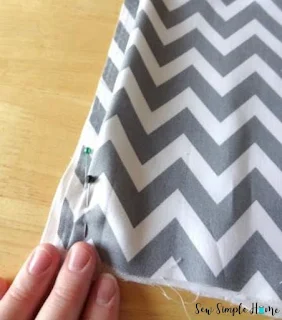
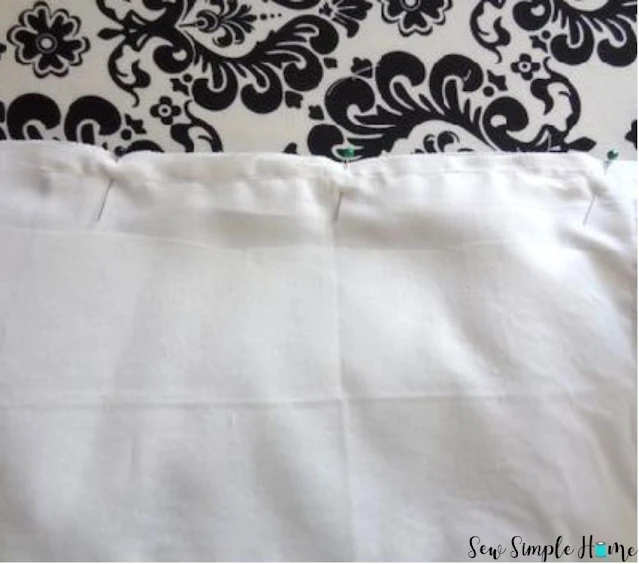
Create a pleat about 1 inch from the edge of the fabric. Pin the pleat down.
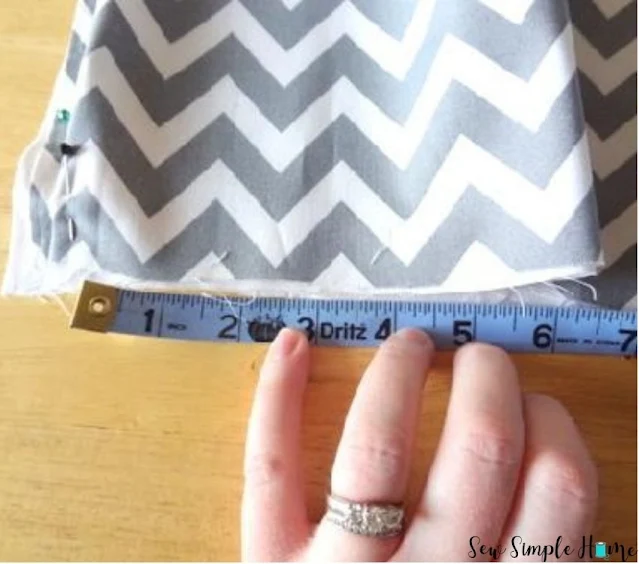
Take a tape measure and measure 6 inches from the pleat. Create another pleat going the opposite direction.
Step 4
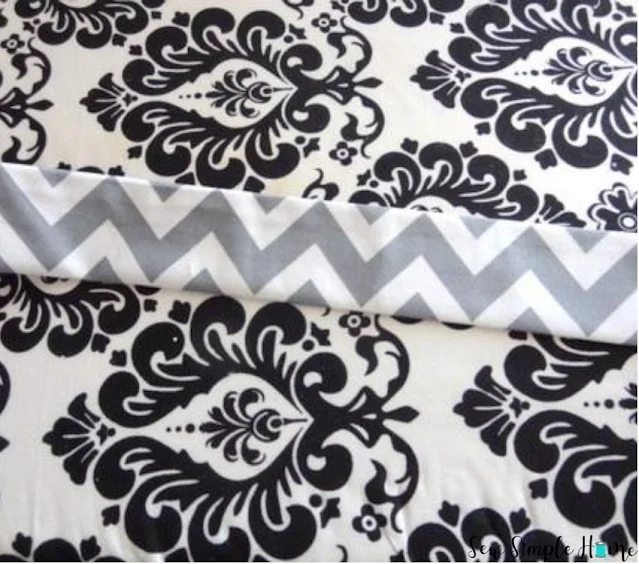
Pin this pleat down. Pull the pocket fabric in again to create a pleat going
the opposite direction. The two
pleats should be facing each other. Continue measuring 6 inches and repeat your
pleats. This should create 5 pockets.
At the end of the fabric, pin the raw
edges of the pocket to the raw edges of the main tote fabric, then create a
pleat similar to the pleat at the beginning of the pocket.
Sew the raw edge of the fabric at ¼ inch. Sew over each of the pleats to keep them in place . In between each of your facing pleats you will sew to create separate pockets. Begin at the top of the pocket fabric.
Step 6
Sew down the middle of the two facing pleats. Cut threads and repeat this step with each pleat.
Fold strap in half lengthwise with right sides together. Sew down the long edge at ¼” . Press stitching. Turn strap right side out . Press strap with seam on one side.
Step 8
Step 9
Pin one of the round bottom pieces to
the raw edge of the pocket side of the tote. Sew the round bottom to the tote
bag at about 3/8”. Sew on the outside of
the original pocket stitch .
Repeat this entire step for the lining, HOWEVER,
when sewing the side seams of the tote, leave a 3 inch gap. (This will be used
to pull the tote right side out later.) There should now be two tote bags
Step 10
Together. Place the tote and lining with right sides together and pin. Sew around the edge of the bag at 1/2 inch. Now find the opening in the lining and pull the tote right side out.
Step 12
Close the opening in the lining by stitching it closed. Push the lining inside the tote bag and press the top edge of the bag. Carefully topstitch around the top edge of the tote bag to keep the lining from pulling out of the tote.
Close the opening in the lining by stitching it closed. Push the lining inside the tote bag and press the top edge of the bag. Carefully topstitch around the top edge of the tote bag to keep the lining from pulling out of the tote.






No comments
I'd love to hear from you!