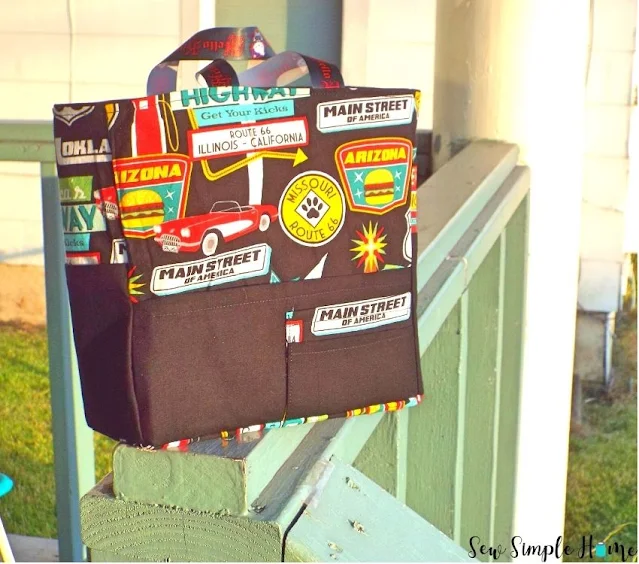
DIY Purse Organizer Sewing Tutorial
- Free Purse Organizer Pattern Pieces - grab at the end of the post
- 1/2 yard main fabric
- 1/2 yard lining fabric
- Suggested fabrics: cotton, cotton blends, flannel, linen, quilting cotton, bottom weights, or lightweight denim
- 1 yard fusible interfacing, lightweight to medium
- 18" of ribbon (cut 2, 9" pieces)
- Thread
Step 1
Cut out all your fabric pieces and interfacing.
Iron interfacing pieces to all the pocket pieces and all the lining pieces. Use
pattern pieces to help guide you on which pieces need interfacing.
Step 2
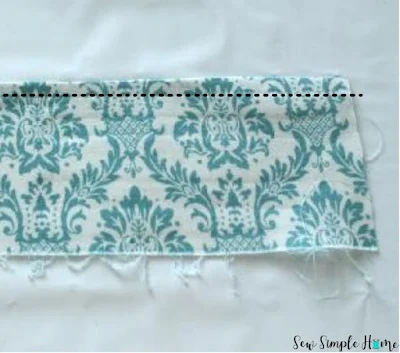
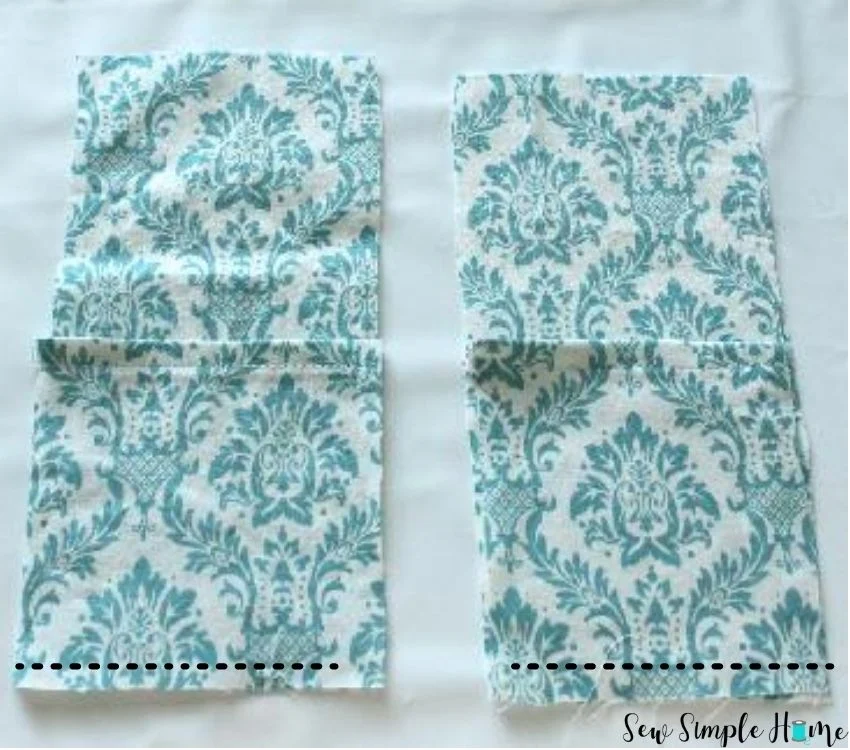
Take the short and long outside pocket pieces. (You should have 1 long piece and at least 2 short pocket pieces. The short pieces should be long in width.)
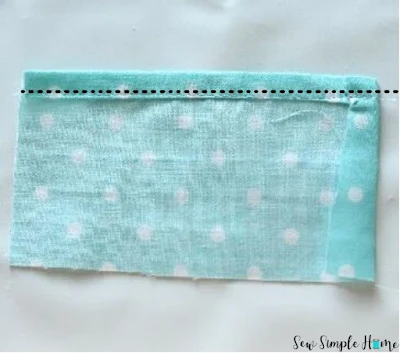
Press the top edge of each of the pocket pieces down 1/8" and then press down another 1/4" more toward the wrong side of the fabric.
With wrong side up, press the right edge of the short
pieces 1/4". Stitch across the folded edge of the pocket pieces. Press
with iron.
Step 3
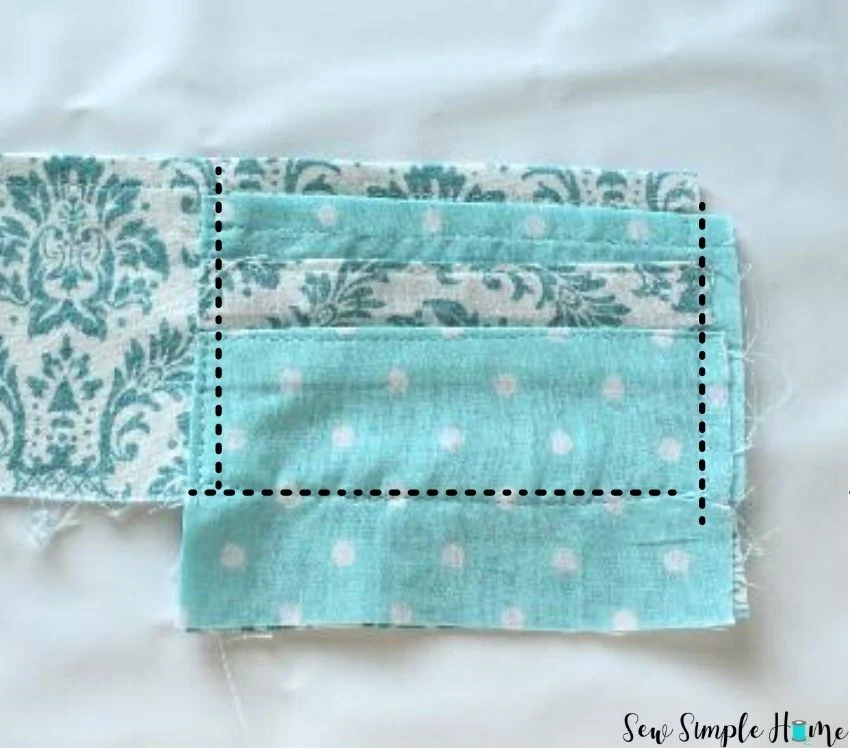
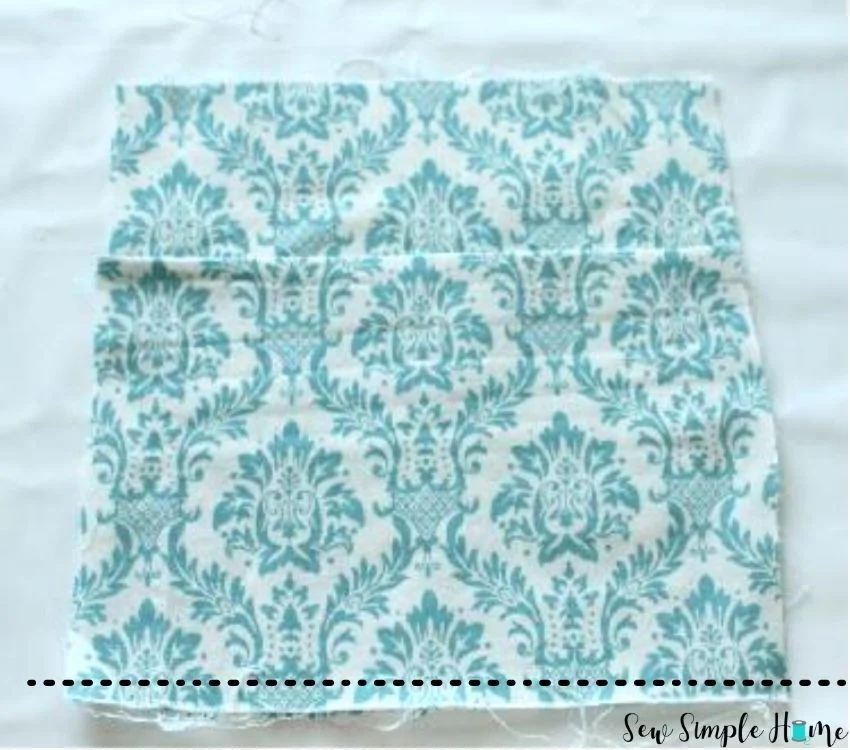
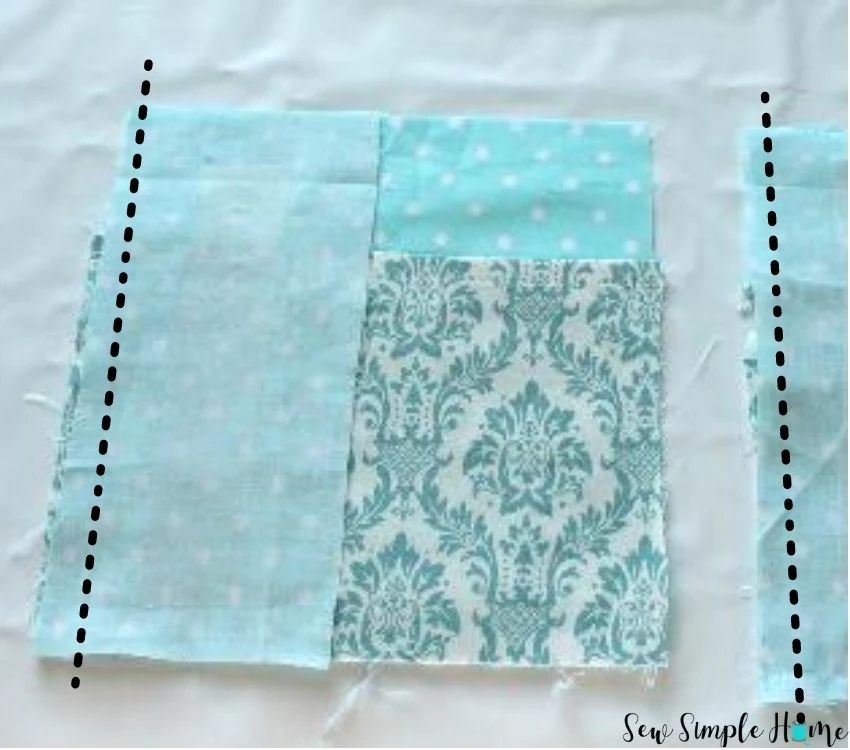
Place long pocket piece on a flat surface with right side up. Place one of the short pocket pieces, right side up, 1/4" from the top edge of the long pocket, making sure the center of the long pocket and the folded edge of the short pocket are lined up.
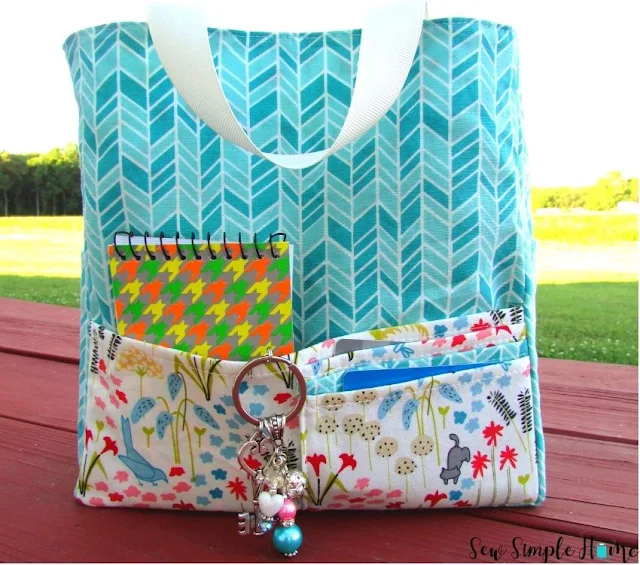
Add the next short pocket 1/4" down. Repeat with the number of pockets you'd like to add. Pin in place. Stitch the short pockets to the long pocket down the center seam, across the bottom edge and down the raw edge.
Cut off any excess fabric that hangs over the edge of the long pocket. Press.
Step 6
Take the back pocket pieces. Press the top edge of each of the pocket pieces down 1/8 inch and then press down another 1/4 inch more toward the wrong side of the fabric.
Stitch across the folded edge of the pocket pieces. Press.
Step 7
Take the side pocket pieces. Press the top edge of each of the pocket pieces down 1/8 inch and then press down another 1/4 inch more toward the wrong side of the fabric.
The side pocket pieces should be longer lengthwise. Stitch across the folded edge of the pocket pieces. Press.
Step 8
Take the organizer back and place them right sides up on a flat surface. On the back piece, place the back pocket.
On the side pieces, place the side pockets. Line up the bottom raw edges. Sew across the bottom of each pocket piece about 1/8" from the bottom
Step 9
Take the side pieces and repeat step 8.
Step 10
Lay out your main organizer pieces. You should have 2 side pieces, 1 front piece 1 back piece and 1 bottom piece.
With Right Sides Together (RST), take one side piece and line it up with the left edge of the back piece. Stitch this side to the back. Take the other side piece and line it up with the left edge of the front piece. Stitch this side to the front. Press seams.
Step 11
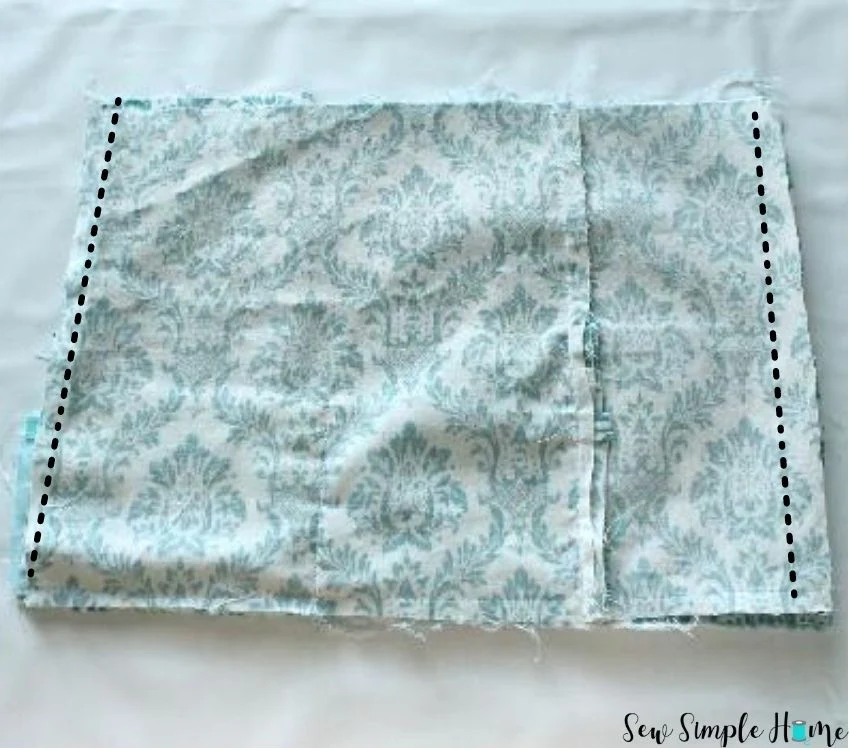
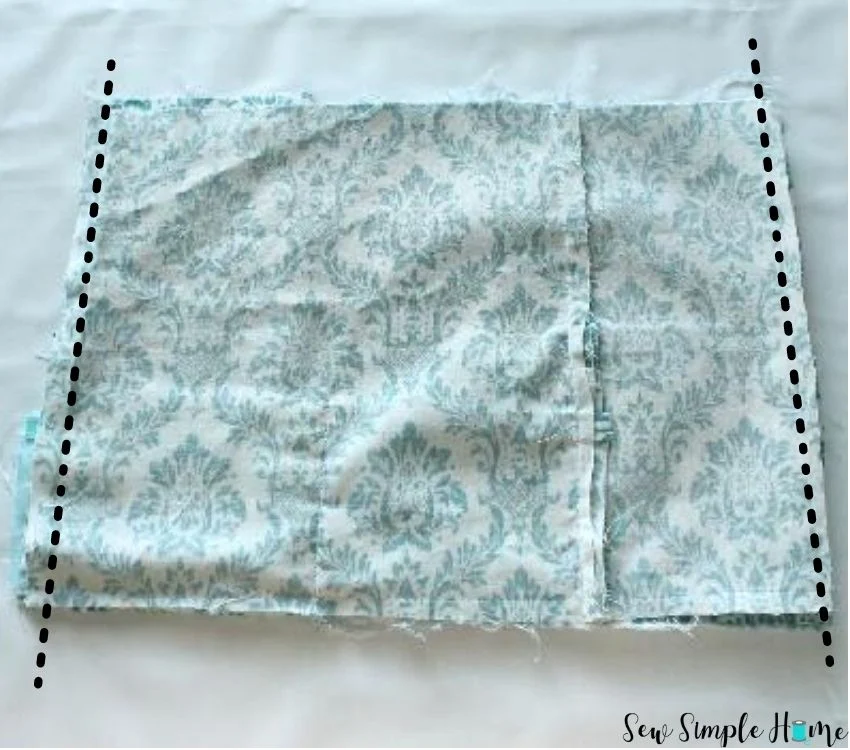
With RST, place the back and the front
pieces together. Stitch down the side seams. Press seams. Set main piece aside
Step 12
Take all the lining pockets; you should have 2 large and 2 small. Press the top edge of each of the pocket pieces down 1/8" and then press down another 1/4" more toward the wrong side of the fabric. (The side pocket pieces should be longer lengthwise.)
Stitch across the folded edge of the pocket pieces. Press.
Step 13
Take the lining pieces and lay them right side up on a flat surface. Lay pockets right side up on the lining. Line up the bottom raw edges. Sew across the bottom of each pocket piece about 1/8" from the bottom.
Step 14
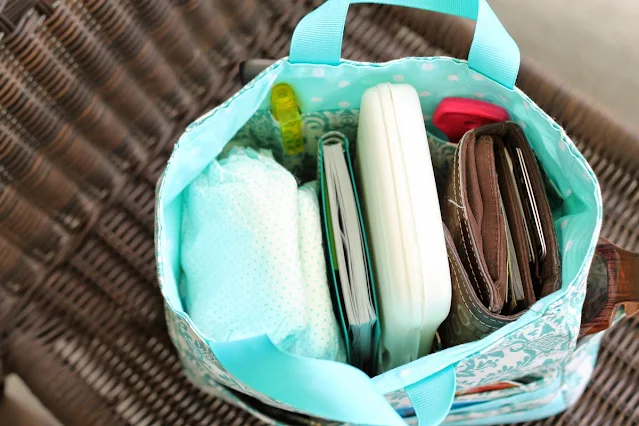
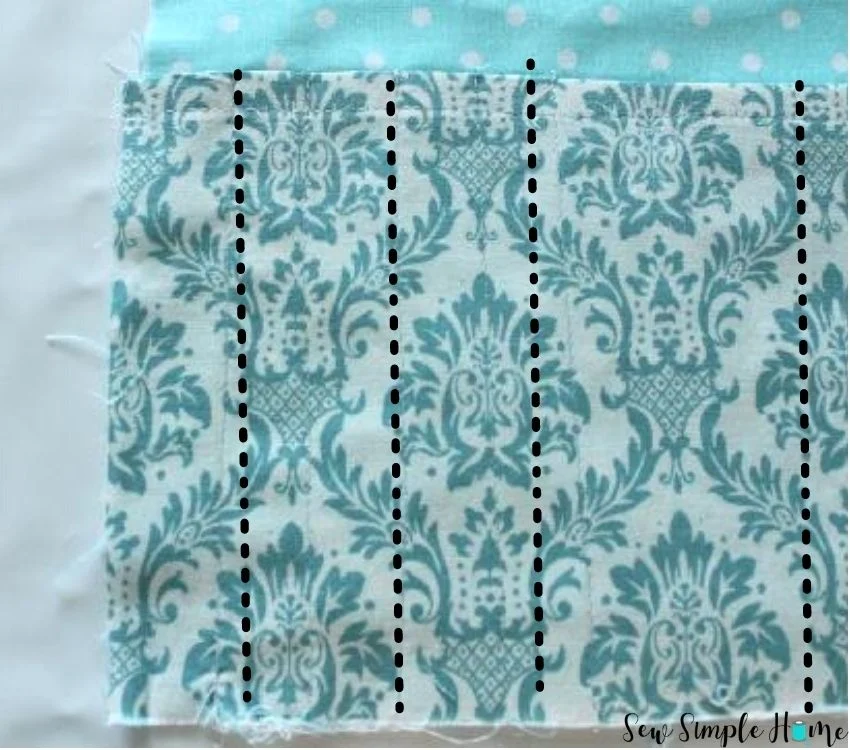
For the 2 larger pockets, draw various lines on the pocket. These will be used for holding items such as pencils, cell phones, glasses, notes, etc. Stitch down these lines from bottom to top, making sure to backstitch.
Step 15
With Right Sides Together (RST), take one lining side piece and line it up with the left edge of the lining back piece.
Stitch this side to the lining back. Take the other lining side piece and line it up with the left edge of the lining front piece. Stitch this side to the front. Press seams.
Step 17
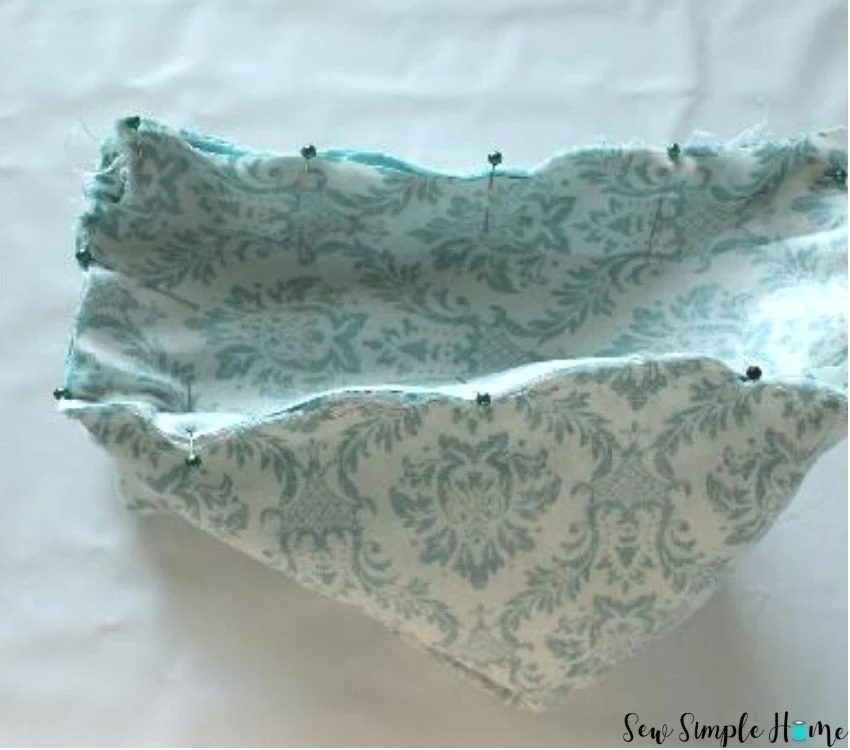
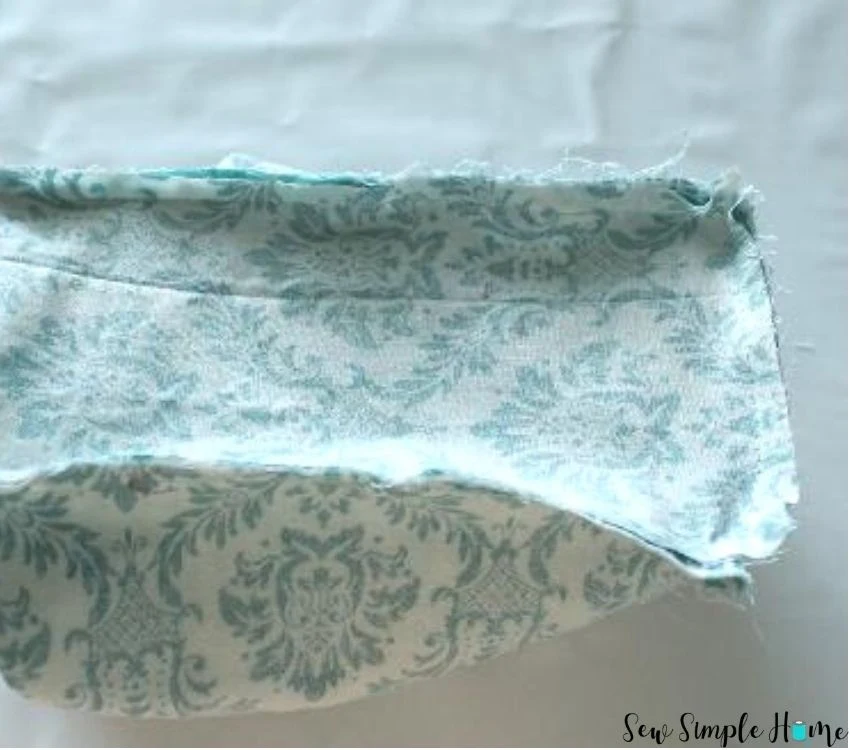
With RST, pin the main bottom to the 4 sides of the main organizer. Stitch around the bottom of the organizer, making sure to turn your corners. Clip your corners and all your threads.
Step 19
Press the top edge of each main organizer and lining organizer down 1/4" to wrong side.
Step 21
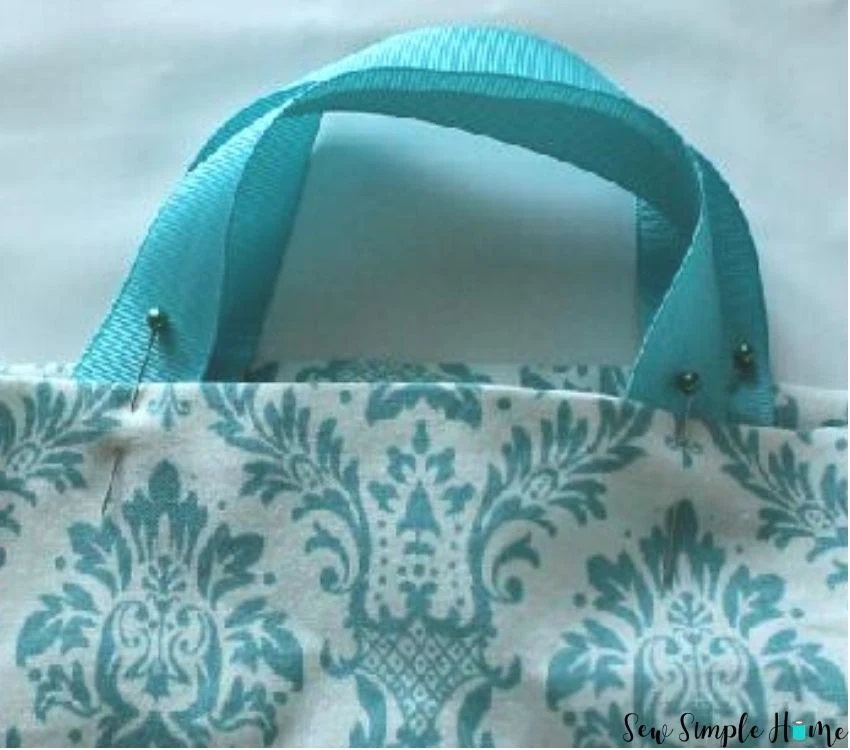
Place the lining inside the main organizer. Make sure the ribbon pieces are out. Pin your lining to your main fabric, matching side seams.
Step 22
Topstitch at 1/8" around the top edge of the organizer.
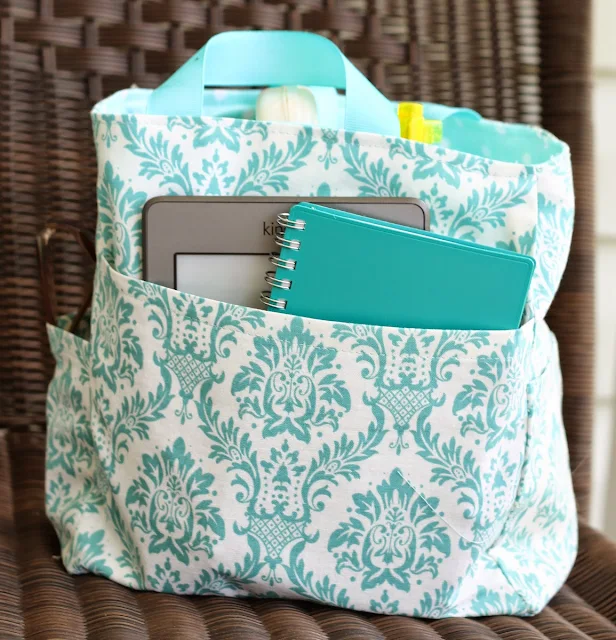
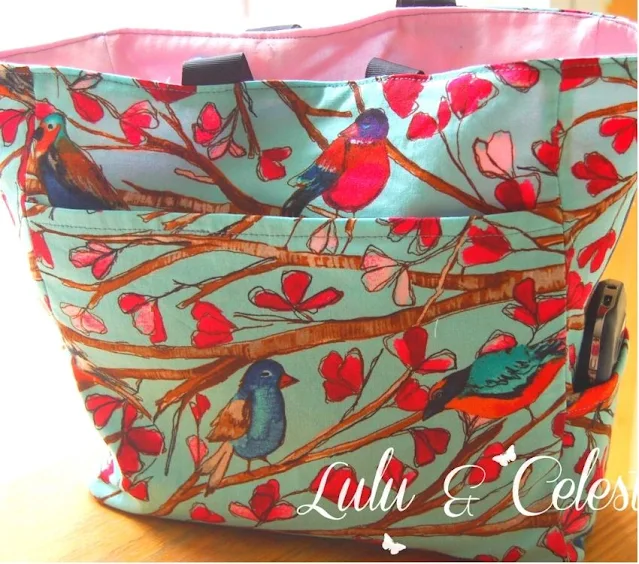
You did it! Easier than you thought isn't it.
Want the free purse organizer sewing pattern? Simply click the button below to download.
















No comments
I'd love to hear from you!