Nail polish. Lip gloss. Hair accessories.
Seriously, they get everywhere and never stay where they are suppose to. It can drive and woman up the wall.
And there never seems to be a quick and easy way to store them all. Yes, a zipper bag works but sometimes they are big enough for some of the products you want to travel with.
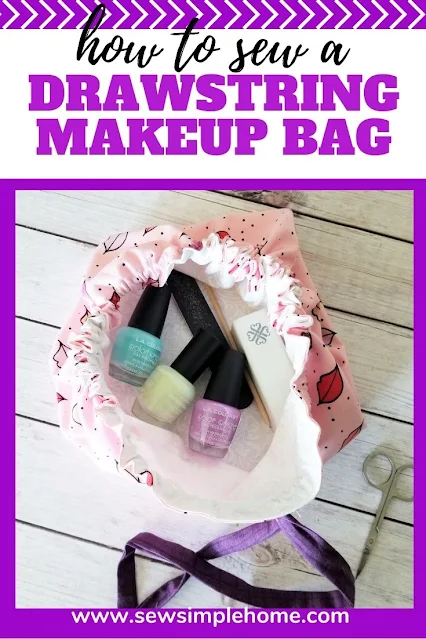
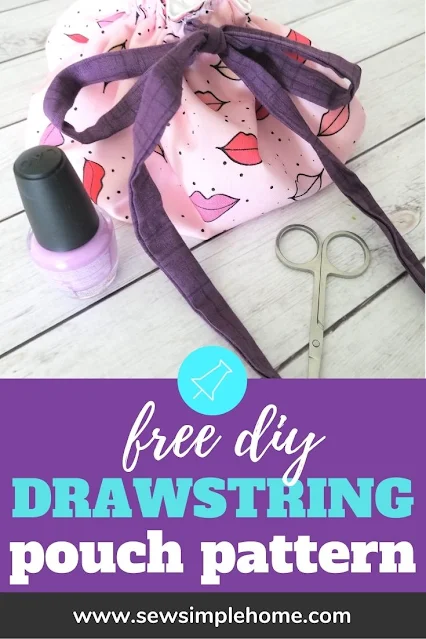
That's why this free cinch makeup bag pattern is the perfect solution.
This post contains affiliate links to products I recommend. I do make a portion off any you may purchase. See full disclosure here.
Not only will it hold all the essentials, it is unique and really easy to use. You can pull the entire bag so it will lay flat on a surface and keep products from spilling onto the counter or floor.
It is also just a bit unique. You don't often see a makeup bag that can hold everything and be useful for clean up as well.
But it doesn't have to stop there. You could make it into a fun little toy holder for those legos or even make several to hold puzzle pieces that have official lost their box.
Whatever you decide for the use of this fun little bag, you'll really love how easy it is to make.
How to Make a Drawstring Make-up Bag
Materials Need:
- Cinch Bag Pattern - get free at the end of the post (look for the peach colored button)
- ½ yard Cotton
Fabric – main fabric
- ½ yard Lining Fabric
- 2" piece, fusible interfacing
- 2” x 55” Fabric Strap - Cut 1
- Matching
Thread
Seam Allowance: 1/4"
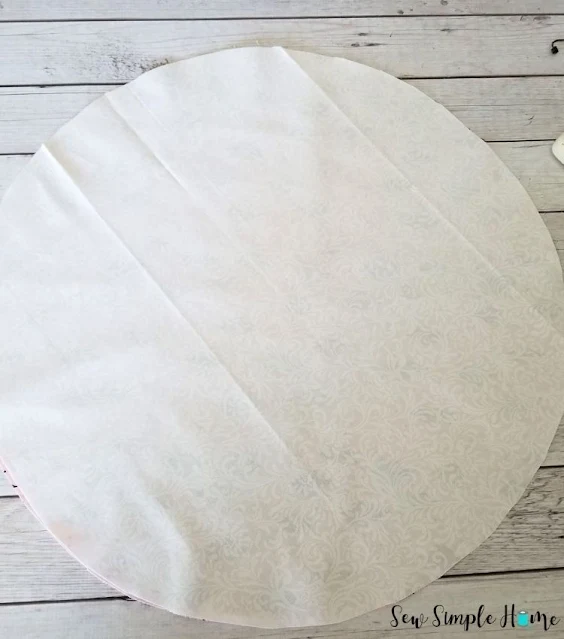
Fold fabric into half and then half again. You want a corner that has all the folds together. Place the 90° angle of the pattern in the folded corner.
Cut pattern along the rounded side only. When you open up the fabric you should have a full circle.
Repeat with lining fabric.
Press a 2x2" square of interfacing to the wrong side of the main fabric, about 1/4" from the edge. This will be your placement for the buttonhole.
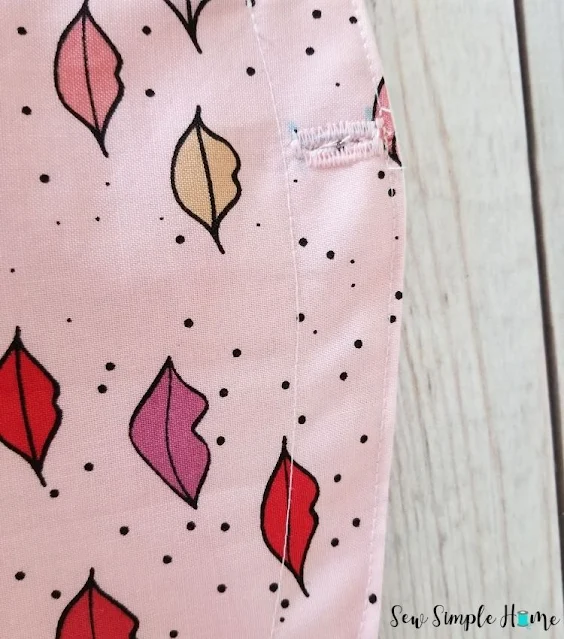
Use a fabric soluble marker to mark a 1.5" buttonhole on the right side of the main fabric and fused interfacing. Stitch the buttonhole.
Place the main fabric and lining fabric with right sides together. Pin.
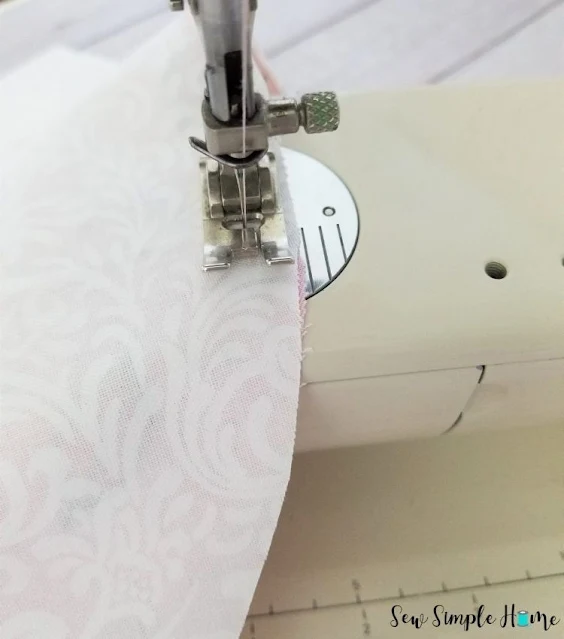
Stitch the two layers together at 1/4" but make sure to leave a 2-3" opening.
Turn bag right side out through the 2-3" opening. Press.
Stitch around the outer edge of the bag circle. Also, stitch a second stitch around the circle at 1.5". Make sure the stitch does not go through your buttonhole.
Take your 2 x 55" drawstring piece and fold it long with right sides together. Stitch down the long edge at 1/4". Leaving the ends open.
Turn drawstring right side out using a safety pin or a bodkin. Press.
Place a safety pin on the end of the drawstring and thread the drawstring through the buttonhole of the bag and around the entire circle until you come out on the other side.
Step 11
Tie a knot in both ends of the drawstring to ensure it doesn't get pulled back through the buttonhole.
That's it!! Now fill up your drawstring makeup bag and pull the strings.
Wasn't that easier than you thought?!
This drawstring makeup bag pattern really makes a fun gift for young girls, girlfriends and teachers. You could even adjust the size to create a fun pouch for legos or superhero action figures.
Want the free make-up pouch pattern? Simply click the button below to download.
Looking for some great handmade gift ideas? Get the free printable Handmade Holiday Gift Guide that includes links to over 50 handmade gift ideas.









No comments
I'd love to hear from you!