How to Sew a Purse
- Pleated Purse Pattern - scroll to the peach colored button at the bottom of the post
- 3/4 yard Main fabric: Cotton Fabric
- 3/4 yard Lining fabric
- 1 yard Lightweight to medium fusible interfacing
- 7" zipper (for optional pocket)
- 2” Velcro
- Thread
Step 1
Cut 2 of bag piece and yoke in fabric, lining and interfacing. Cut 2 straps in fabric and 1 strap in interfacing. Iron interfacing to the wrong side of the bag pieces, yoke, and straps.
Step 2
Optional Pocket with or without zipper. If you do not wish to add a pocket, skip to step 6.
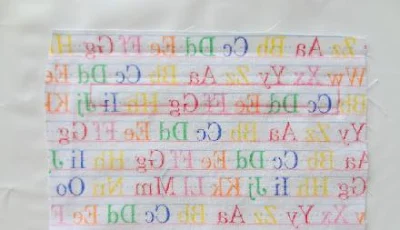
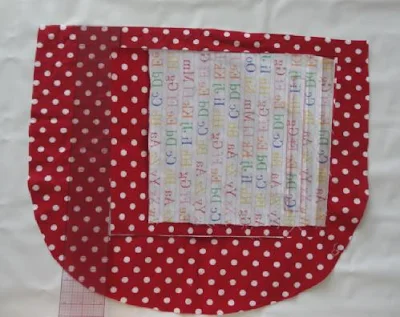
Take the Zipper Pocket Pattern Piece, transfer the rectangle from the pattern onto the wrong side of your pocket fabric piece. With Right Sides Together (RST), place the pocket piece 1.5" down from the top straight edge and 1.5-2" away from the right rounded edge of one of your lining pieces and pin.
Stitch the pocket to the lining around your traced rectangle. When you are finished, the pocket will be sideways. This is on purpose.
Step 3
Take scissors and carefully cut down the center of the rectangle, through both layers, and into the corners. Take your pocket flip and it through the opening so that the wrong side of the lining and the wrong side of the pocket are now touching. Press.
If you are not adding the zipper to your pocket, skip to step 5.
Step 4
Turn your lining so that the lining is right side up. Place your zipper underneath your lining with the zipper head at the top and pin in place. Make sure that the head of the zipper is visible.
Carefully topstitch the zipper to the lining by following the outline of the pocket opening. If your zipper is a bit longer, cut off the extra at the end.
If you do not wish to have a zipper, just topstitch around the opening of the pocket so that the lining and pocket stay in place.
Step 5
Fold the bottom edge of the pocket piece up so that it matches the top of the pocket piece. Pin in place. Sew 1/4" around the pocket piece, but be careful to only sew around the pocket and avoid catching the lining.
Step 6
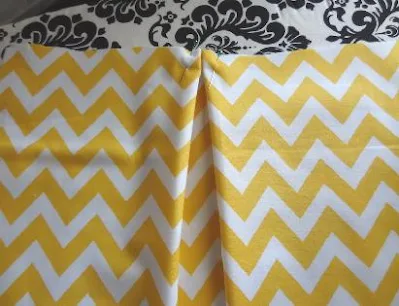
Find the center front of one of the bag pieces, fold the fabric from the line marked on the pattern piece towards the center fold of the bag . Repeat on opposite side.
Pin the folded edge. Stitch the pleat in place using a basting stitch at 1/8". Repeat with other side and both lining pieces.
Step 7
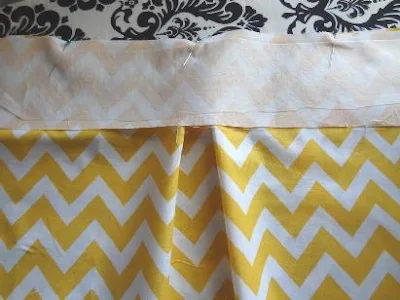
With rights sides together (RST), place yoke on straight edge of bag and pin in place.
Stitch yoke to bag. Press yoke seam up toward the top of the bag. Repeat step with other side and both lining pieces.
Step 8
With RST, place the main bag front to the main bag back and pin. Stitch around bag from the top edge all the way around to the opposite top edge. Leave the straight side open.
Clip with scissors around the rounded edge of the bag. Repeat step with lining front and back bag pieces.
Step 9
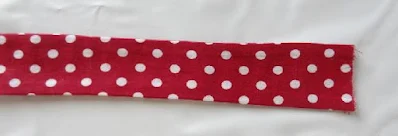
With RST, pin the two strap pieces together along the long side. Stitch down each of the
long sides at 1/4". DO NOT STITCH THE SHORT SIDES. Carefully turn the strap right side out. (You can do this easily if you attach a safety pin to one side of the strap and thread it through the strap.) Press strap. Topstitch down the length of the straps.
With main bag wrong side out. Pin one side of the strap to the main bag piece right at the side seam. Repeat with opposite strap to opposite side seam, making sure not to twist the strap.
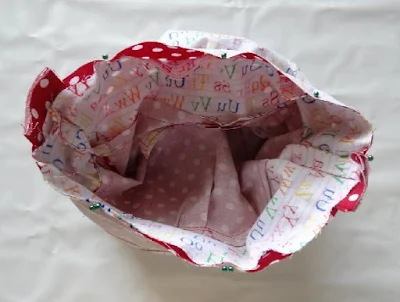
Turn the lining so the right side is out. Place the lining inside the main bag. Pin lining to bag matching side seams and pleats.
Stitch lining to the bag around the yoke, making sure to leave a 3” opening for turning the bag.
Pull the right side of the bag out through the opening. Push the lining into the main bag.
Follow along the seams with your hands to help shape the rounded edges. Press the top edge of the bag so that it sits nice and flat. Press the remainder of the bag.
Step 12
This bag can be reversible, however, you would want to skip adding the velcro. Stitch around the top edge of the bag to keep the lining in place.
Take one side of the Velcro and pin it to the middle of the bag yoke on the inside. (To easily find the middle, find the center of the pleats and go up 1.5".)
Sew around the Velcro in a box shape then sew an "X" through the middle. Repeat with opposite side of Velcro on the opposite side of the bag.
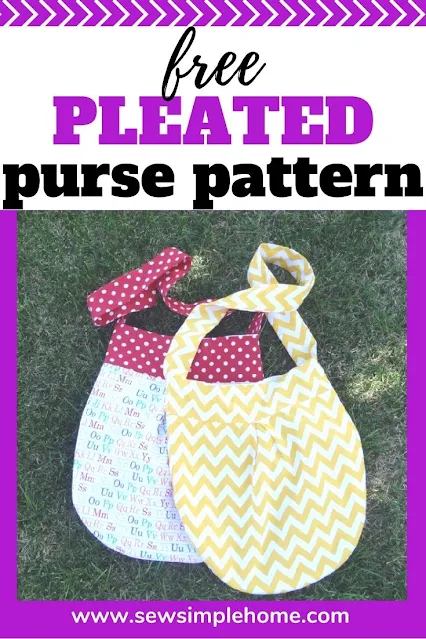
That's it. Now you've got a simple, lined purse you can swing over your shoulder and be ready to go.












No comments
I'd love to hear from you!