When the first snow falls, there is so much excitement in our home. Everyone pulls out the winter clothing bag full of hats, gloves, scarves and anything else "winter-ish".
There are caps and mittens from when the kids were tiny all the way to gloves that my husband and I used back in high school.
The floor is strewn with clothes and no one can ever find the right match to last years mittens.
This post contains affiliate links to products I recommend. I do make a portion off any you may purchase. See full disclosure here. But this year, I decided it was time to organize. I've gone through all the hats, mittens and scarves. I've pulled out the pairs with a missing mate. I've removed the caps with holes or that are far to small. And I've discarded the fleece scarves that have seen way to many days and are threadbare.
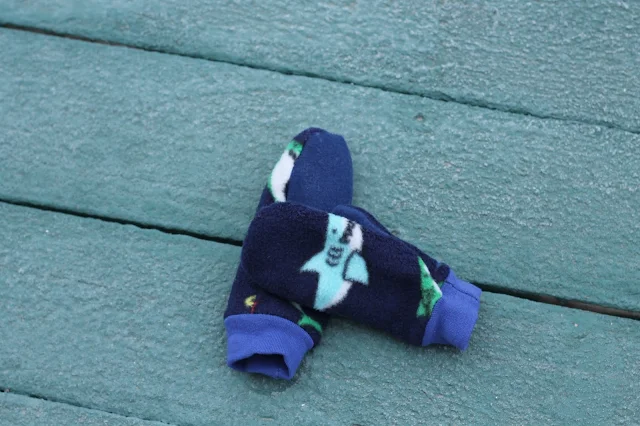
To replace them, this year my kids will get mittens that fit using my trusty fleece mitten pattern.
Yep, the time has come. My oldest can get a pair of mittens this year that should last him the next 3 or 4 years. My other 2 kids will get two pairs out of the same fabric. That way if we loose one, we still have the other pair to match with it.
Of course, that only works if we don't misplace both of the right hand mittens. (Crossing my fingers on that.)
And since I am sure we are not the only family that needs a warm pair of mittens. I'm sharing this easy printable mitten template with all of you!
The free pattern comes in 3 sizes: Small, Medium and Large.
The smalls will fit ages 2-5.
Medium fits ages 6-8.
Large fits ages 9-14.
If you are looking for infant, teen or adult mitten sizes, head over to our etsy shop and grab the Frosty Mitten pattern. It includes all the sizes PLUS an additional mitten pattern with elastic instead of the band. All for just $5.50 in our Etsy Shop. No need to access the internet each time you want to make mittens.
How to Sew Fleece Mitten Pattern
Materials Needed
- Free Kids Mitten Pattern - download at end of post
- 1/4 yard (or less) of fleece or knit - Main Fabric
- 1/4 yard (or less) fleece, knit or flannel - Lining Fabric
- Thread
For the best results, use a material that has a bit of stretch like fleece of knit. The lining can be done in a flannel material for additional warmth.
Step 1
Begin
by matching the correct pieces together.
Make sure one mitten will be for the right hand and the other for the
left.
Place
Front Top and Bottom Top pieces RST (Right Sides Together). Stitch around the finger and across the
straight edge on the palm. Snip into the thumb web and trim around the edges.

Step 2
Take the Back piece and lay
it right side up. Place your already
sewn front piece over the back piece RST.
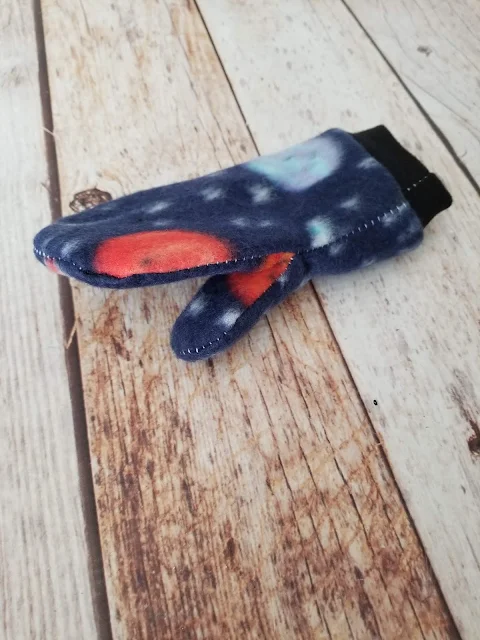
Fold the thumb towards the
bottom of the mitten. Stitch around the outside edge of the mitten to where the
thumb is folded. Cut threads. Fold thumb towards the top of the mitten and
stitch from the thumb to the end of the mitten.


Step 3
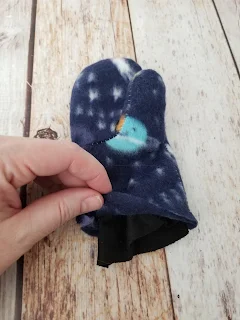
Turn the 2 main mittens right
side out. Insert one mitten lining into
the main mitten making sure to line up the thumbs.
Cutting Instructions
|
Size
|
Small
2-5yr
|
Medium
6-8yr
|
Large
9-14 yr
|
|
Cuff
Cut 2
|
5 x 3.25”
|
6 x 3.5”
|
7.5 x 4”
|
Step 4
Using the cuff cutting chart, cut out 2
cuffs.

Step 5
Fold cuff in half with short
sides together. Stitch down the short
side. Repeat with other side.
Fold the top raw edge of the cuff to match up with the
bottom raw edge. Now you have a little
cuff.


Step 6
Place the cuff around the
base of the mittens. Match the raw edges
of the cuff to the raw edge of the mitten. Stitch around the base of the cuff.
Cut any excess fabric off the bottom of the mitten.

Step 7
Turn cuff right side out and press.

And you are all done! How easy was that?
Best part about this pattern is that it was tested by a group of sewists like you. They worked hard to make sure the gloves fit their little ones hands and fingers.
Want the free fleece mitten pattern? Simply click the button below to go download your copy.
Looking for teen and adult sizes for mittens? Grab the Frosty Mittens Pattern in our Etsy Shop for only $5.50. No need to access the internet each time you want to make your own mittens.


What is the seam allowance?
ReplyDeleteThis comment has been removed by a blog administrator.
DeleteNewbie here. Does this include the seam allowance or should I cut my pieces a little bit bigger to create a seam allowance?
ReplyDeleteIt includes all the seam allowances. They are 1/4" on the mittens.
DeleteHi, the two comments re: seam allowance have two different measurements...1/4 in and 1/2 in- which is it please?
ReplyDeleteThey are 1/4"
DeleteHave you found a good way to keep the liner layer in place? The thumb especially likes to pull out when these are worn. I hand tacked in place after the 2 layers are put together but that’s not the best for such a small mitten. Any solutions you found? Thanks!
ReplyDeleteGreat question. I was going to suggest tacking the thumb layers together but you did that. It may depend on the type of lining that you use. We haven't had an issue with little fingers because I typically use flannel and fleece together. Or a knit and fleece. They tend to stick together a little bit better.
Delete