Stuff. There's always stuff.
Stuff in the closet. Stuff on the dresser. Stuff in the drawers.
Don't get me wrong. I like stuff. Especially sewing and craft stuff. But sometimes that stuff needs a home. Am I right?
This is where a nice fabric bucket can come in handy.
Plus, learning how to make a fabric bucket can help clear out your fabric stash. And get rid of some extra stuff.
This post contains affiliate links to products I recommend. I do make a portion off any you may purchase. See full disclosure here.
You'll notice that for this particular post I am using some fun holiday prints.
Mostly because I love holiday sewing, but also because I really wanted some fun buckets to hold Halloween candy this year.
You could create buckets for each season or holiday to hold candy or treats or even to hold fun gifts for others.
You see, fabric buckets have lots of uses. You could make them for holding toys or keeping items on the dresser organized.
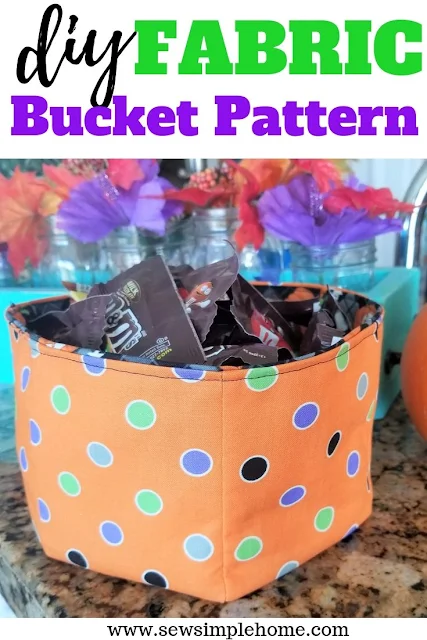
You've got all the choices with this free fabric bucket pattern.
Did I mention this pattern comes in two sizes that nest together? What about the fact that you can get the PDF pattern for free or download the free SVG cut file to use on your Cricut machine?
That's right. You can download the free files at the end of the post. You'll get two sizes. The finished measurements are either 9" x 6" or 7.5" x 4".
Than, follow the tutorial below on how to make a fabric bucket.
VIDEO: Fabric Bucket Sewing Project
How to make a fabric bucket
Materials Needed
- Free fabric bucket PDF pattern or SVG cut file - download them at the bottom of the post
- 2 fat quarters of main fabric
- 2 fat quarters of lining fabric
- 1/2 yard of fusible interfacing
- Matching thread
Make sure to check out our video tutorial here in the post as well. If it isn't popping up, make sure to turn off your ad blockers.
Step 1
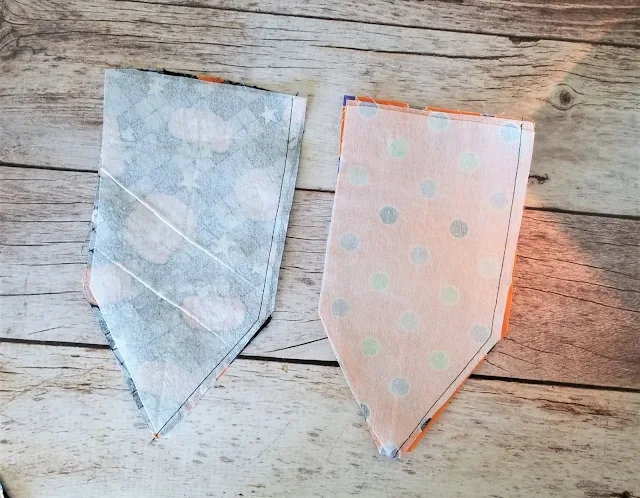
Place two front pieces right sides together (RST). Stitch along one long side and down to the point.
Repeat with the remaining 4 pieces. Once they are all sewn you should have 3 sewn sections.
Repeat step with lining pieces.

Step 2
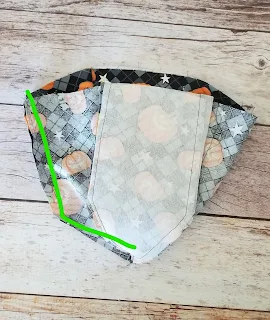
Open 2 of the sewn sections and match the unfinished side seams. Stitch along one long side and down to the point.

Step 3
Match the side seams of the 3rd sewn piece to the first two. Stitch along one long side and down to the point.
Next, match the remaining two sides and stitch along one long side and down to the point.
Repeat steps 2 and 3 with lining.
Step 4
Place the main bucket inside the bucket lining with RST. Pin.
Mark a 2" opening. Stitch the two pieces together at 1/4" around the entire top of the bucket making sure to leave the 2" opening.
Step 5
Turn the bucket right side out and press well.
Step 6
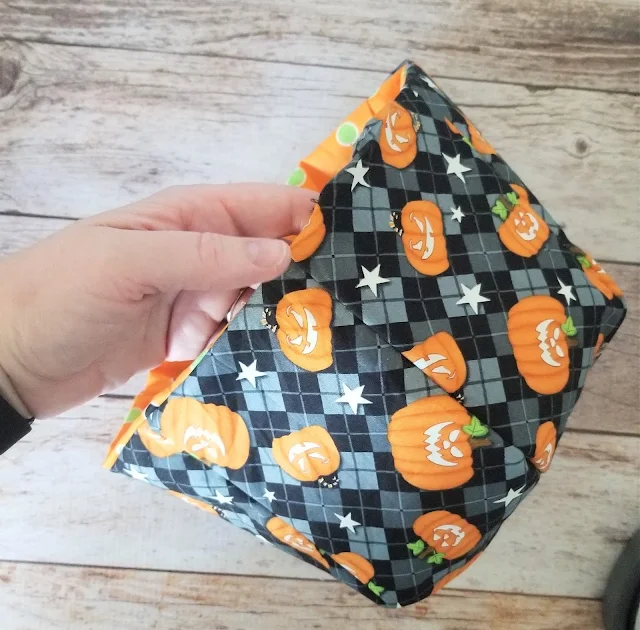
Fold the lining into the main bucket and press around the top.
Stitch around the top of the bucket to keep the two layers in place.
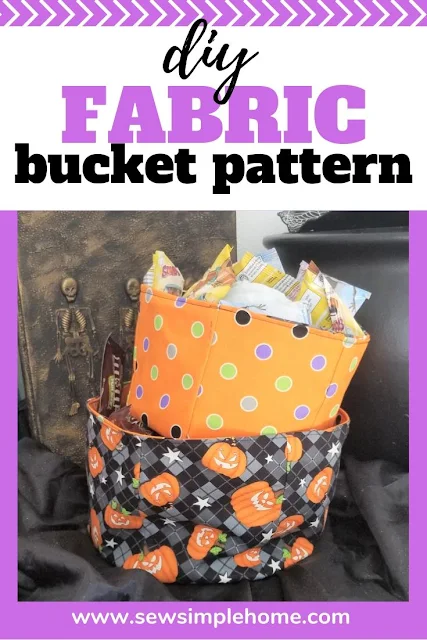
Aren't these just so fun! Can you think of all the uses for these simple fabric buckets?
If you do make both sizes, they nest together really nicely. So they make decorating or storing really easy.
Ready to create your own fabric buckets? Click the button below to sign up for our newsletter and download either the PDF sewing pattern and the SVG cut file to cut out using your Cricut machine.










I’ve loved the fabric bucket for awhile. Made tow as a demo for my sewing groups. I was thrilled that several of them made it also. So cute to see their fabric combos! 😄
ReplyDeleteI'm so glad you love it! Thank you for sharing.
DeleteWish it was in pdf form. Not everyone has a cricket. 😞
ReplyDeleteThe pattern comes as a PDF and an SVG. When you sign up to download, you'll get both options in the zip file.
DeleteDid I miss the part in your directions about when you applied the interfacing?
ReplyDeleteInterfacing is applied after you cut the pattern. Sorry for the confusion.
Delete