The 1st sewing class I took was in college. I remember sitting there and my teacher had us pull out our paper pattern and walked us through all the parts to understanding a paper pattern. It was a bit confusing and full of terms and information I really didn't understand.
Looking back now, I realized how much of that sewing patterns basics lesson has stuck with me and helped me in my current sewing adventures.
With the ever growing world of PDF sewing patterns, many new to sewing have never actually tried to sew a paper pattern or get really confused as to how to get started sewing a paper pattern.
If you are looking to start using paper patterns, let me share with you some great tips for working with paper patterns.
It isn't as hard as you think. Start by grabbing one of the paper patterns you try sewing. There are several companies to choose from like Burda, McCall's, Butterick, Simplicity, Vogue and New Look. Or you might have a fun vintage pattern from another company.
How to get started sewing a paper pattern
To start, check the front of your pattern envelope and check out the sizing. Each pattern company is different and included different ranges in sizes.
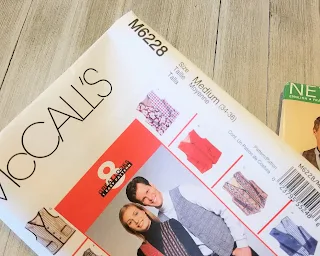
For instance, the McCall's pattern below comes in Medium (34-36), Burda comes in sizes 12-34, and New Look comes with All Sizes. This is an important factor to look at before you purchase a pattern. You want to make sure you purchase the size you need and you'll find that on the envelope.
The front of the envelope also shows images of what styles and views you can make with the pattern.


Next step, turn the envelope over. Near the top of the envelope you should find the types of fabrics that can be used to sew the pattern. This one is a bit difficult to see, but there is a long list of types of fabrics that are appropriate.
Pick what view/style of the pattern you plan to sew. Find this on the back of the envelope.
For instance, let's pick View C on the pattern envelope below. It always helps to circle what you are looking for on the pattern. This is a great sewing pattern basics tip.
Once you've found the view you want to sew find the correct size based on your measurements. Circle the size you need.
Now match these two and you will find how much fabric you will need for the project in your size. The amount might be listed in 45" or 60". This is based on your fabric bolt whether it is 45" wide or 60" wide.
You'll also want to look on the back of your pattern envelope to see what notions you might need for your project. Notions are addition items like thread, buttons, zippers, snaps, ribbon, bows, bias tape, etc.
Every project is different so every list of notions will be different. Just make sure to check before you go shopping for fabric and notions.
Once you know what fabric, how much and which notions you need, now you can go shopping or purchase the pattern you've chosen. Once you get it home, pull out the contents of the packet.
You should have the envelope (left), pattern instructions (center) and pattern pieces (right). Your packet instructions will fold out into a large paper as will the pattern pieces. You'll have several pattern pieces on each pattern sheet.
On your pattern instructions, circle the image of the pattern view you wish to sew.

Next, open your instructions and circle the numbers that include the letter from your view.
For instance, we selected View C at the beginning now we circle or mark all the numbers of pattern pieces that include View C. These are the pattern pieces that you will need to cut out to sew up your pattern view.

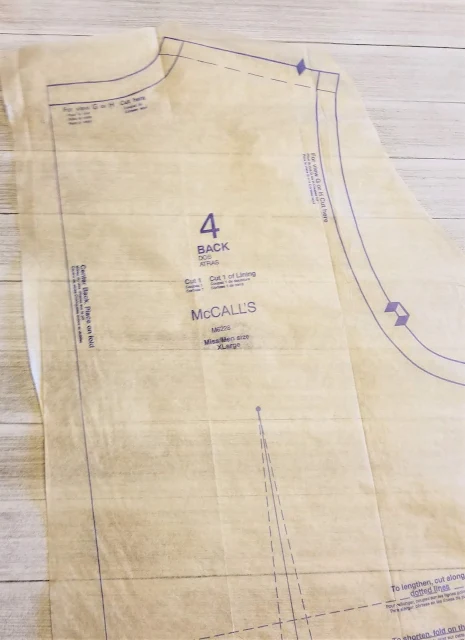
Now comes the tricky part, to find all the pattern piece numbers in your packet. Each sheet is rather large and they are in no particular order. The pattern company places pattern pieces to save on paper. So you will have to do a bit of "digging" through the pattern sheets to find all your pieces.
Once you find them, you have two choices for using your pattern pieces. The first option is to cut out the pattern pieces. Don't cut on the lines. You can do that later. Just cut out around the pieces.
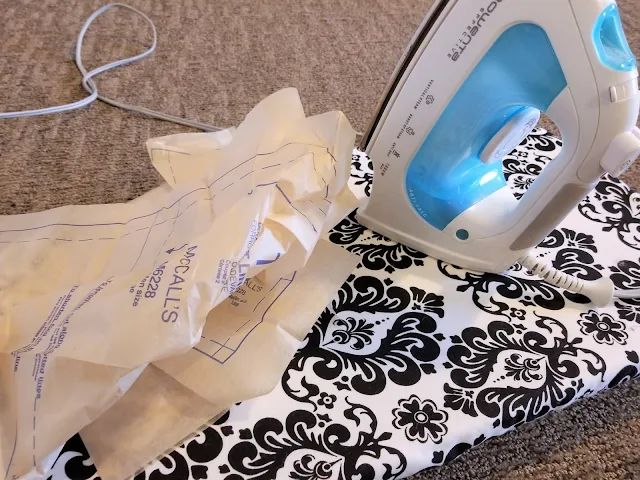
Another great sewing patterns basics tip is to iron your pattern pieces. Yep, that is right. Take out that iron. Turn off the steam feature. You just want the heat. Now, press your cut out pattern pieces. They'll look better, stick to your fabric better and be easier to pin to your fabric as well.
The second choice is for those that don't want to cut up the pattern. Tape the sheet of pattern pieces to a window and take some tracing paper over the top of the pieces and trace out the pattern.
There you have it. Now that you know how to read the pattern envelope, check out how to layout your pattern and start cutting correctly. These sewing patterns basics are exactly what you need to get started sewing.


Great tips, I could've used these when I was starting out!
ReplyDeleteThis is fantastic! What a great resource for paper patterns that can be so confusing!
ReplyDeleteThey can be so intimidating at first--lots of great tips here!
ReplyDelete